Aster & Anne Kits: Designed By Us Made By You
WonderFil Specialty Threads
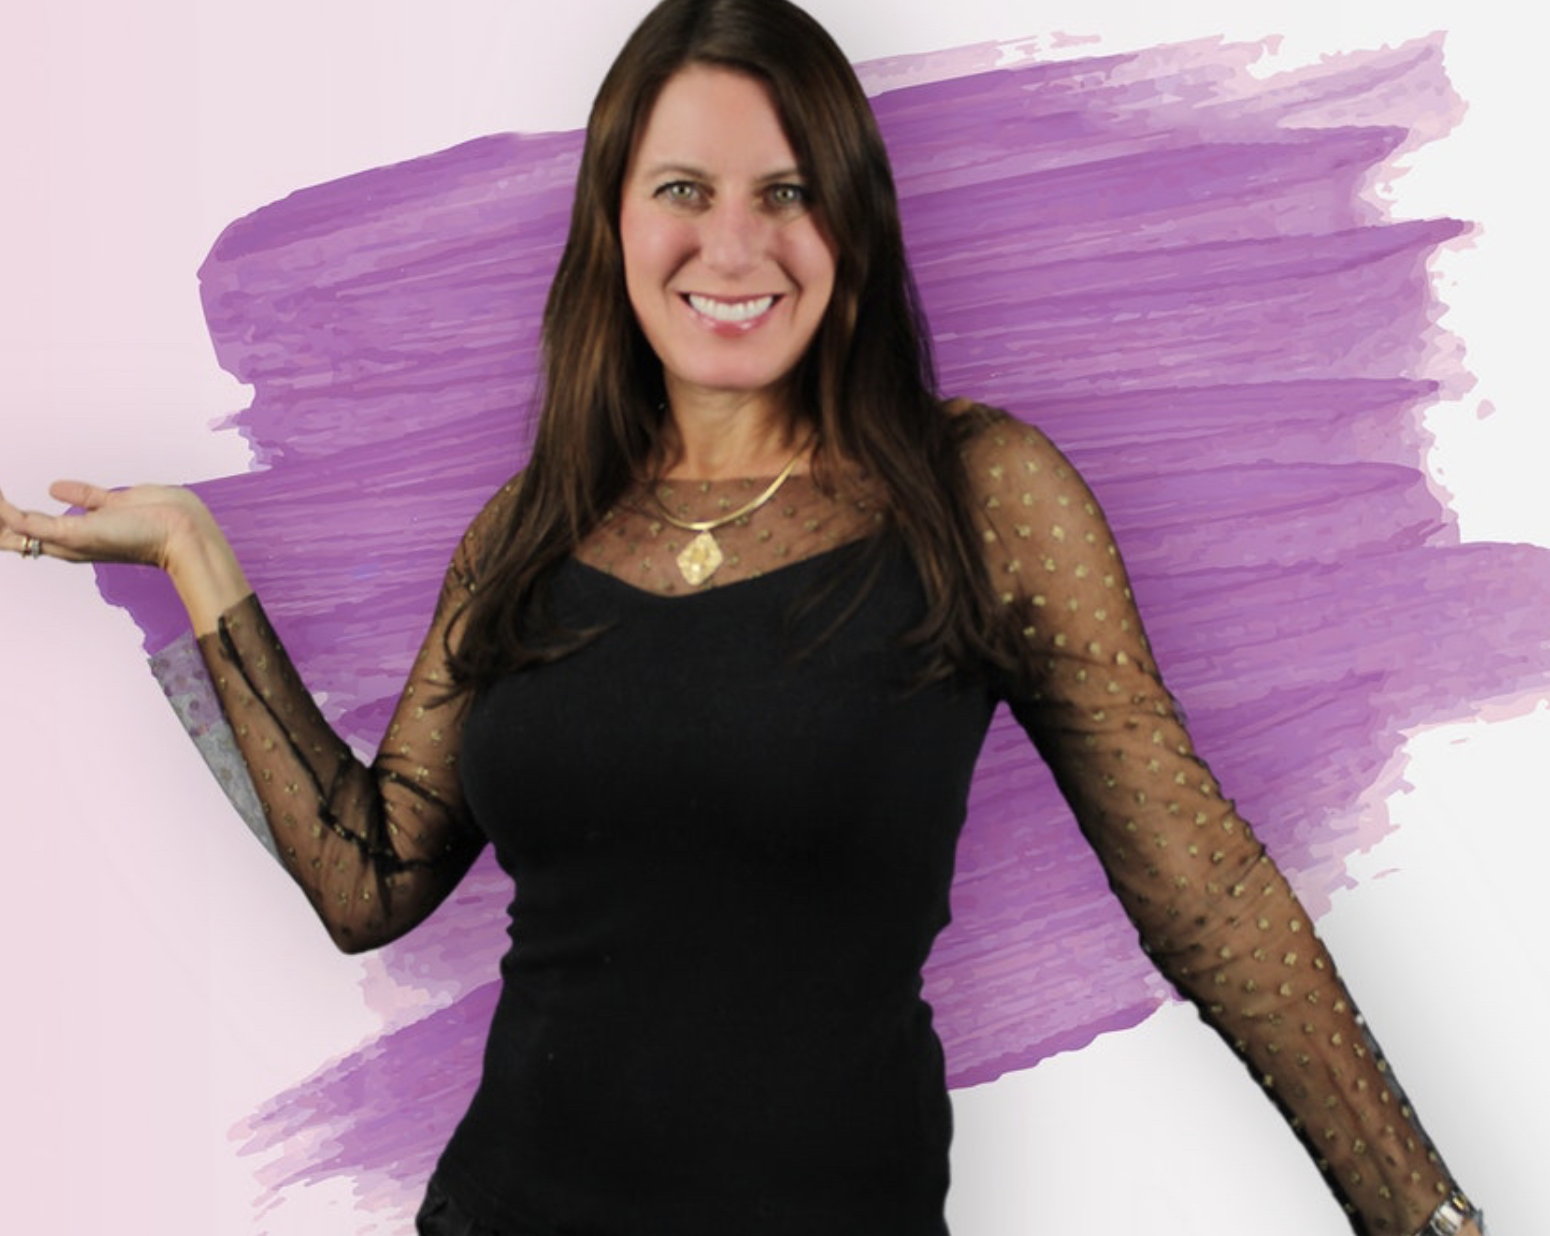
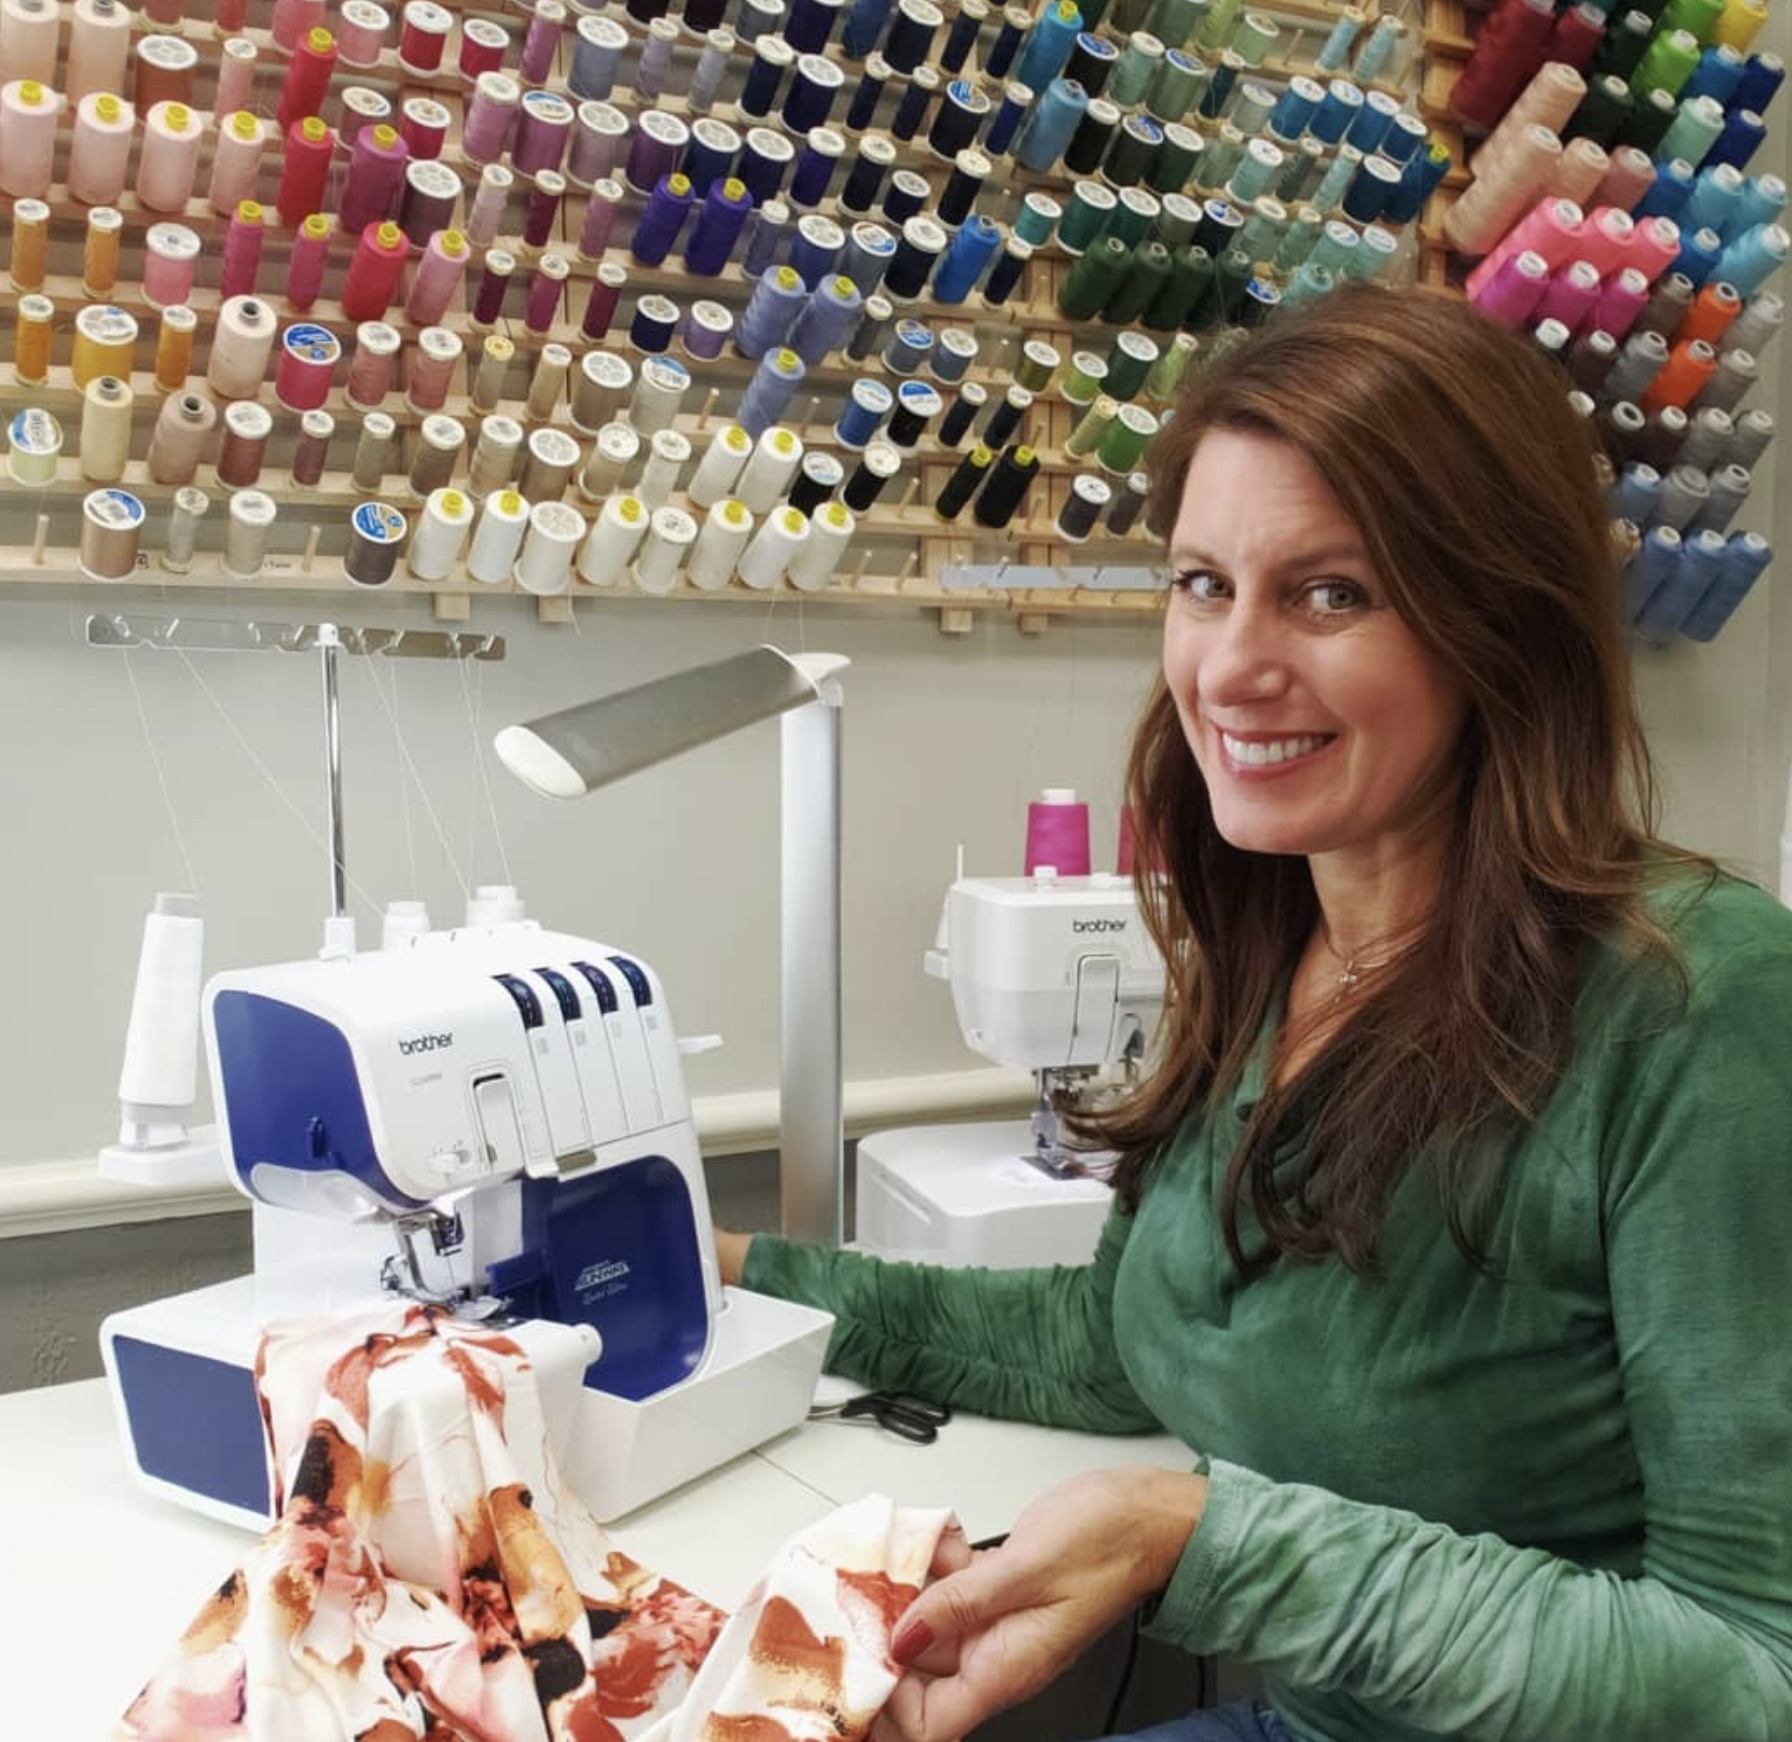
Aster & Anne is one of the most innovative brands that WonderFil® has had the privilege of partnering with! These customizable, felt kits make bag creation more accessible, and easier than ever. Including everything you need to create your own personalized bags, pouches, and journal covers. Jennifer Moore is the creative genius behind these cutting-edge kits, bringing them all the way from conception to final product. Learn more about her journey bringing these dream kits to life! As well as her best tips, and biggest inspirations for embellishing them.


Jennifer Moore is an Australian designer who has spent her whole professional life working in the sewing, and textile industry. Starting off her journey working for a small manufacturing company, Jennifer learned quickly and grew her love for garment manufacturing! After that she worked as a buyer curating fabrics and trims for wholesalers. These two jobs inspired her to begin embellishing, and customizing her own clothing using stitching, trims, and other creative sewing techniques. But she quickly realized how difficult it was to add embellishments to accessories, like bags. Many bags are made of tough, difficult to stitch on materials and are awkward shapes making them harder to fit under a sewing machine. Making bags from scratch was also difficult, with a high barrier to entry as it requires many different tools and materials. This is what gave Jennifer the idea for Aster & Anne customizable bag kits! Easy to assemble, easy to embellish felt kits would give her, and other sewers, the ability to customize their own accessories in a way that’s more accessible.
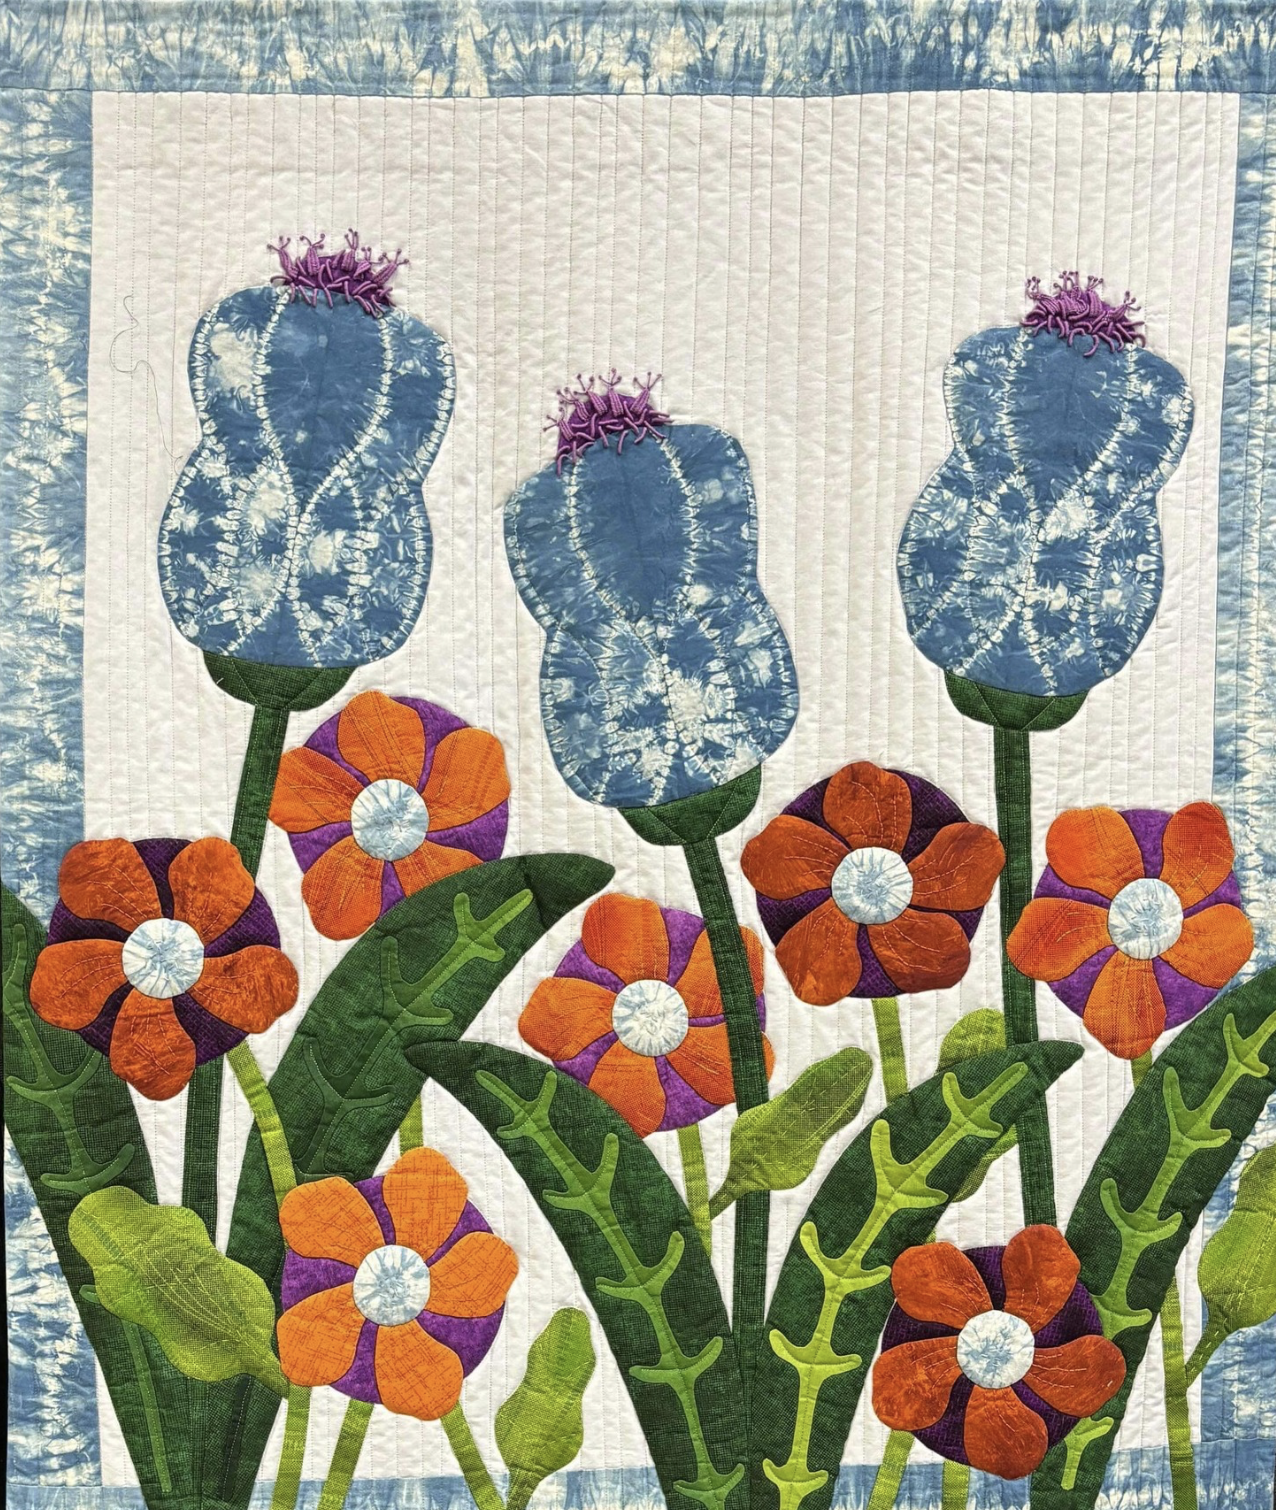
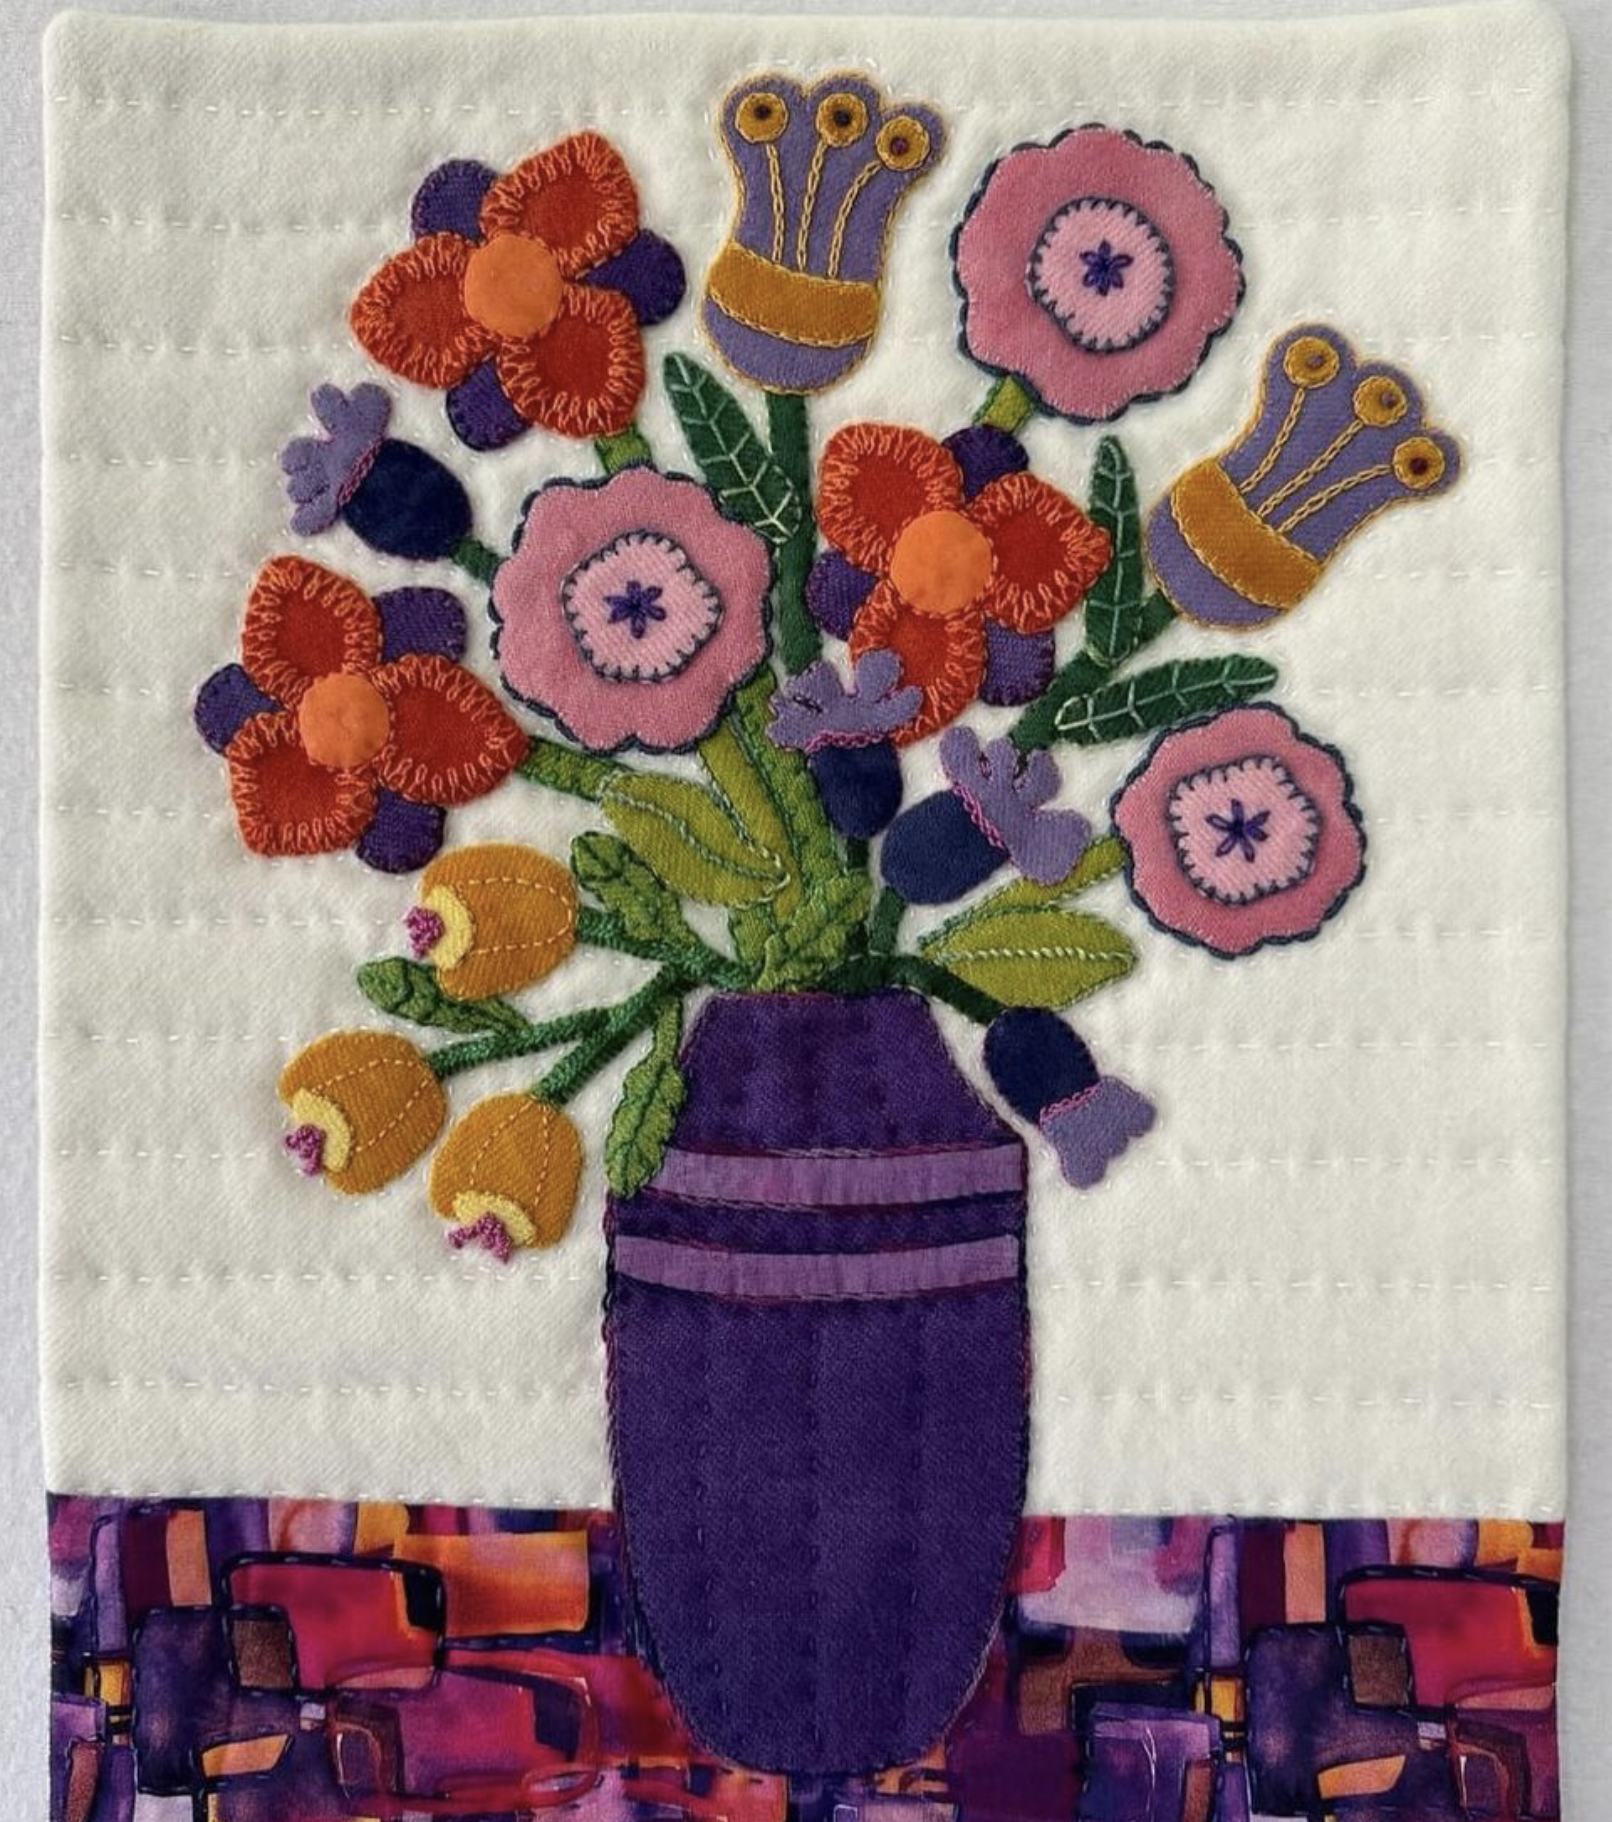
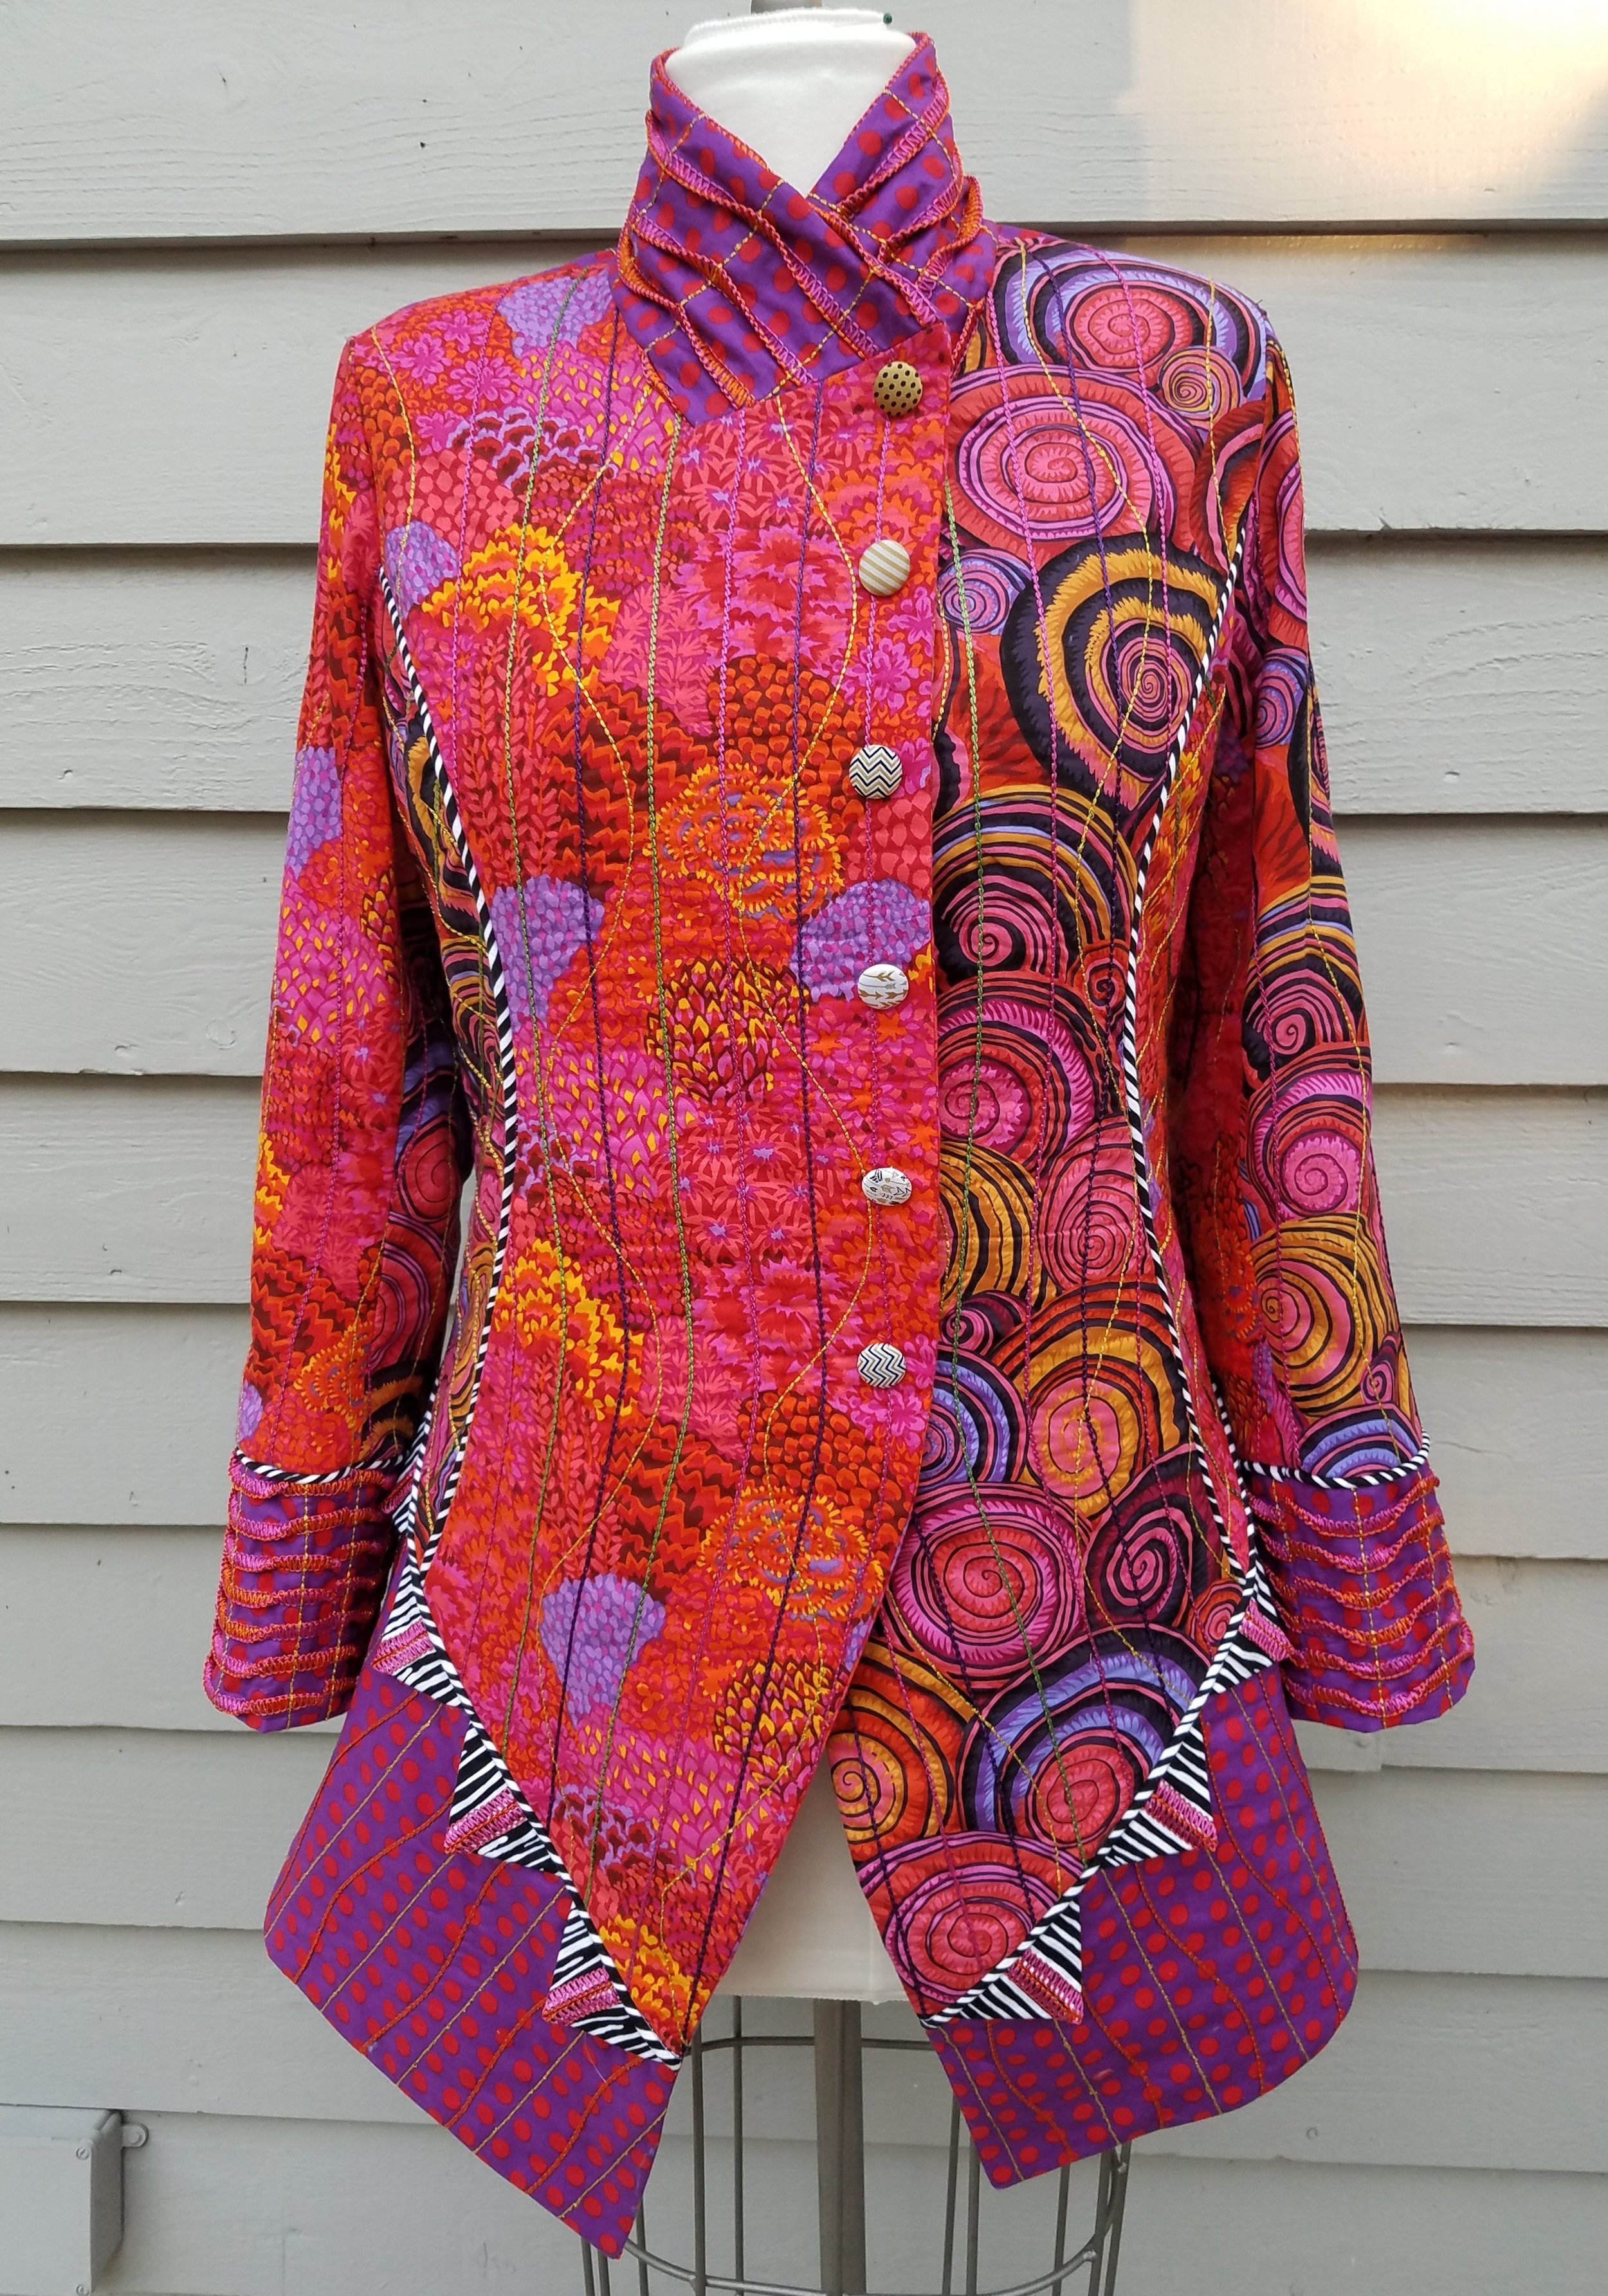
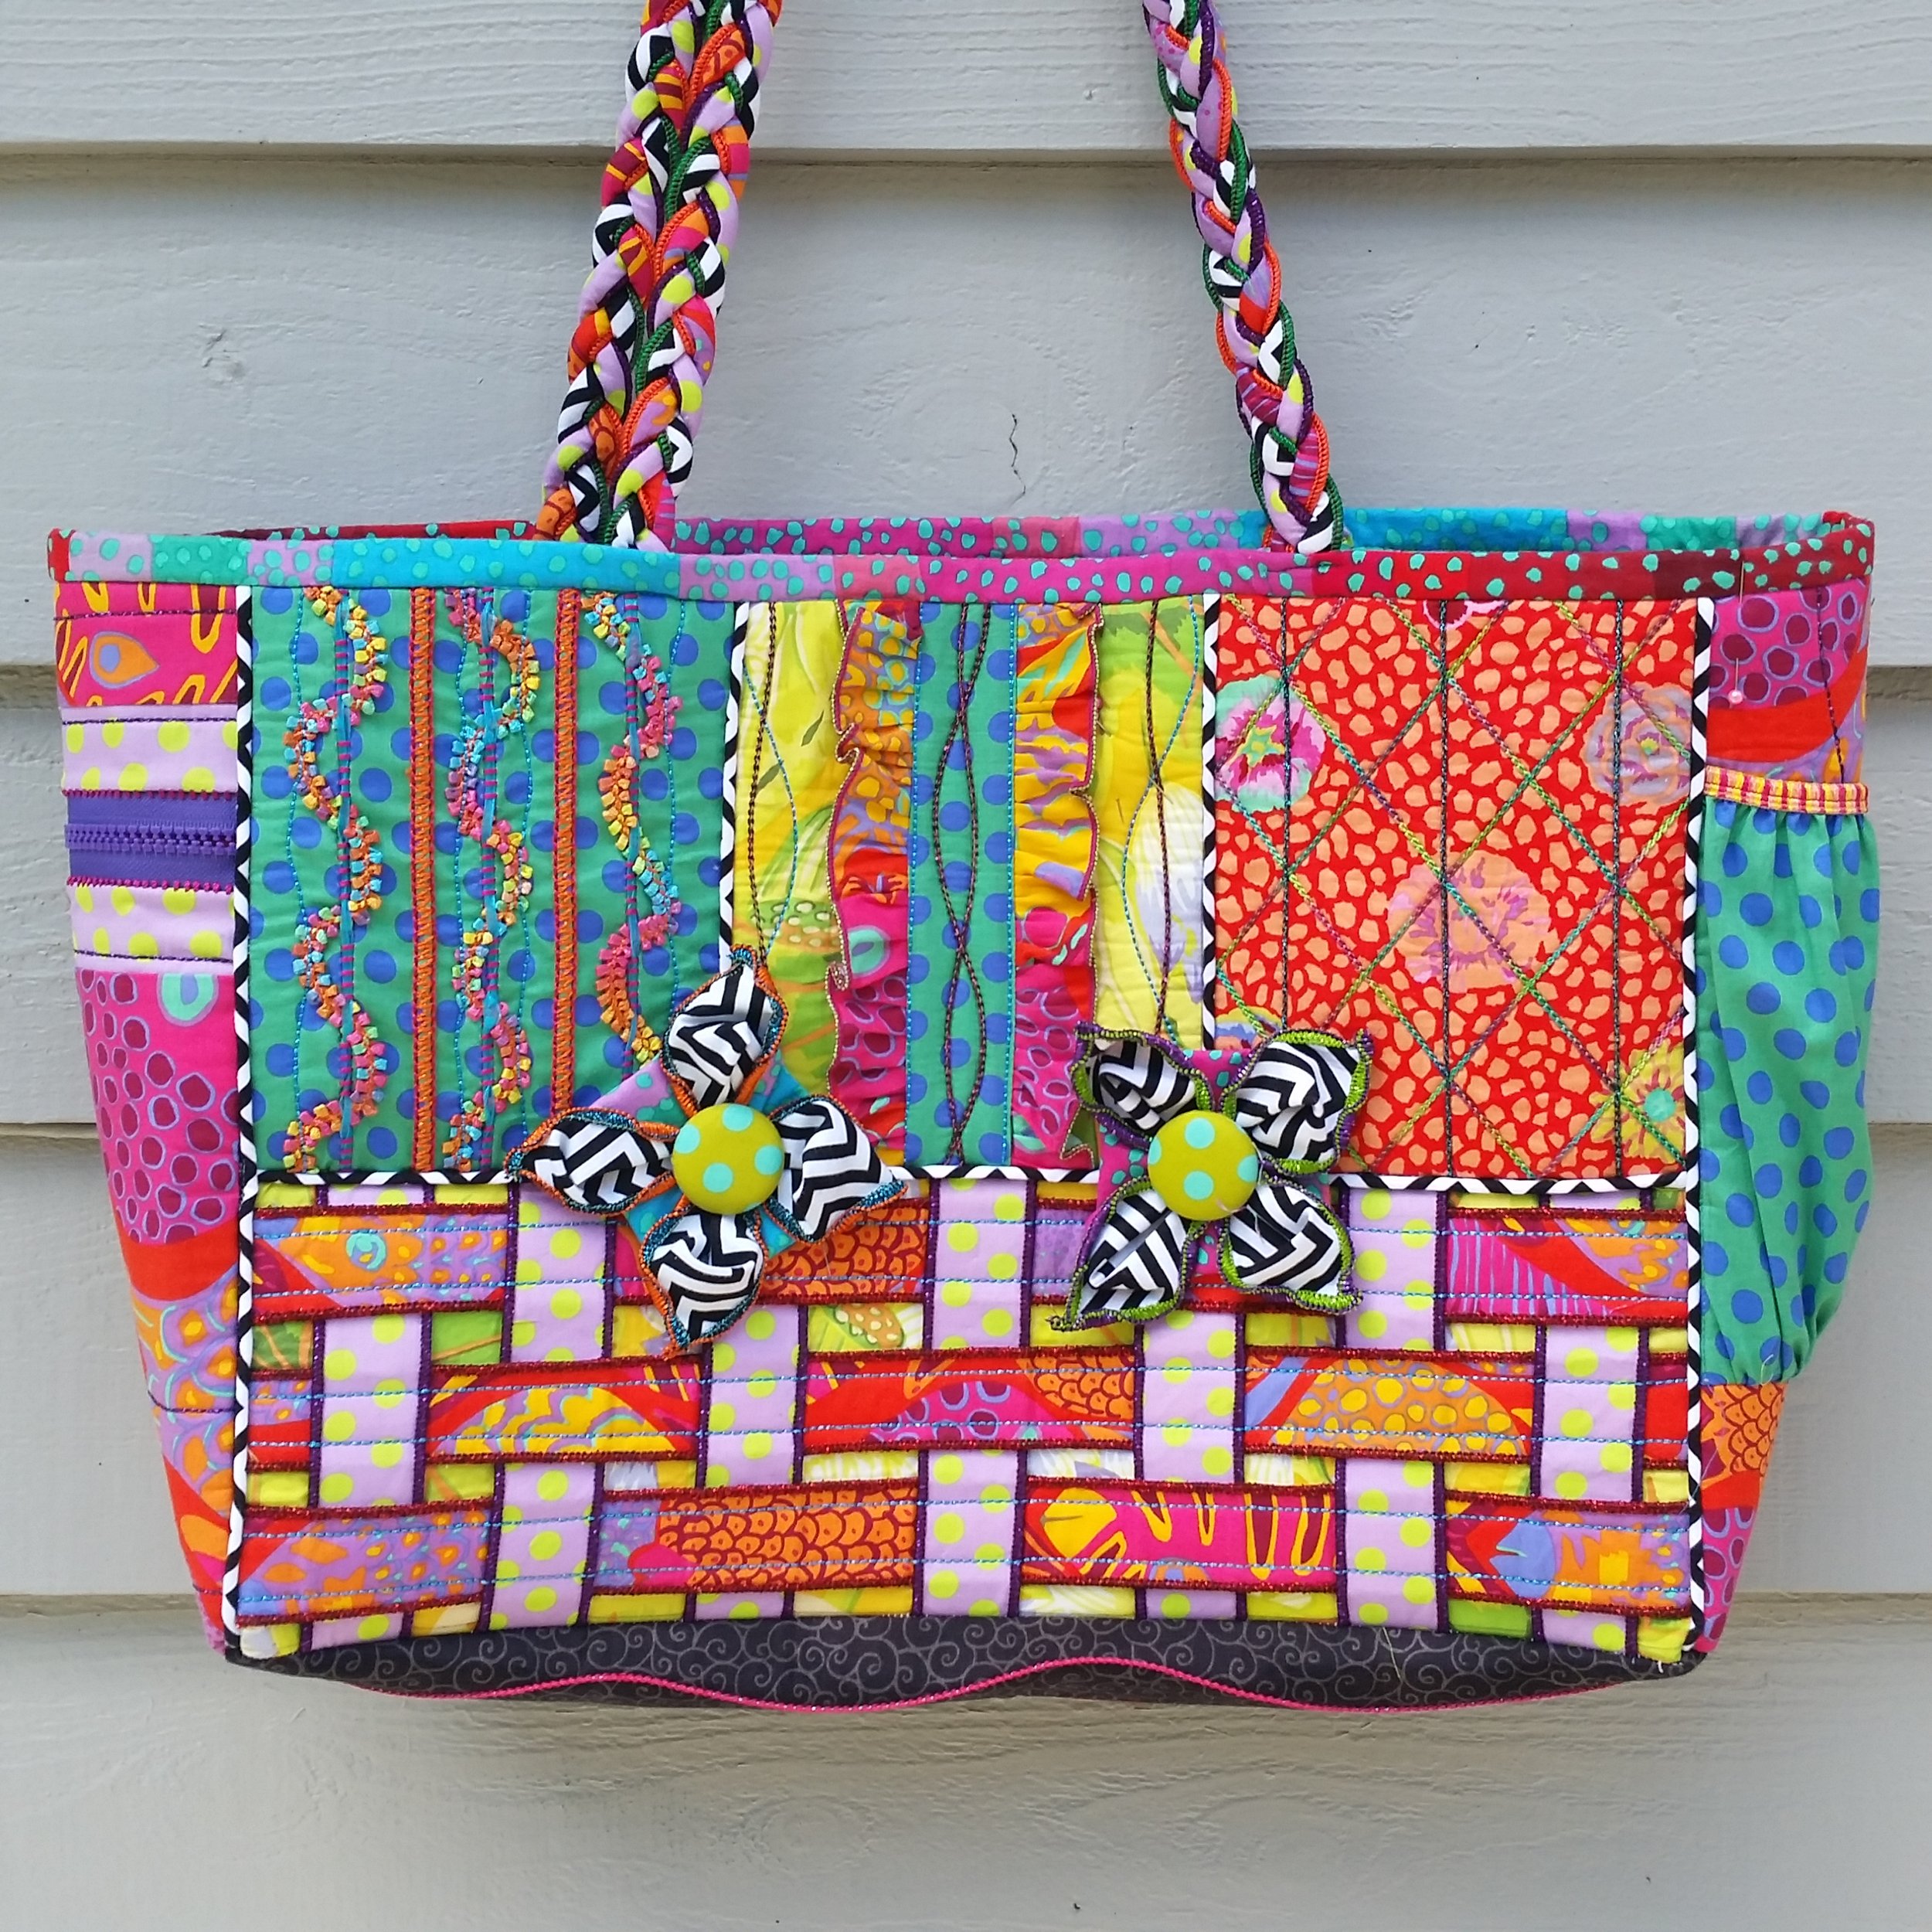
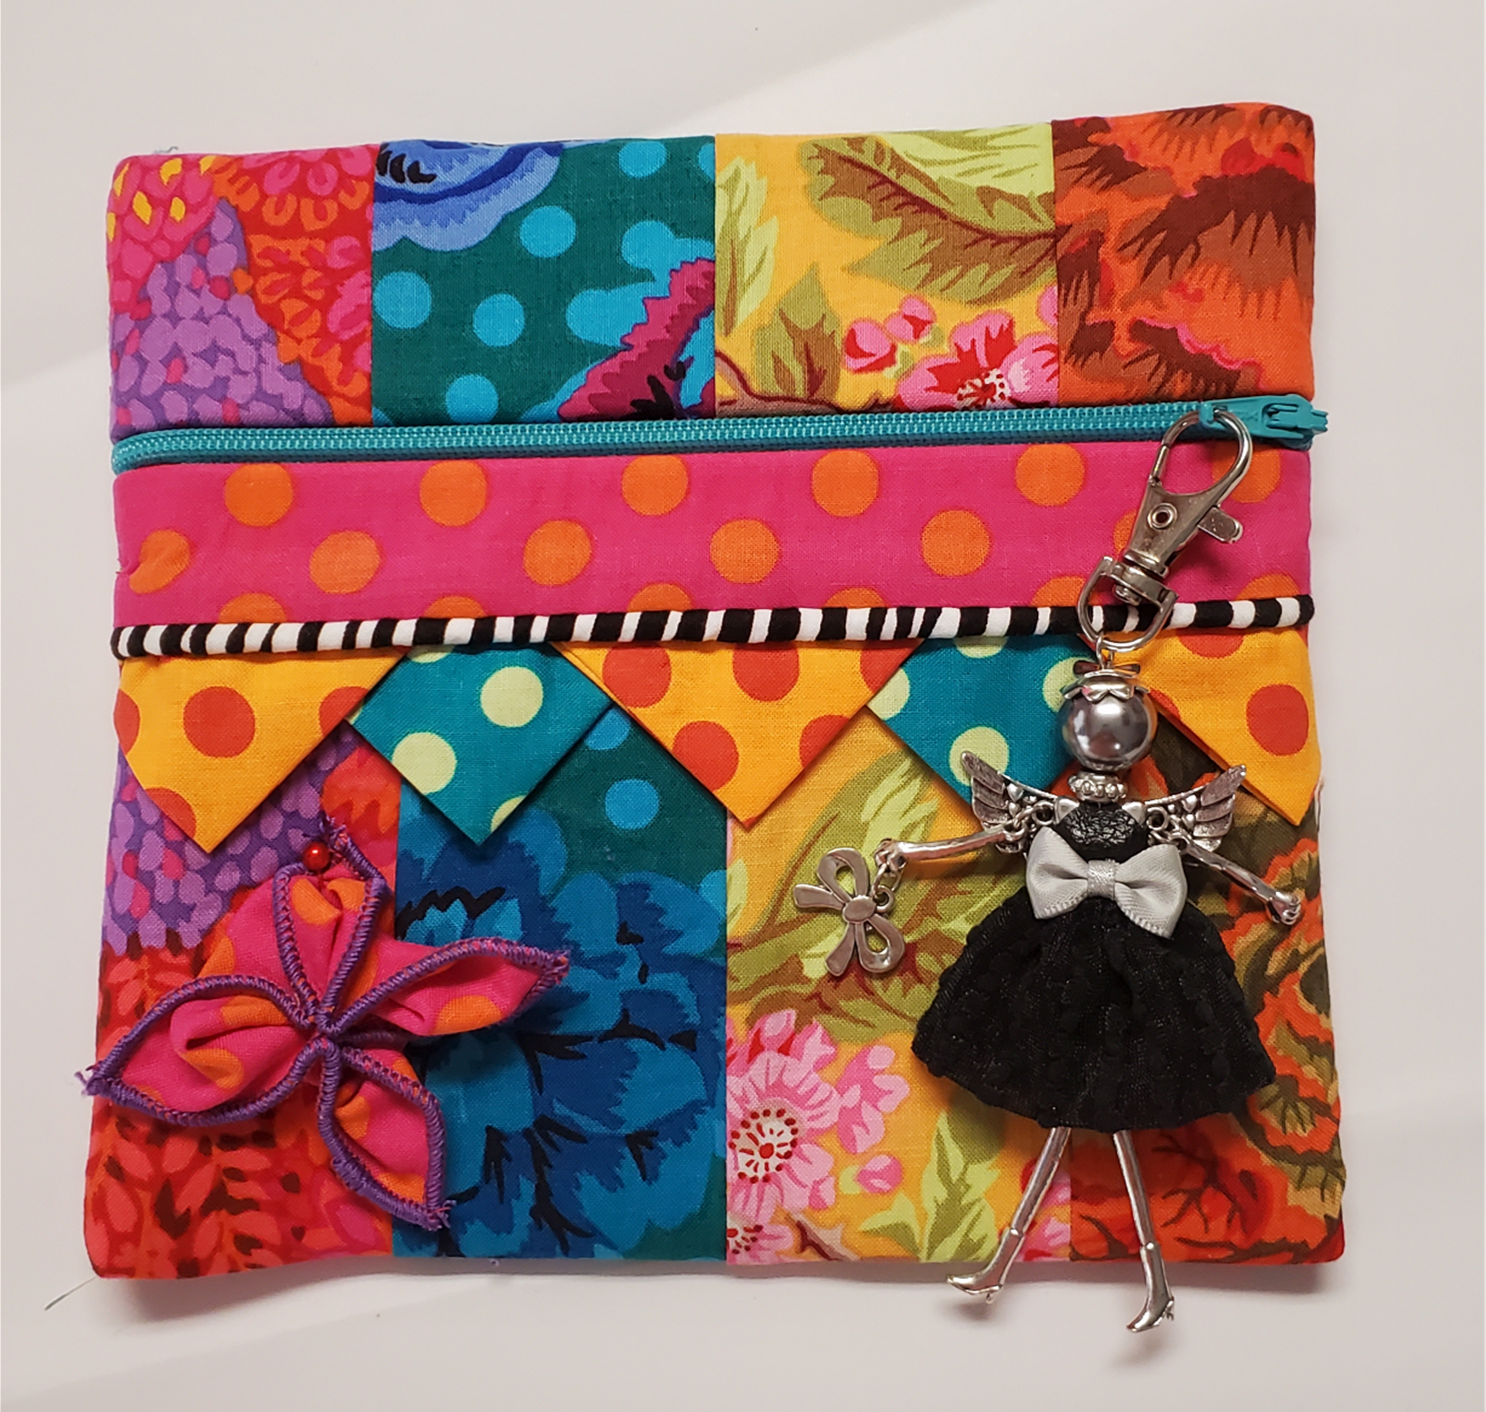
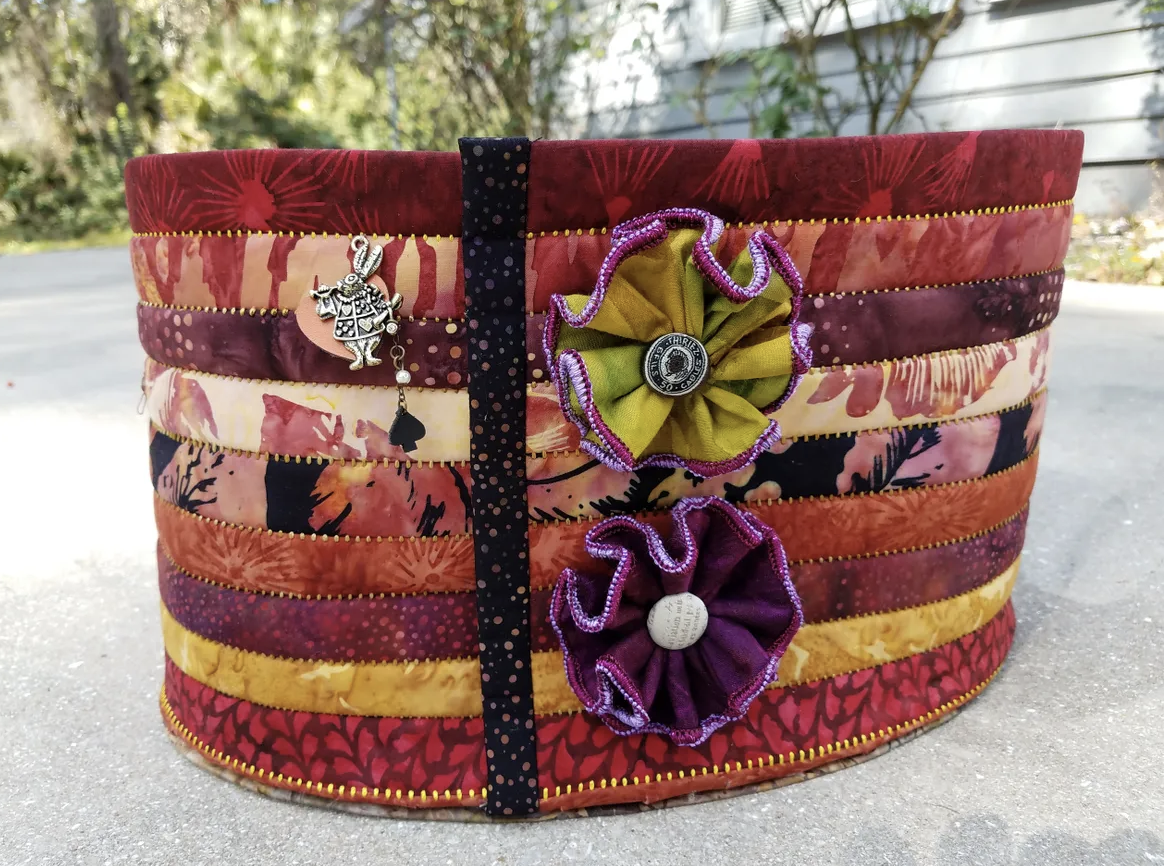
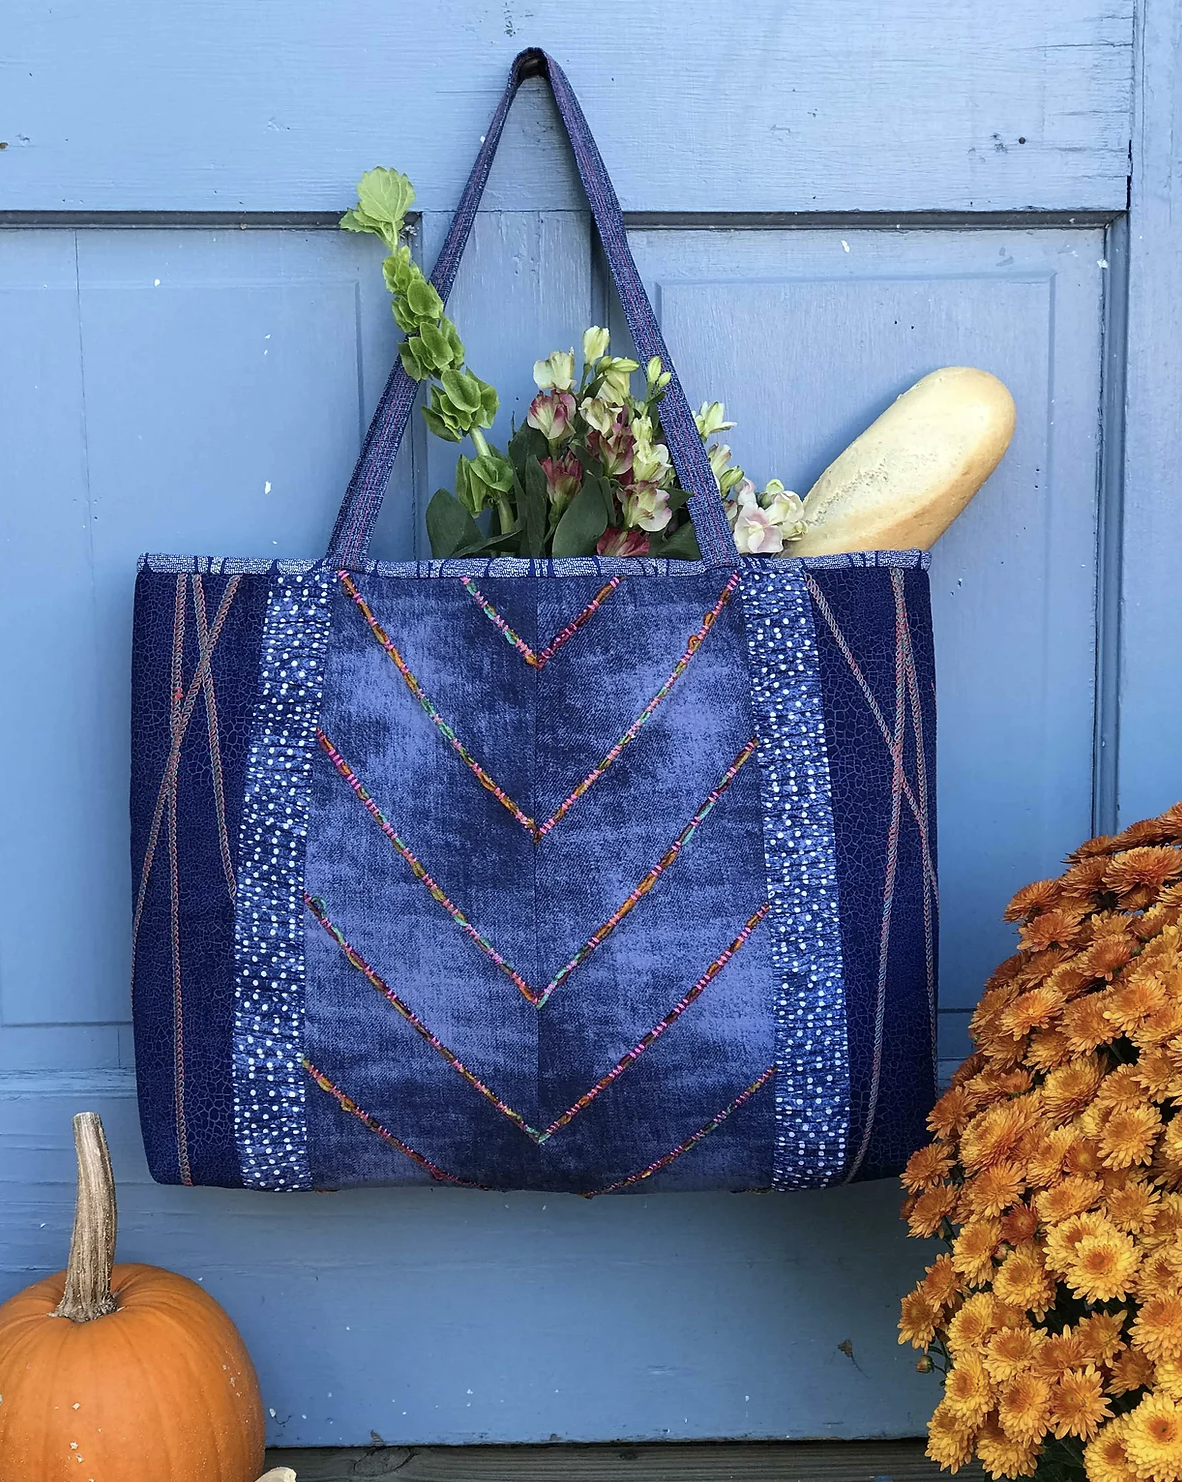
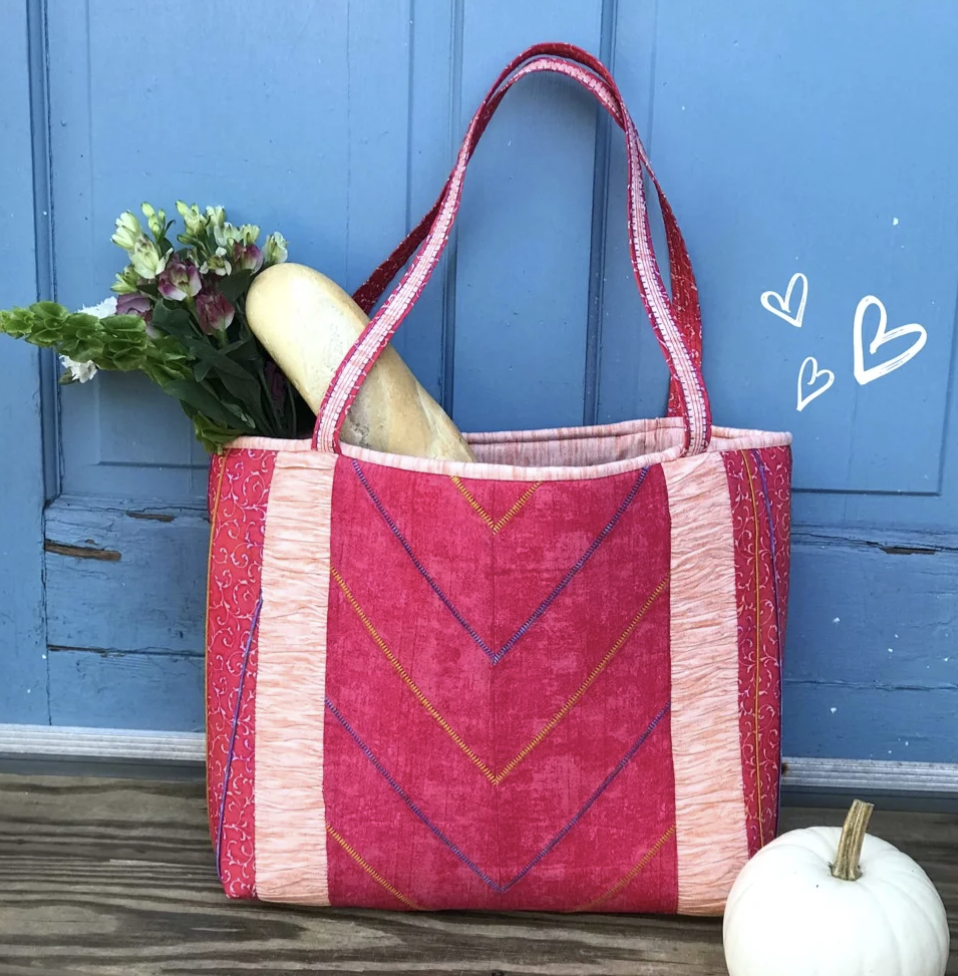
She began to design her first ever bag, the Luella Clutch. Taking inspiration from designs she loved, Jennifer wanted to create a bag that looked completely different once assembled. Her focus was on creating something that was easy to assemble and embellish, made with high quality materials and finishings. Choosing felt for the base of the bag was meant to make it extremely easy to stitch on. Felt is a beginner friendly material, which allows you to pick out designs with no problem and start over if needed. Aster & Anne kits also start out completely flat. So, they are simple to work with while embellishing. Jennifer wanted to find the perfect finishings for her kits as well. Straps, handles, and zippers are some of the most important parts of a bag. Using strong, durable finishings ensures a bag will last. The entire process, from designing the first bag to having a physical product, took about 18 months! But Jennifer stuck it out, working hard every step of the way to ensure her kits were perfect. Since then, her collection of designs has grown to include bags, pouches, journal covers, cushions, and even bag tags!


In 2018 Jennifer was vending an Australian market. And who was at the booth next to her? That’s right . . . WonderFil® Specialty Threads! After chatting with the WonderFil® team Jennifer knew she had found the perfect partnership for making her kits accessible to a wider audience. “It was the perfect partnership, because you need thread to do anything on the bags, and I loved your thread”! Now Aster & Anne kits are available to purchase all over the world, either through the Aster & Anne website or through WonderFil® distributors.


Customizing Your Kit
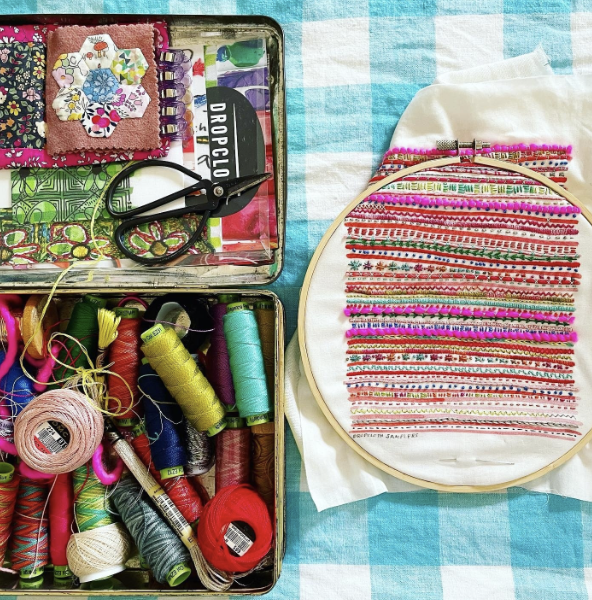
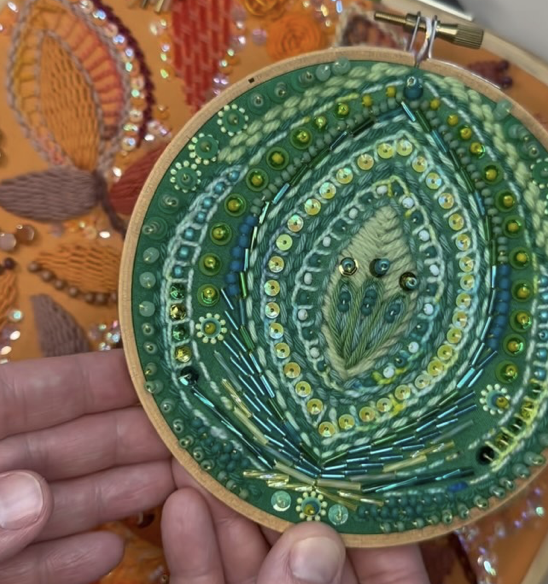
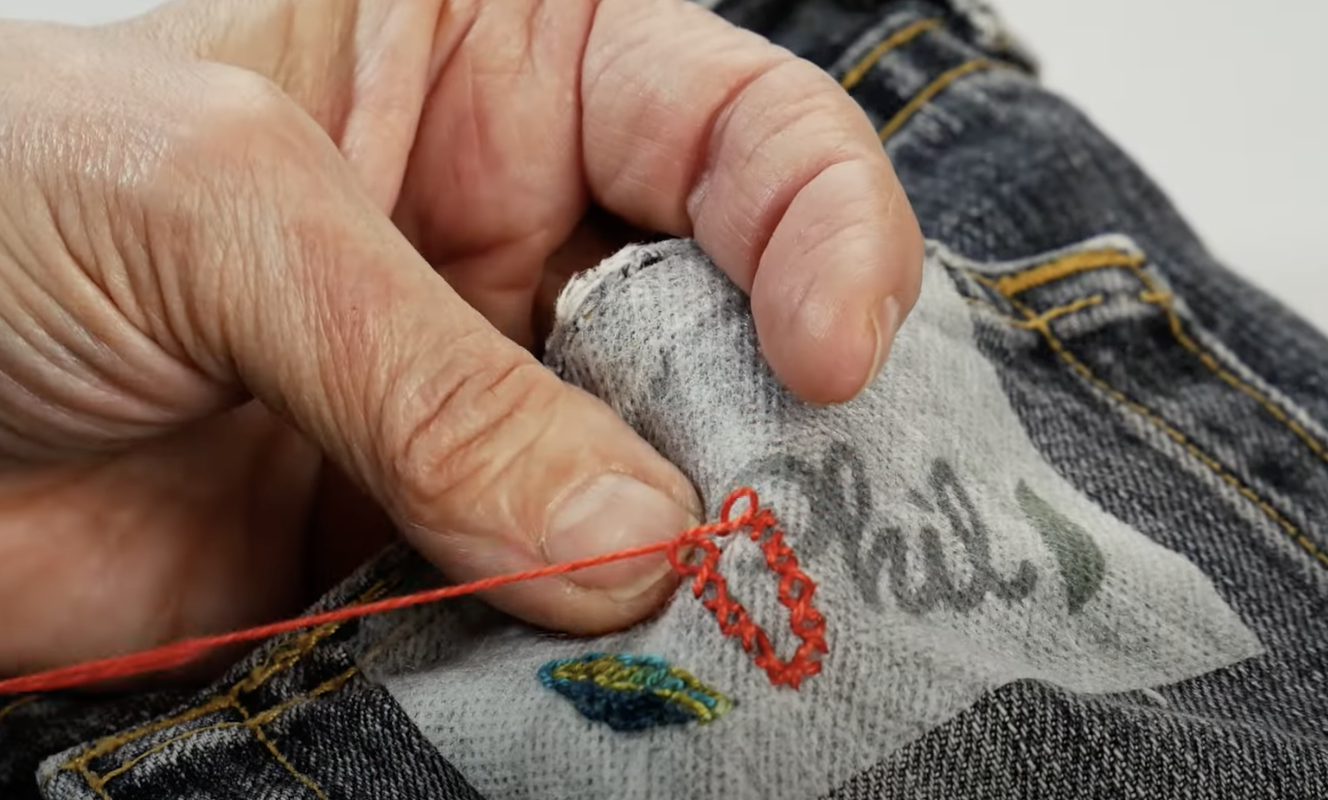
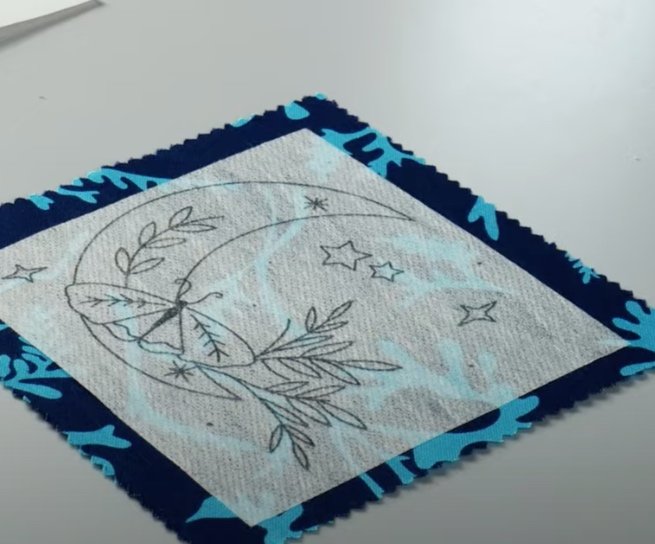
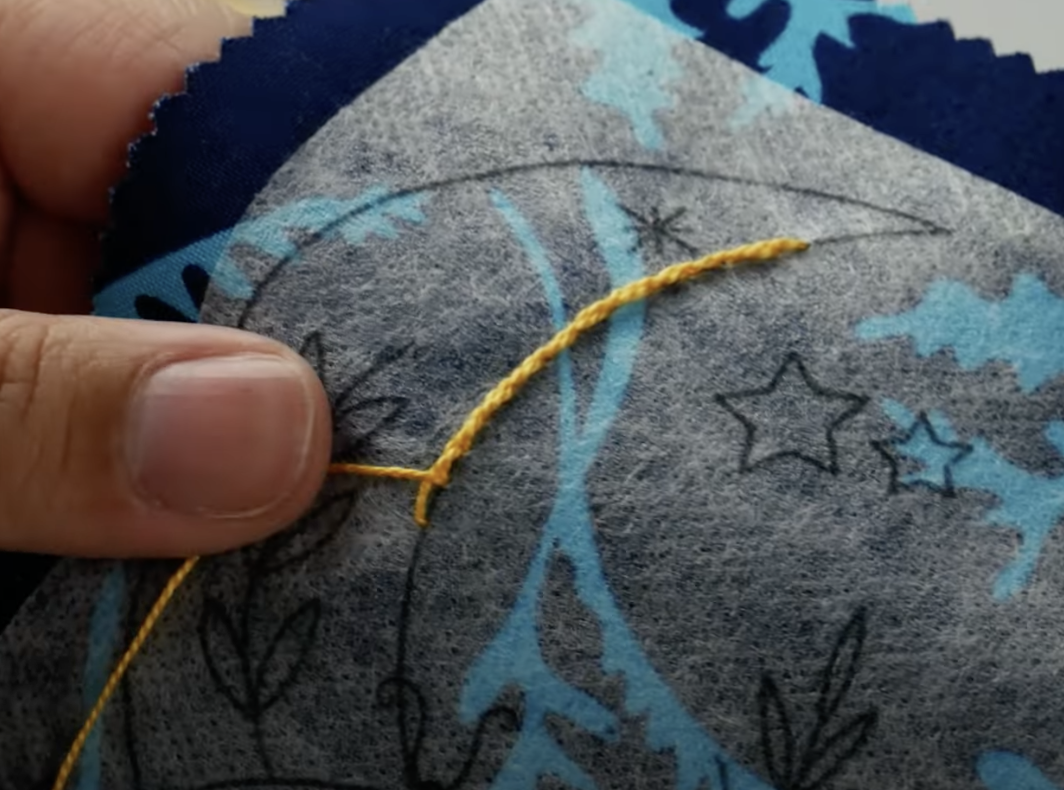
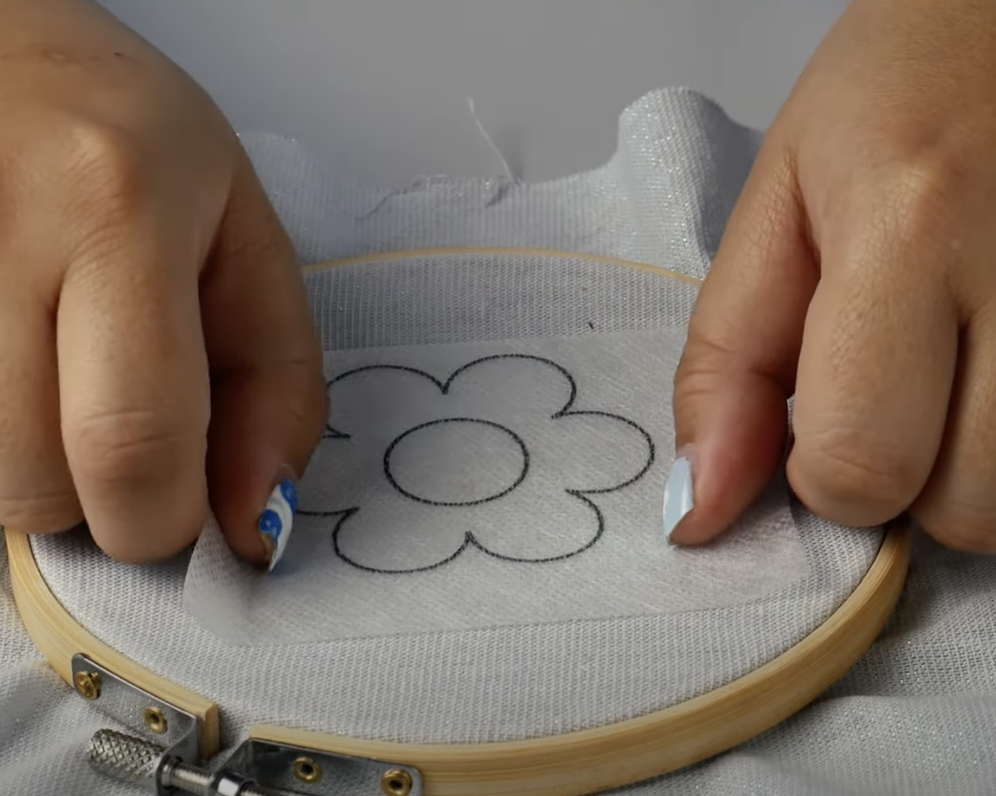
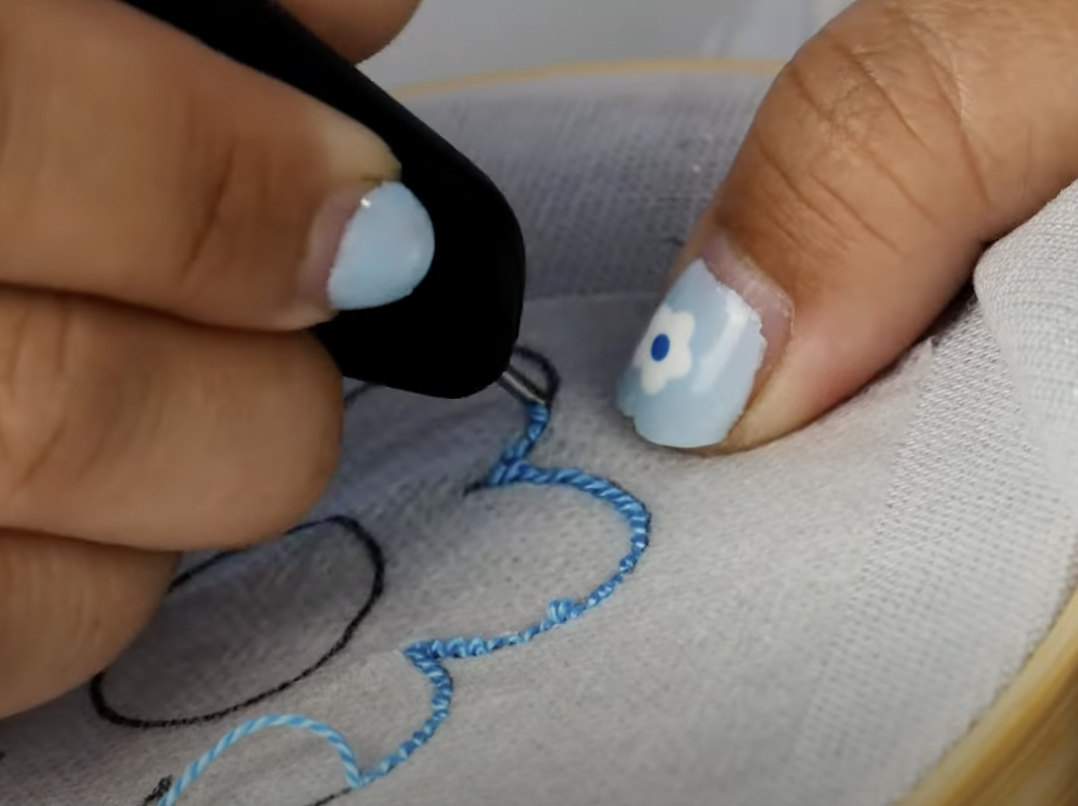
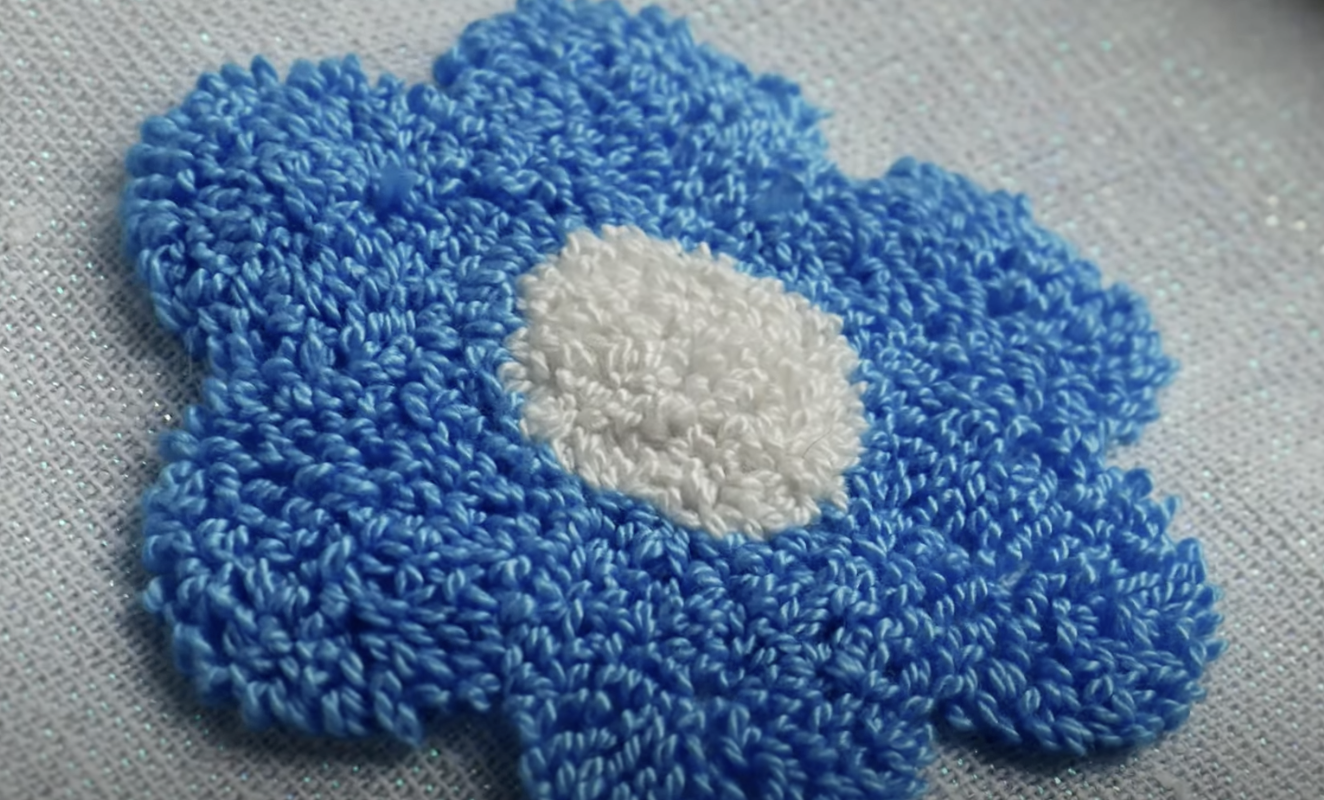
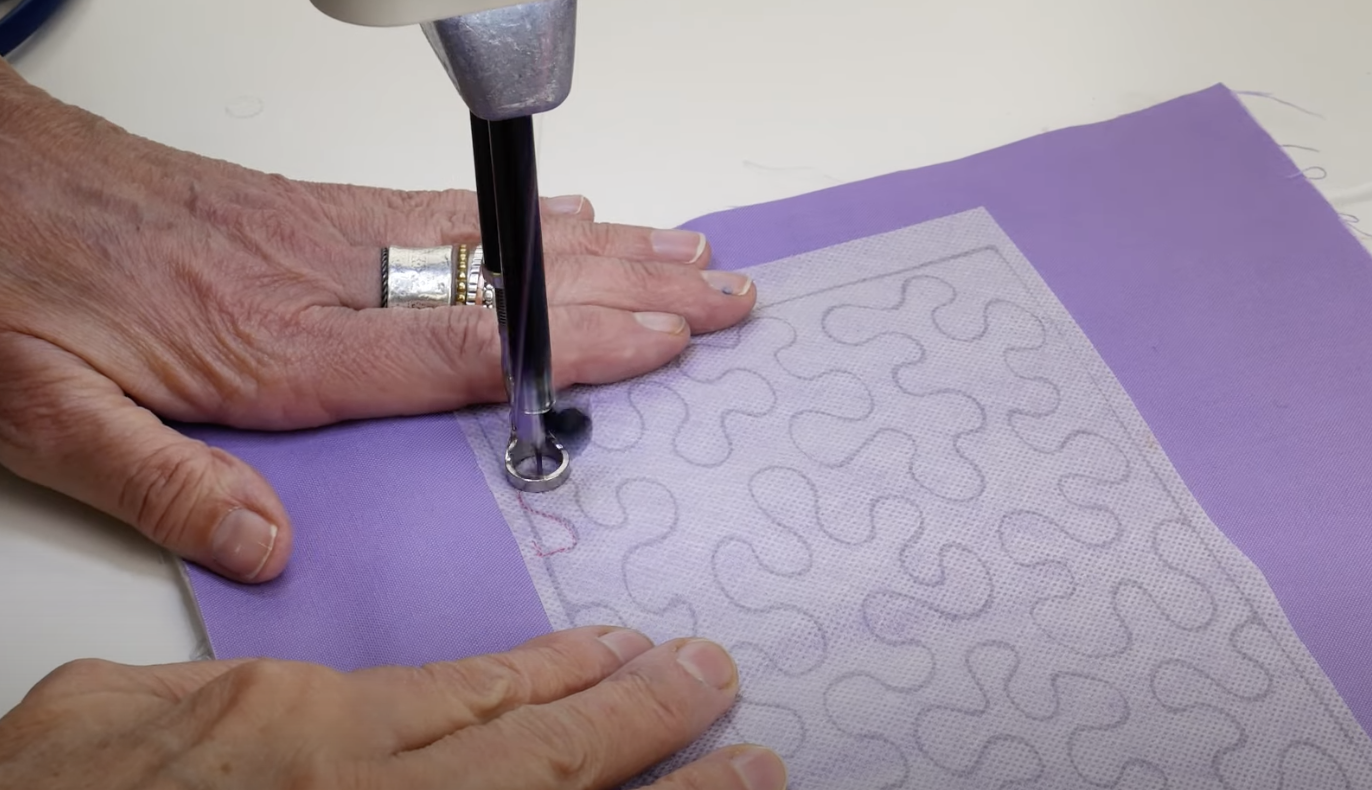
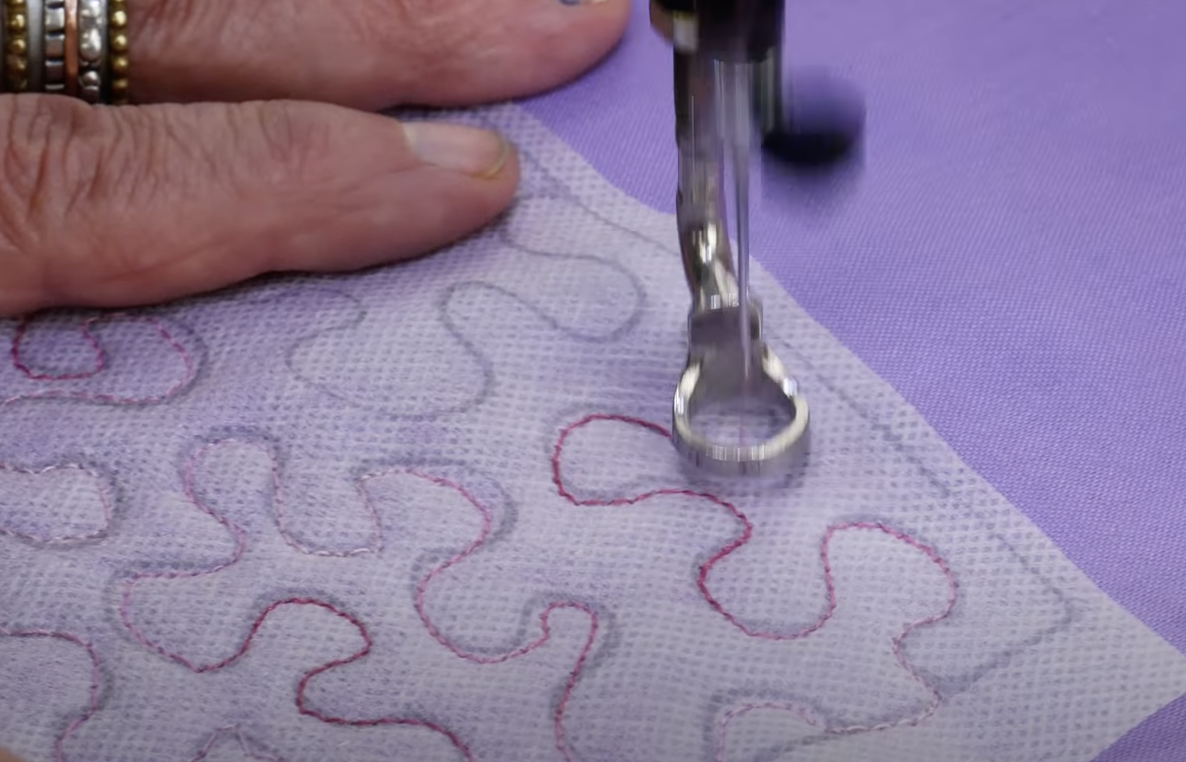
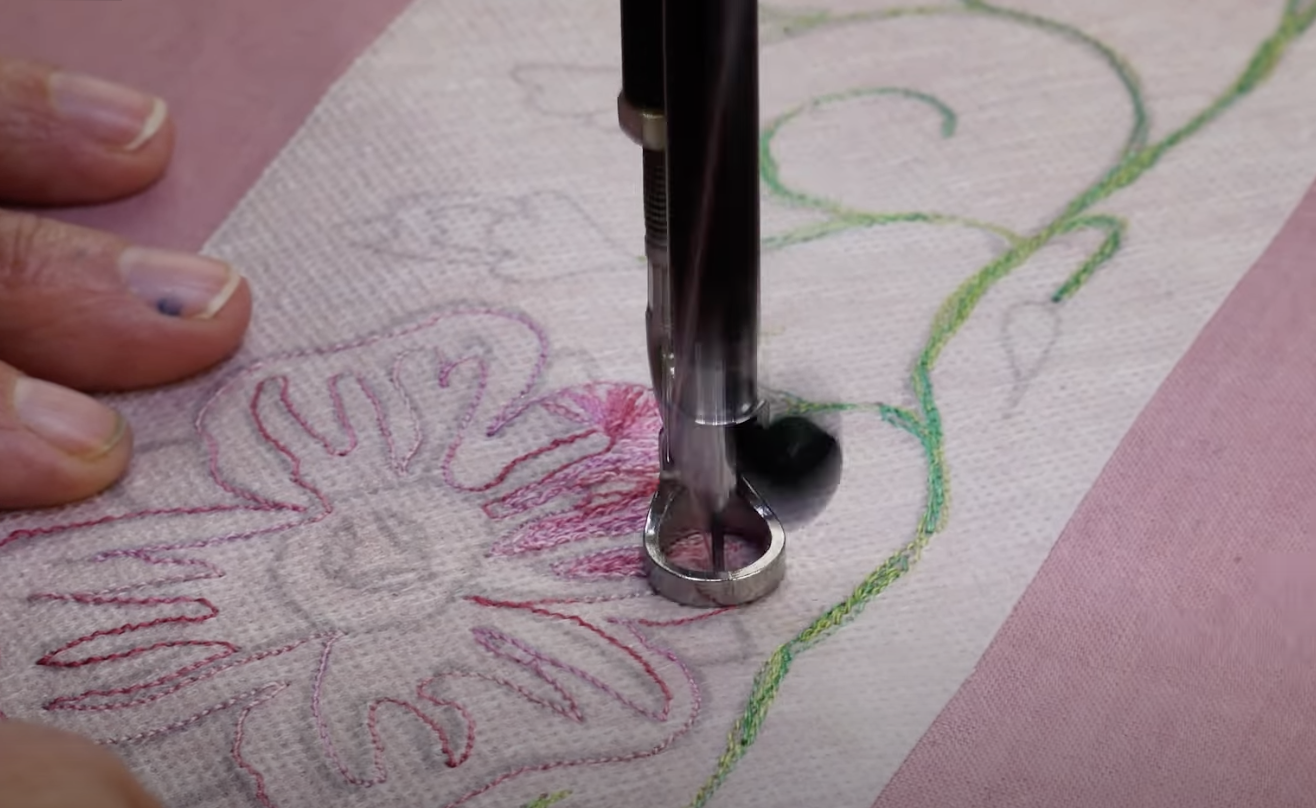
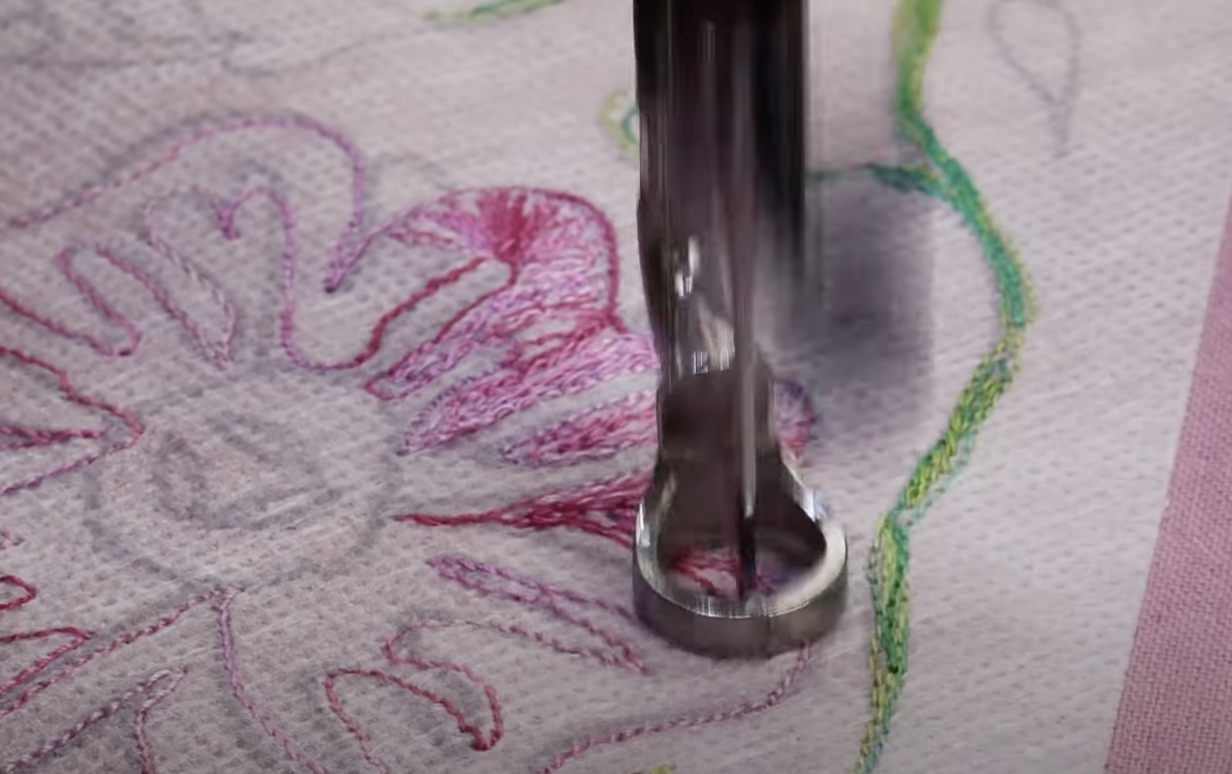
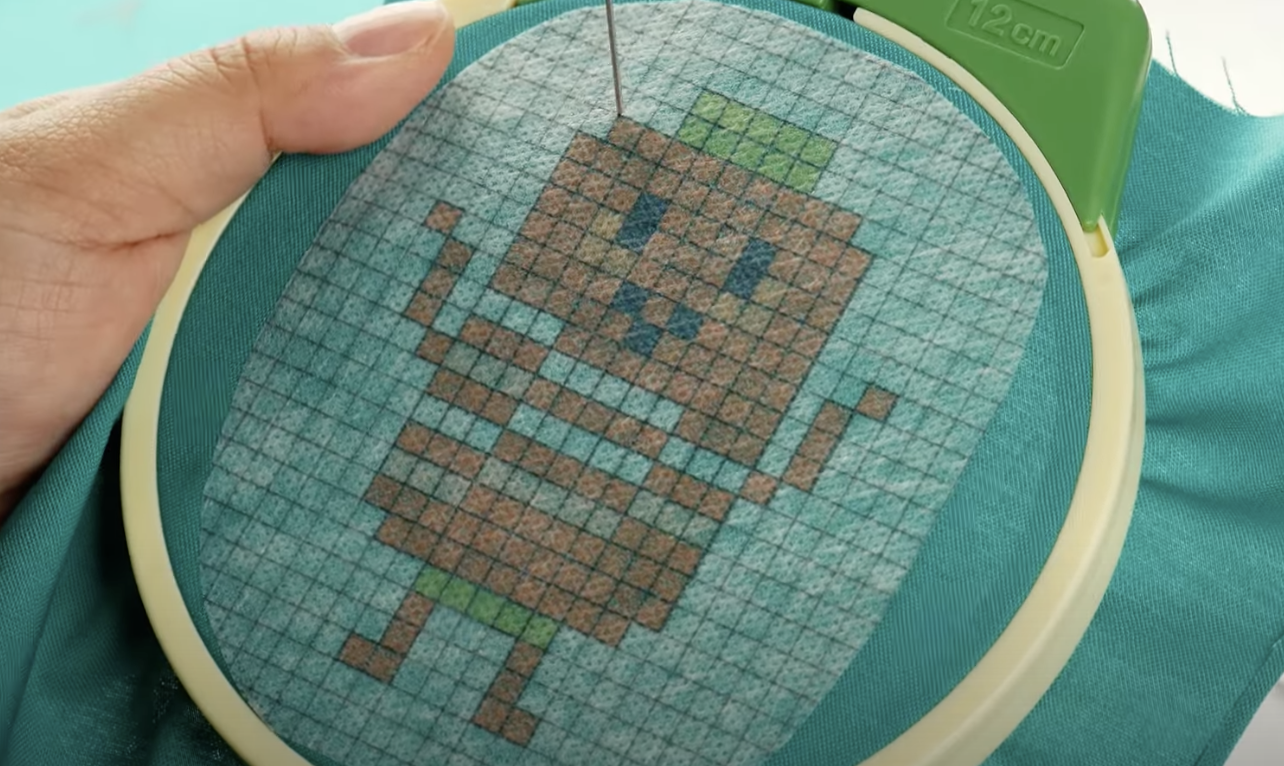
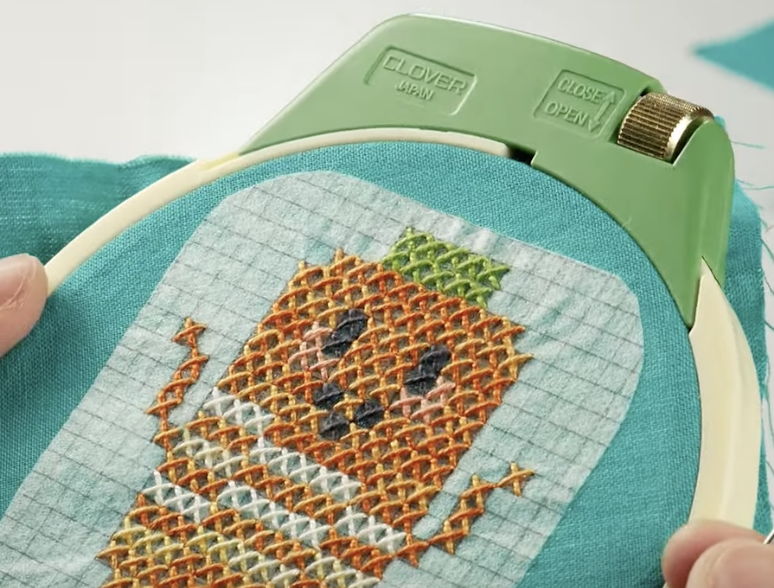
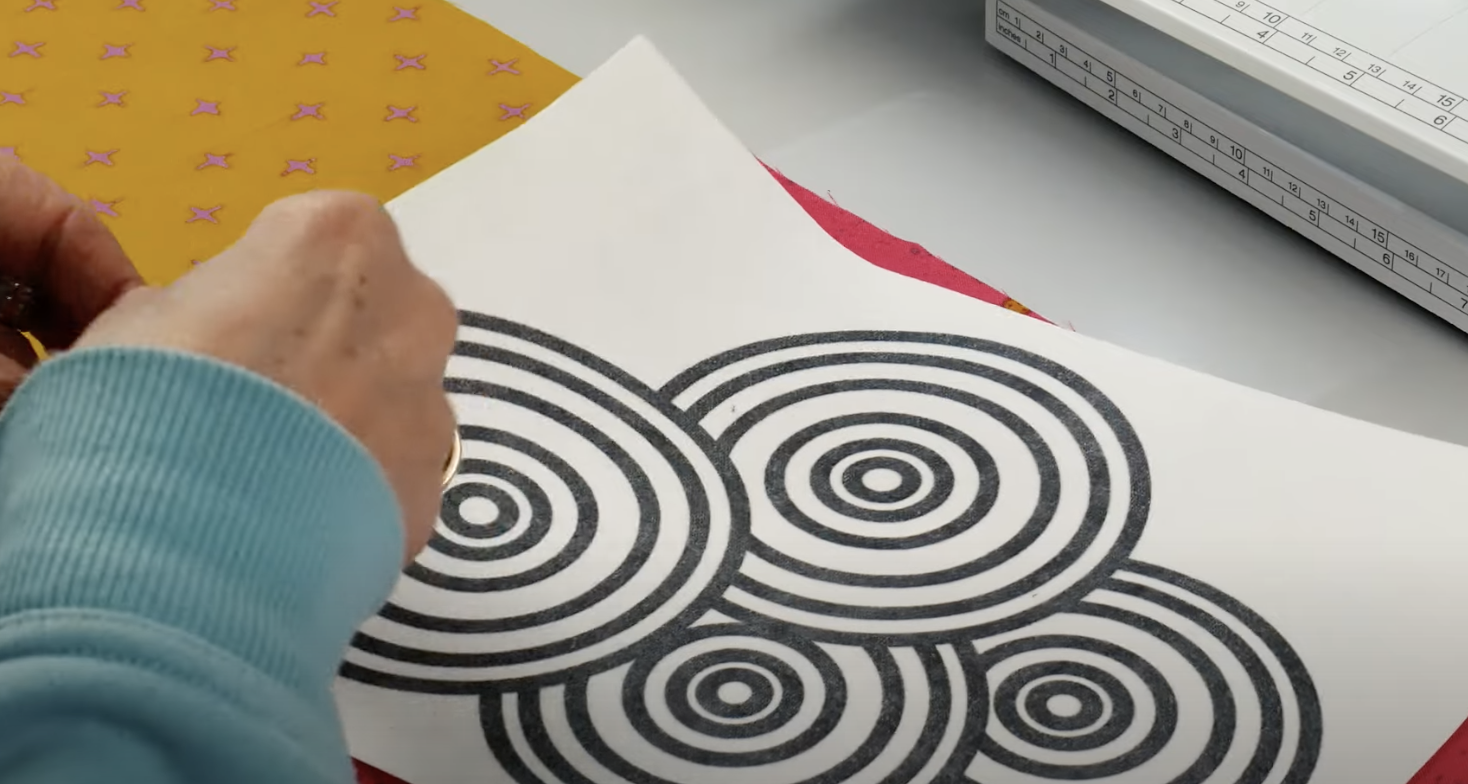
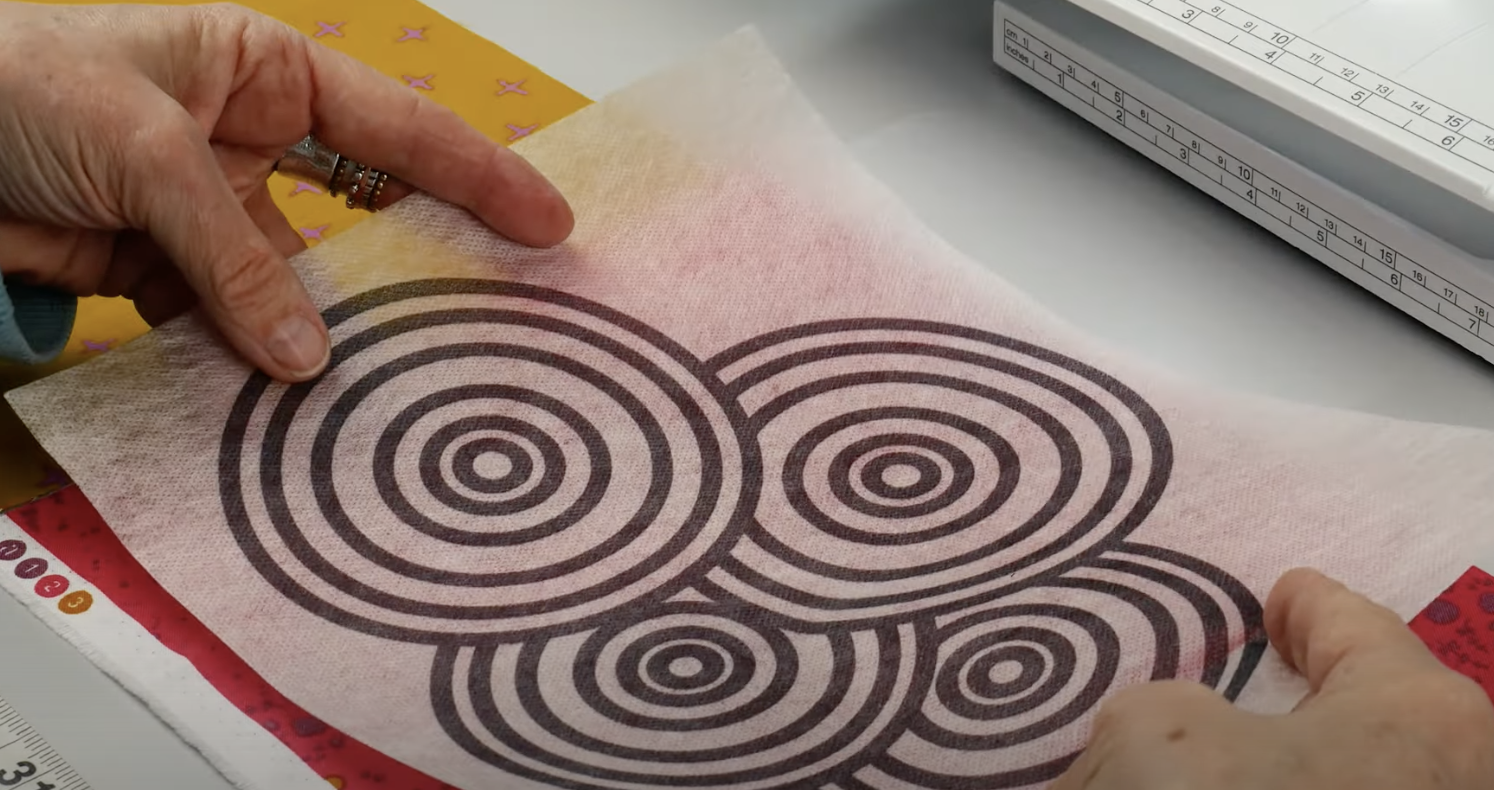
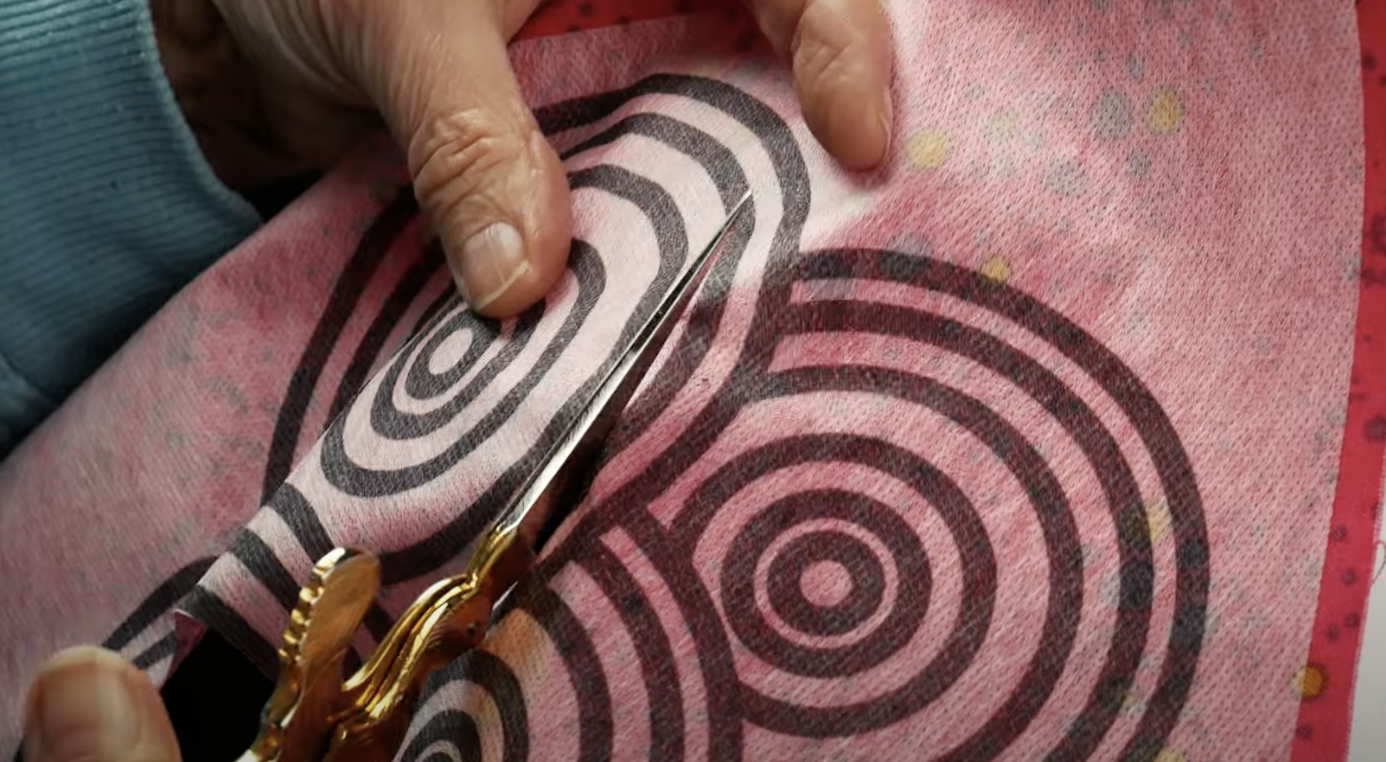
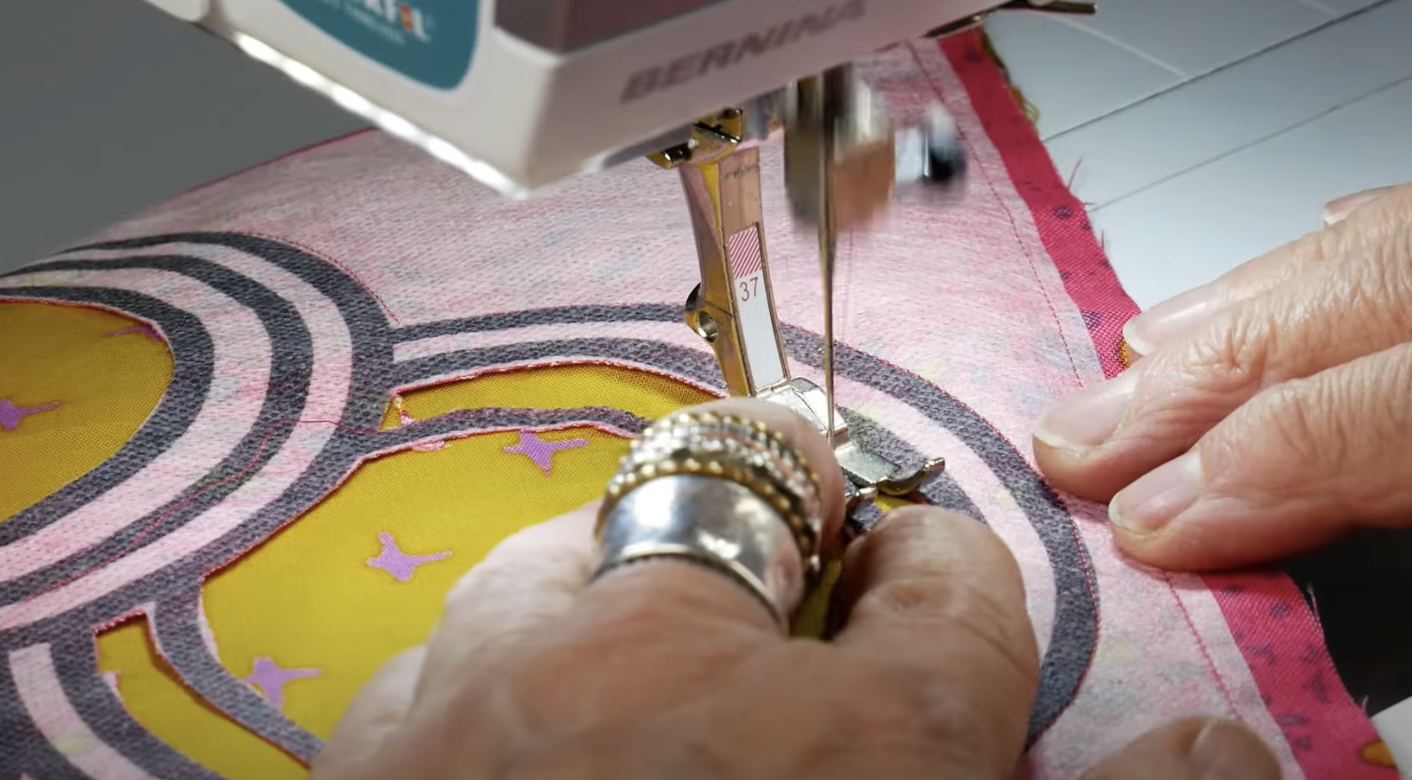
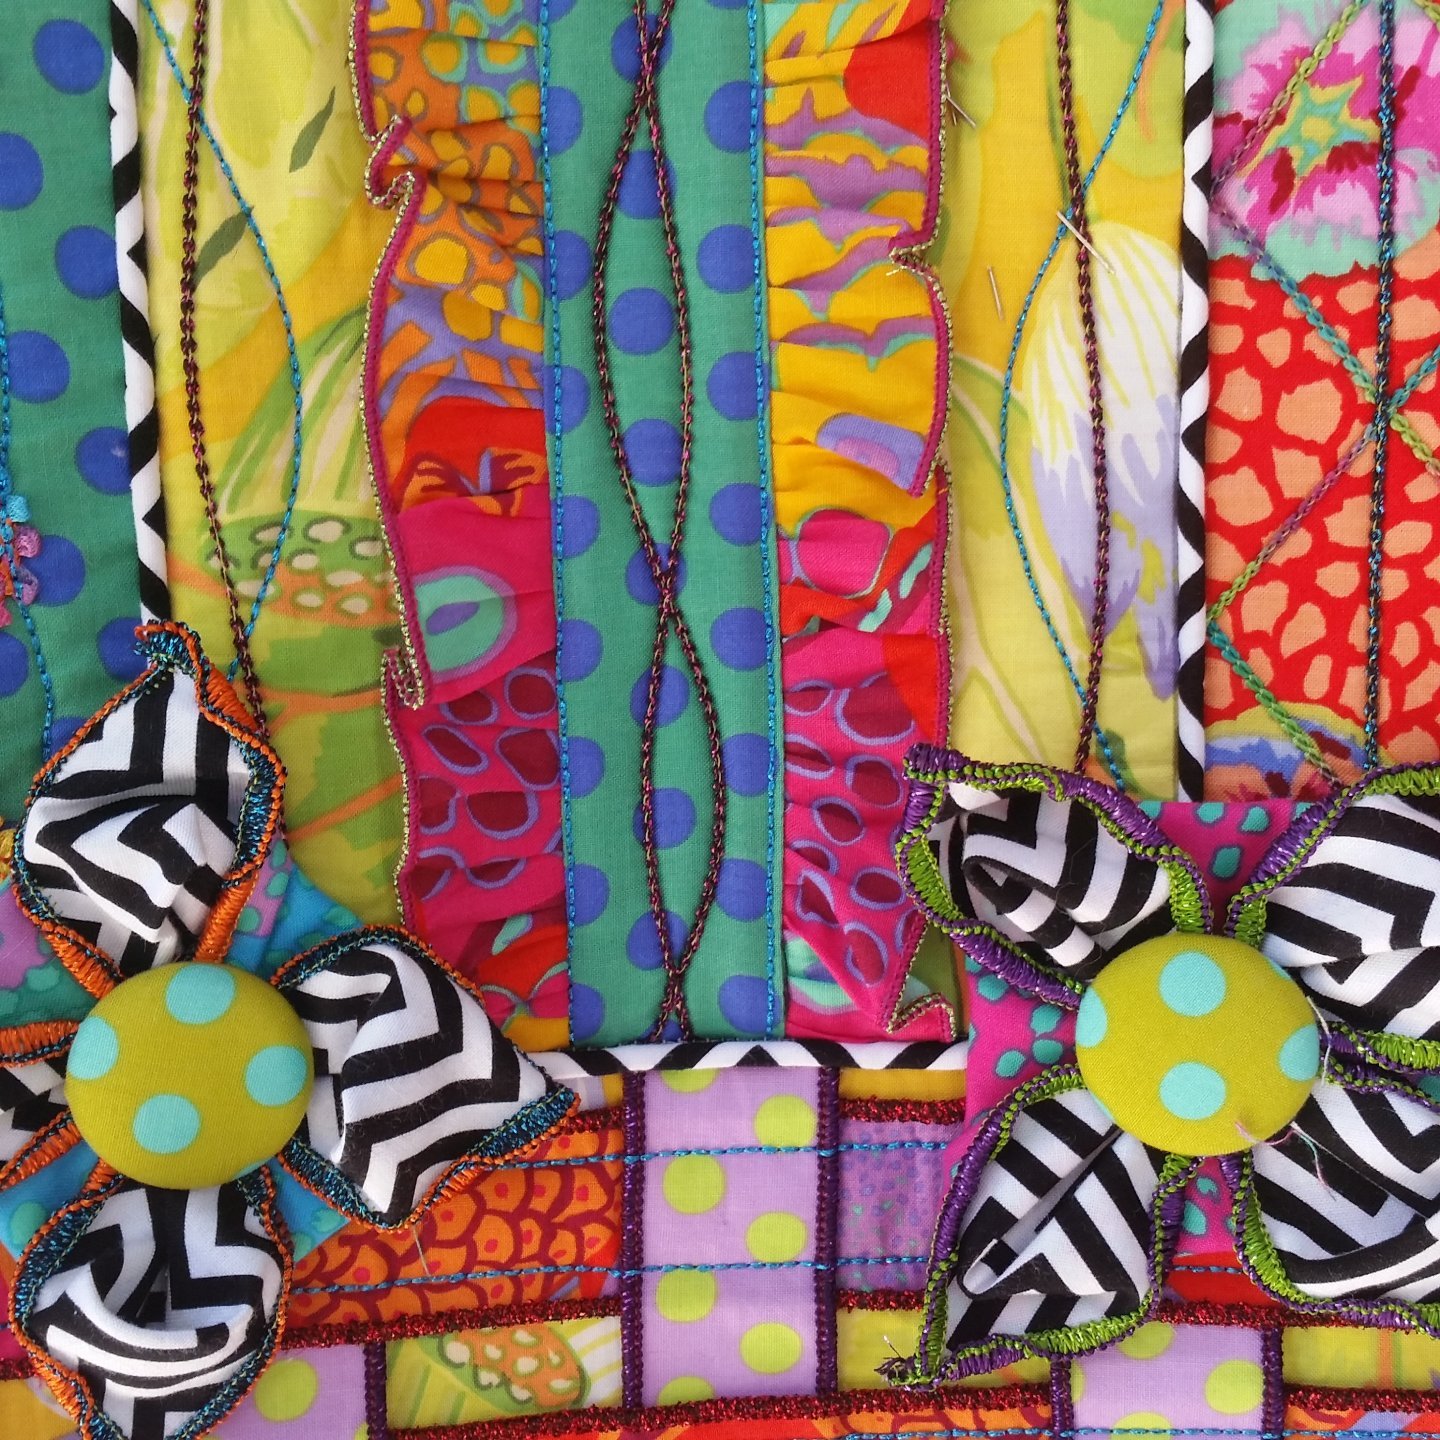
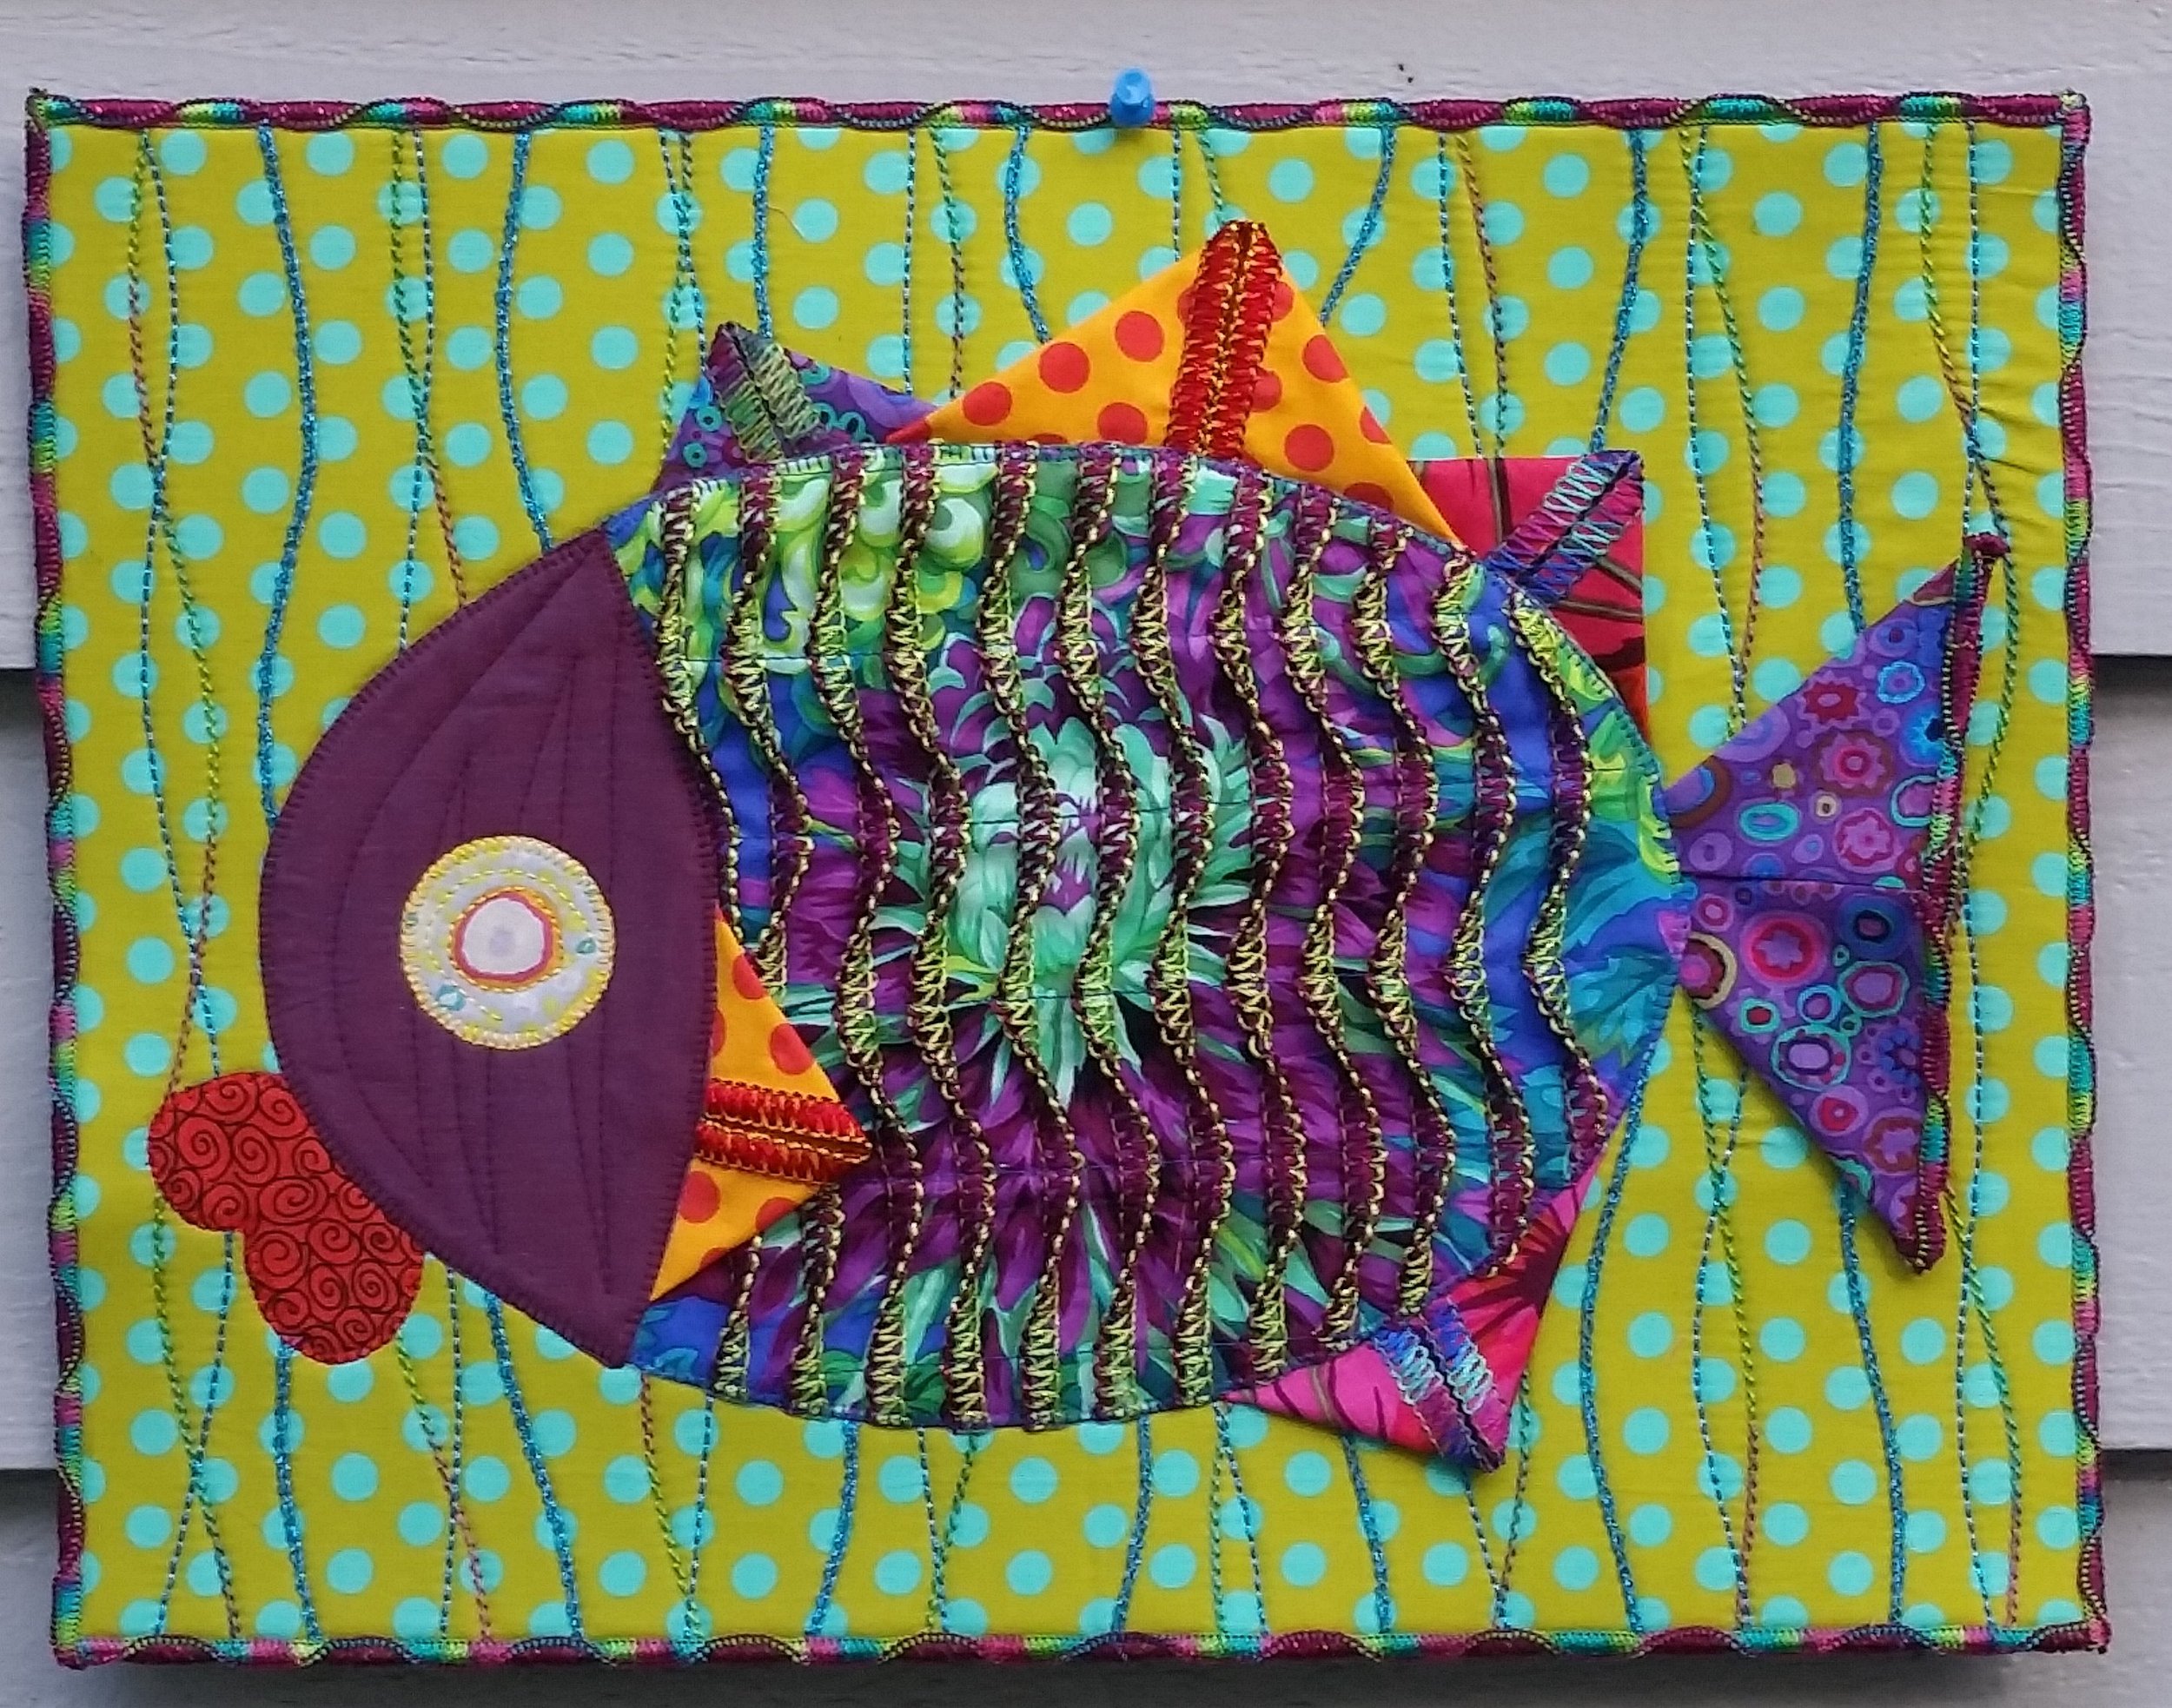
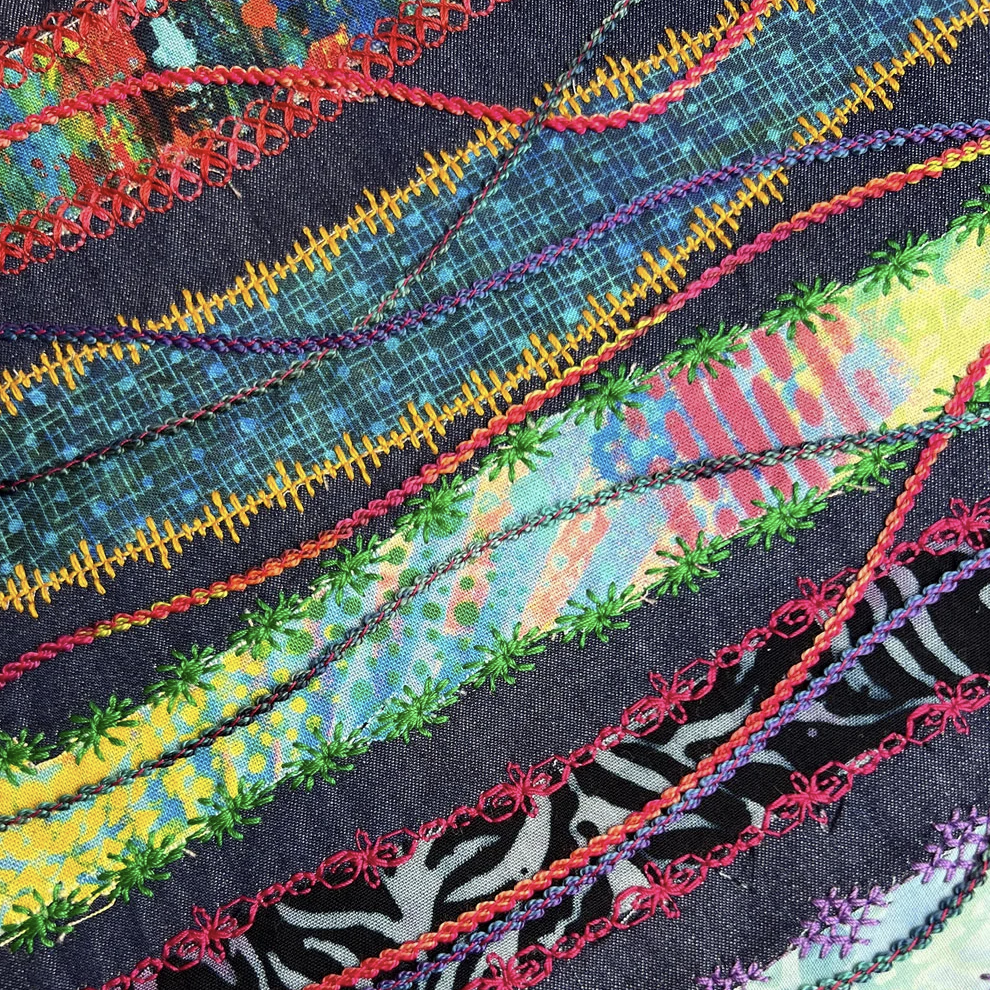
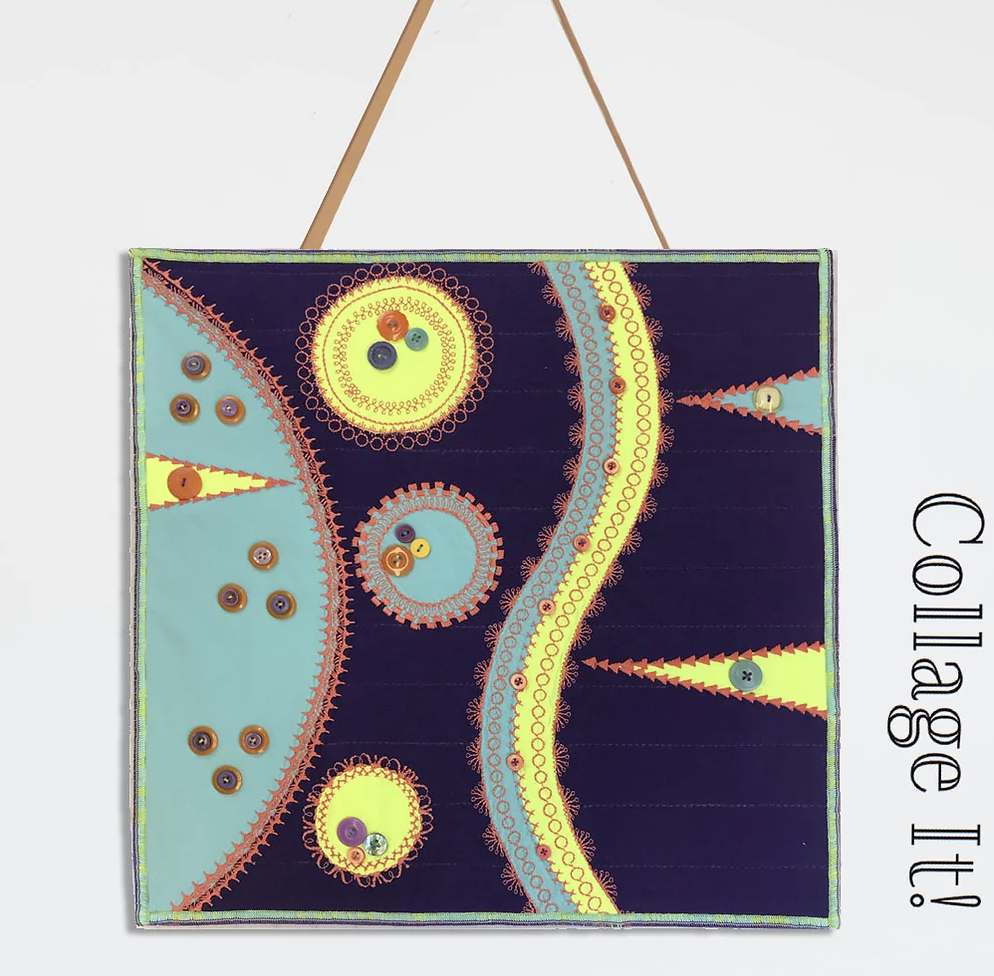
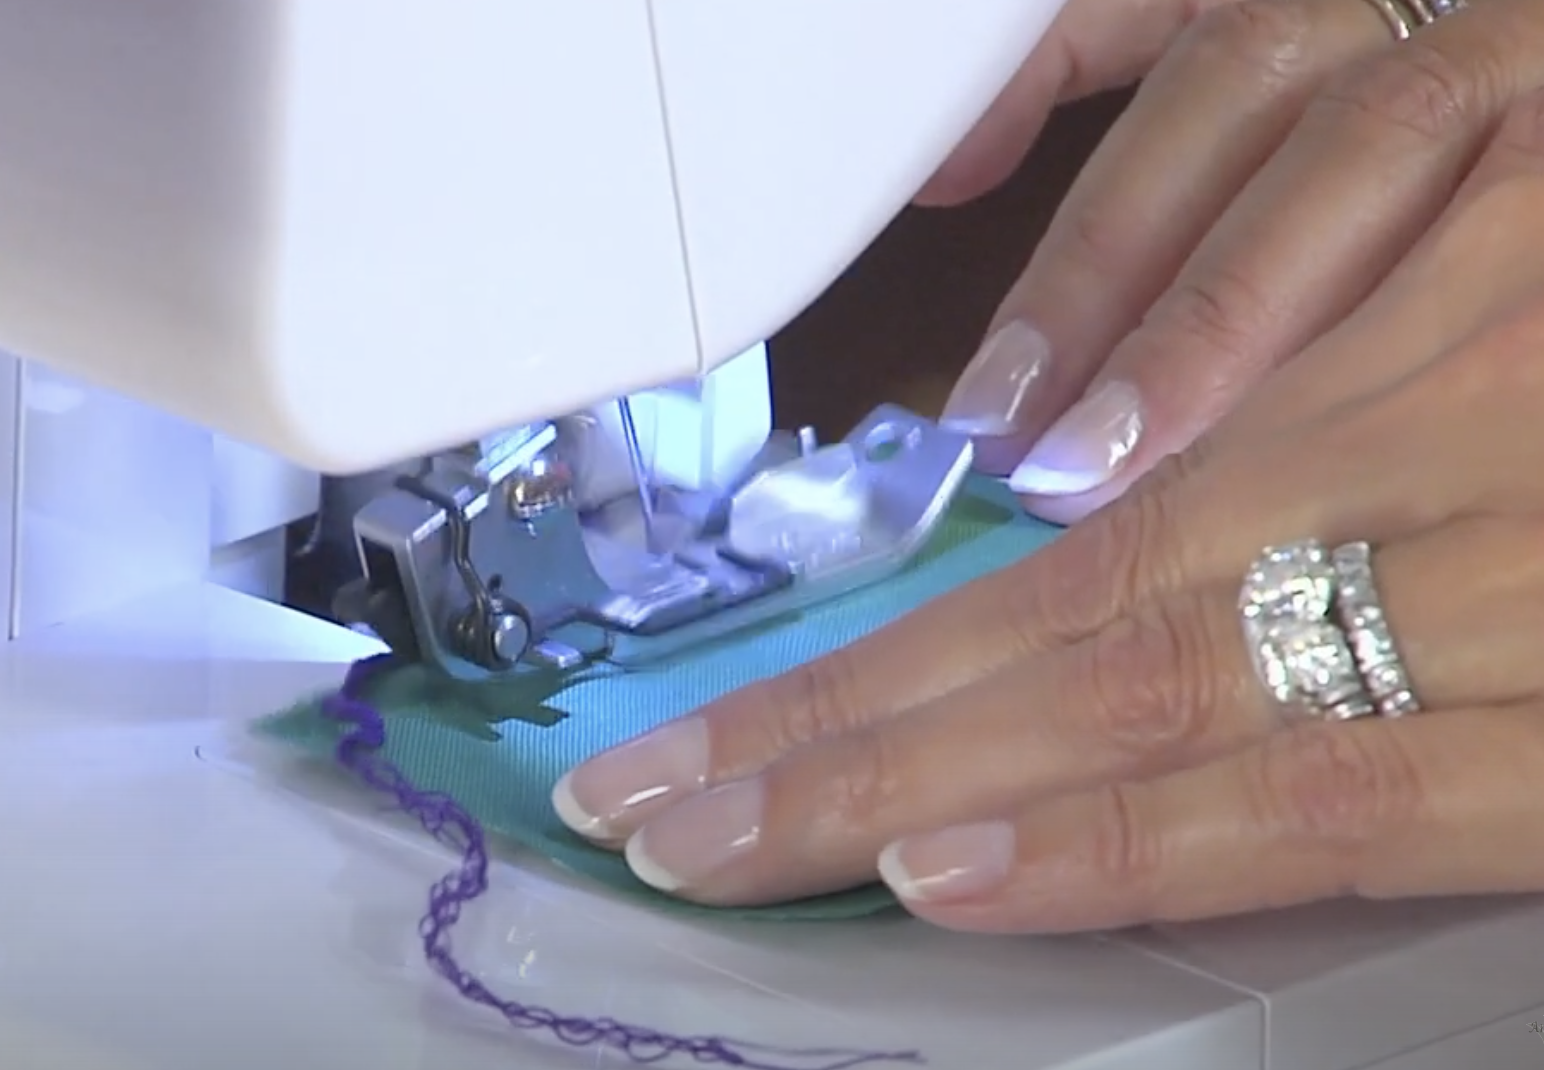
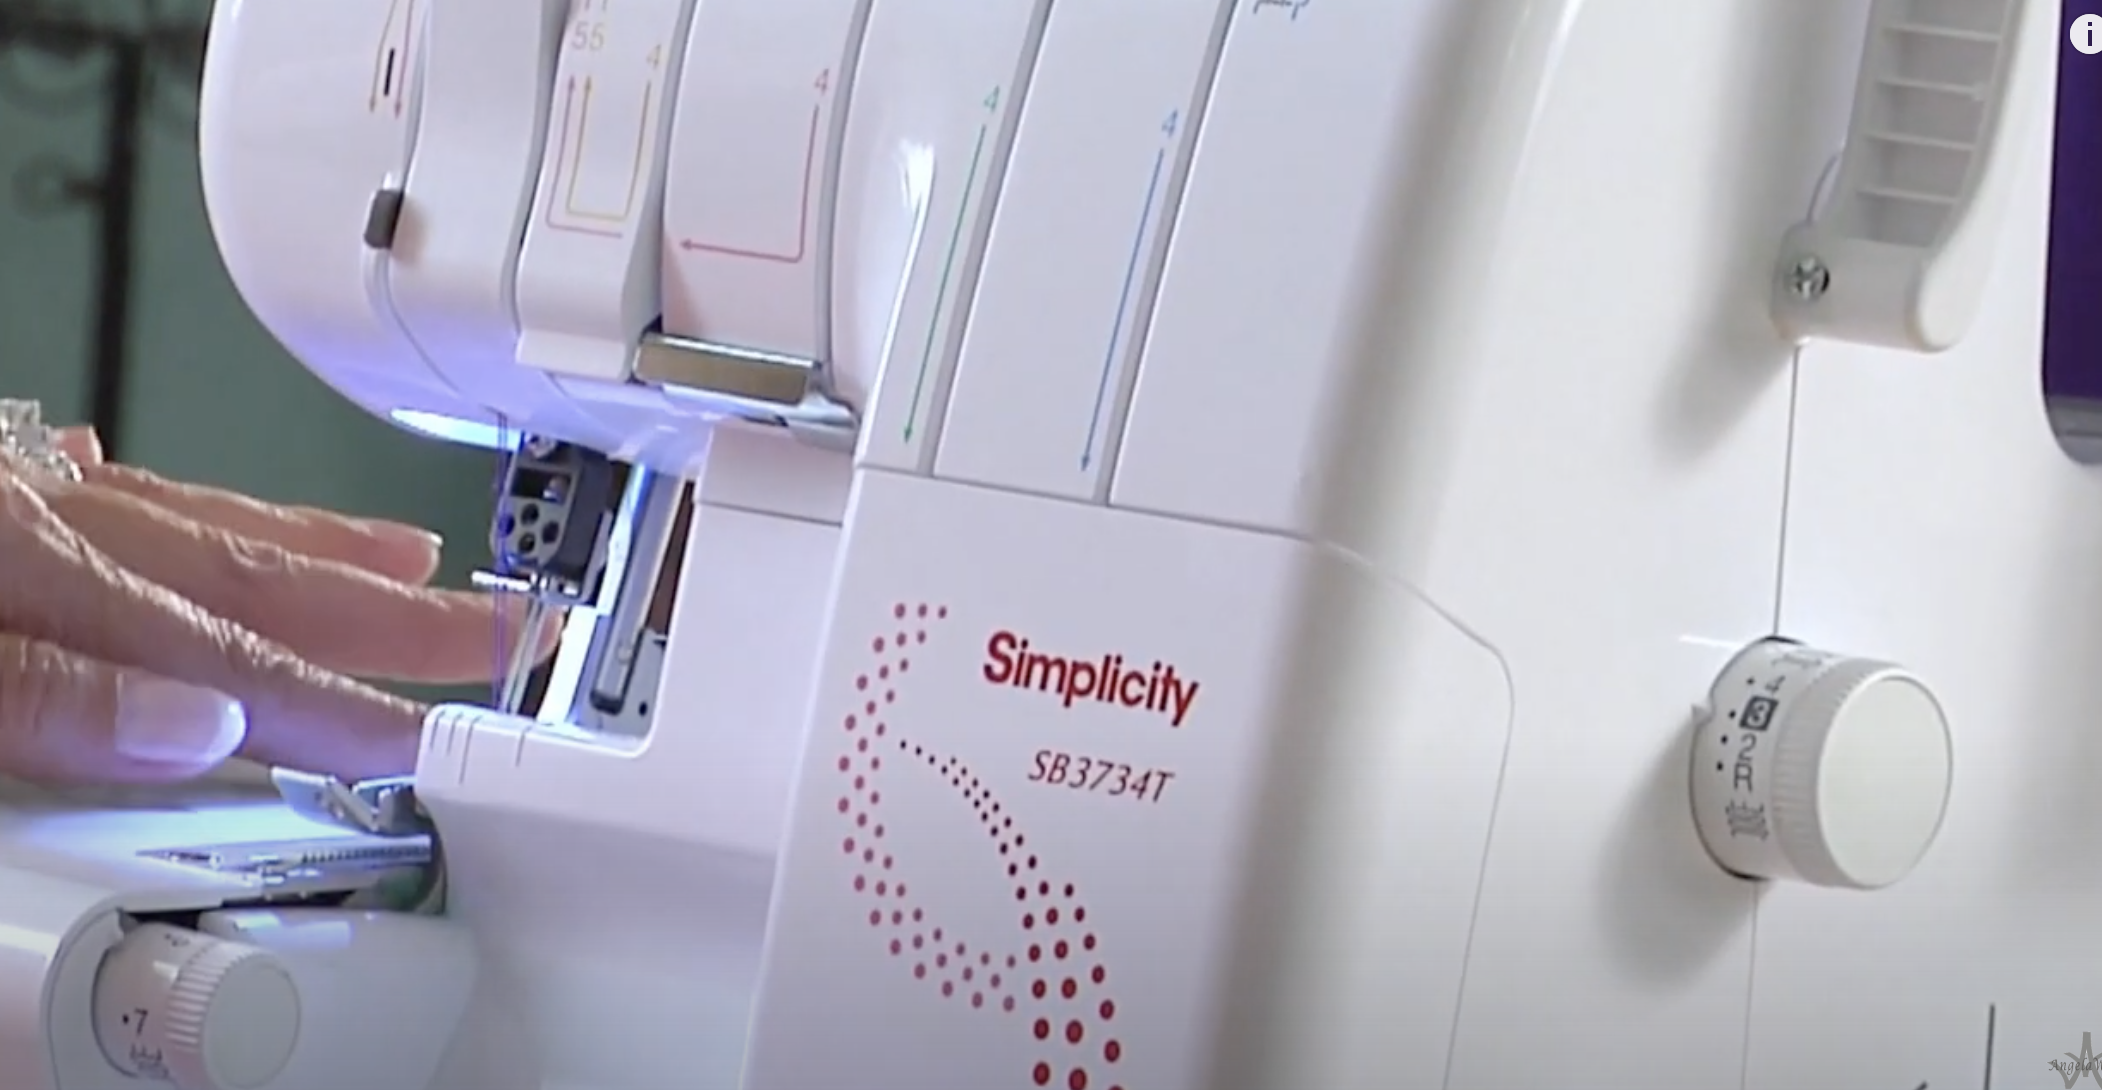
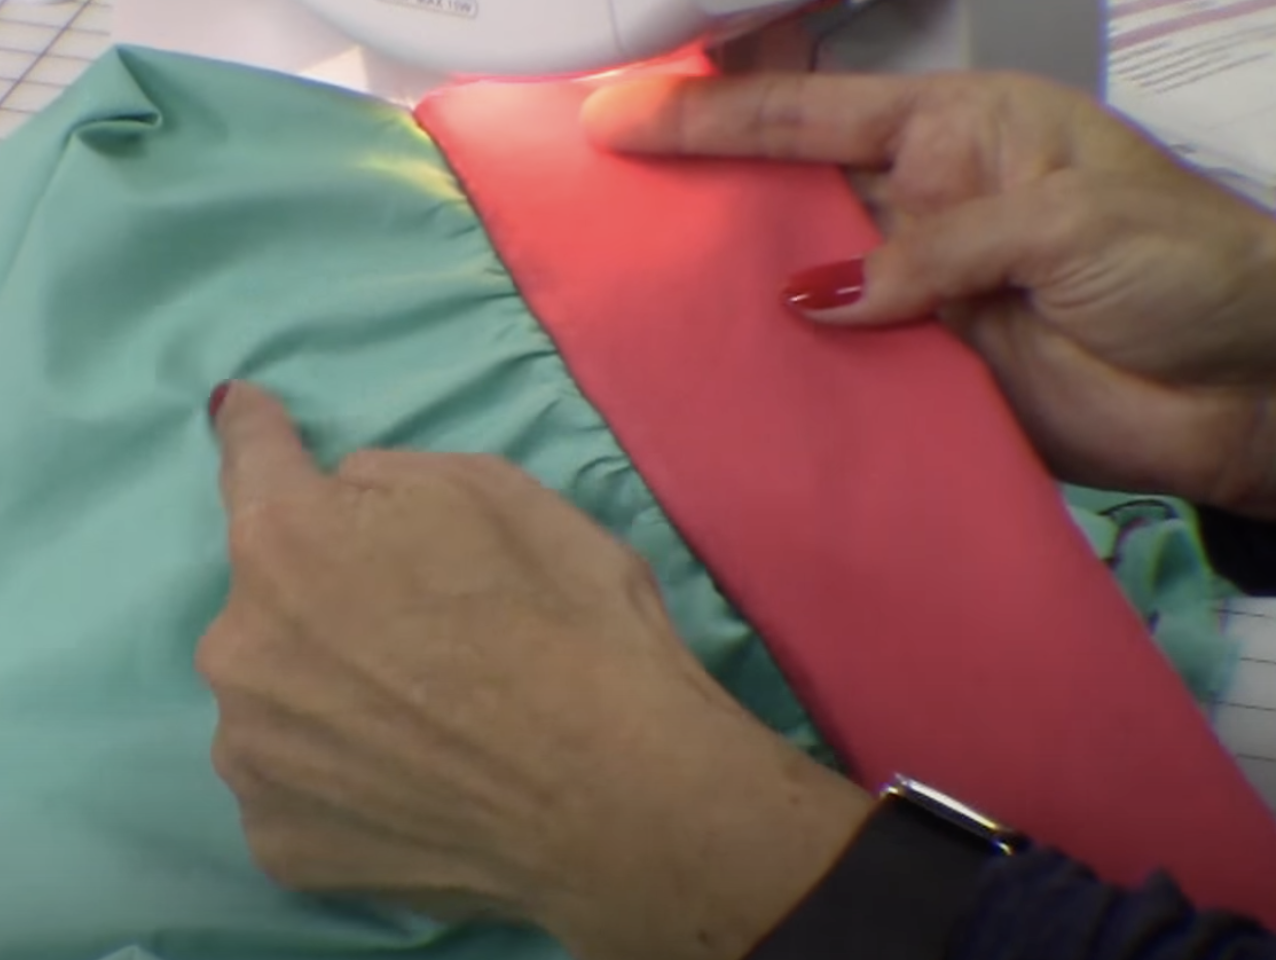
The most exciting part of the Aster & Anne kits is their versatility! Since they are made of felt and come completely flat, they can facilitate so many different kinds of embellishment. Quilting, embroidery, hand stitching, appliqué, and much more. Jennifer is constantly coming up with new techniques for embellishing the kits! She highlighted how important it is to dive straight in when working with these kits for the first time. There’s no need to be apprehensive, as the kits are designed to be user friendly. Since they are made of felt, if you make a mistake, you can pick it out and spray the felt with spray starch, then iron it out to hide the marks. If you are nervous about how a certain technique may look on your kit, you can also test out the design on the inside of your bag first. “It is fun to try the different techniques, and it doesn’t need to be perfect, try it out on the inside of your bag or journal cover first to see if you like the way it looks”.

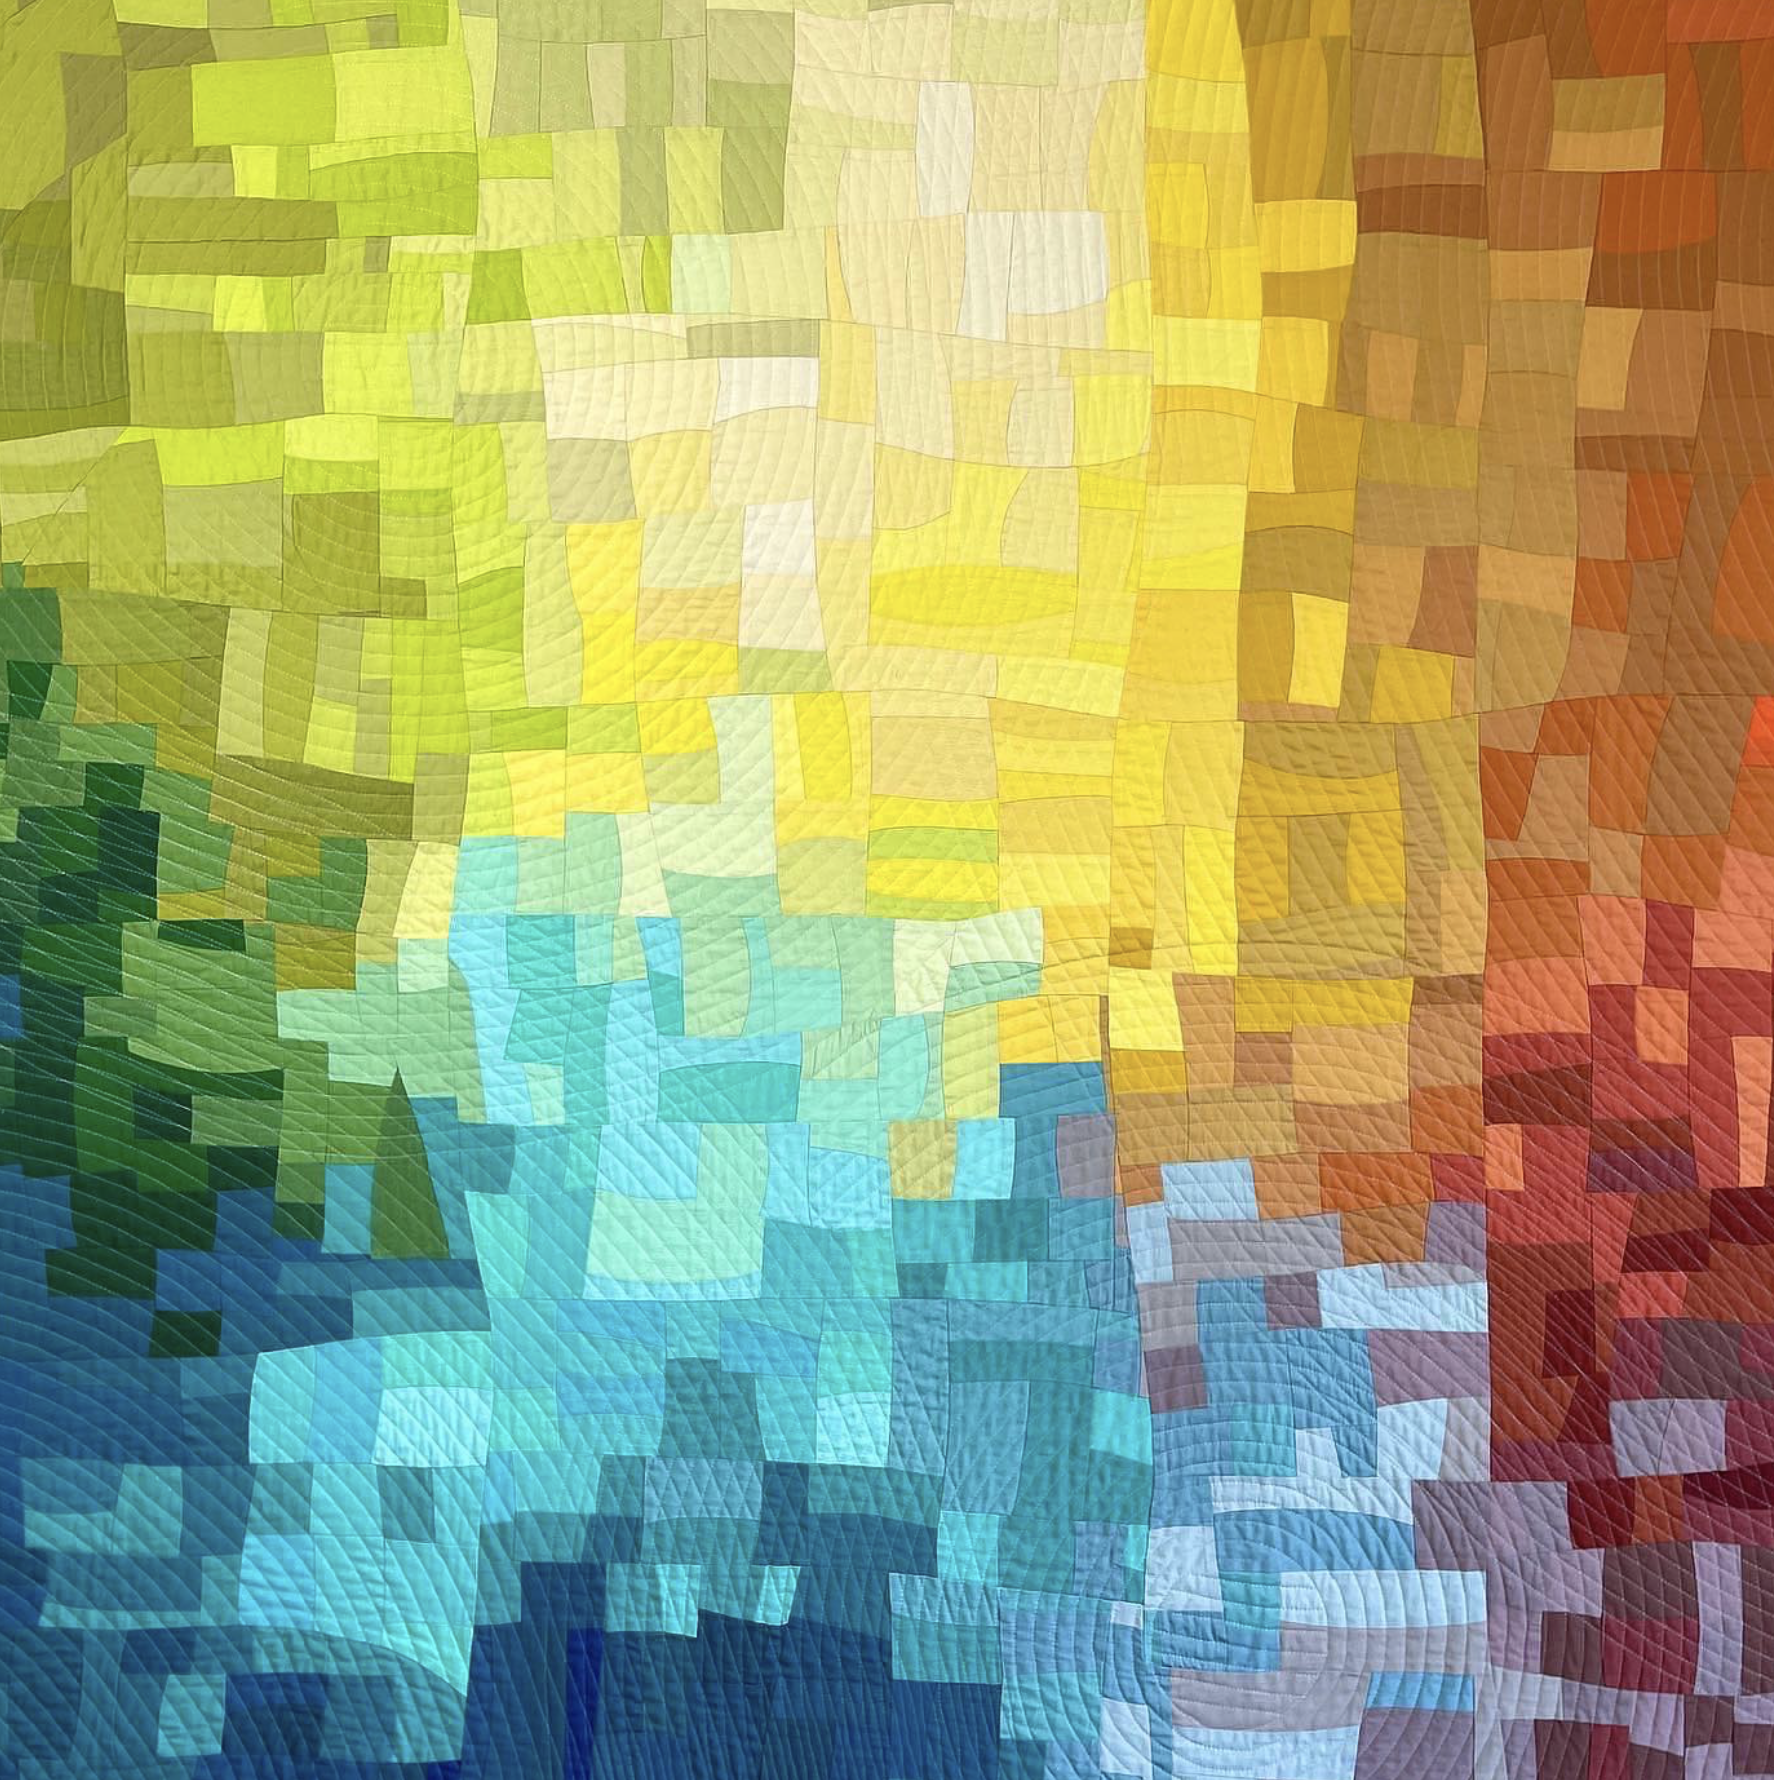
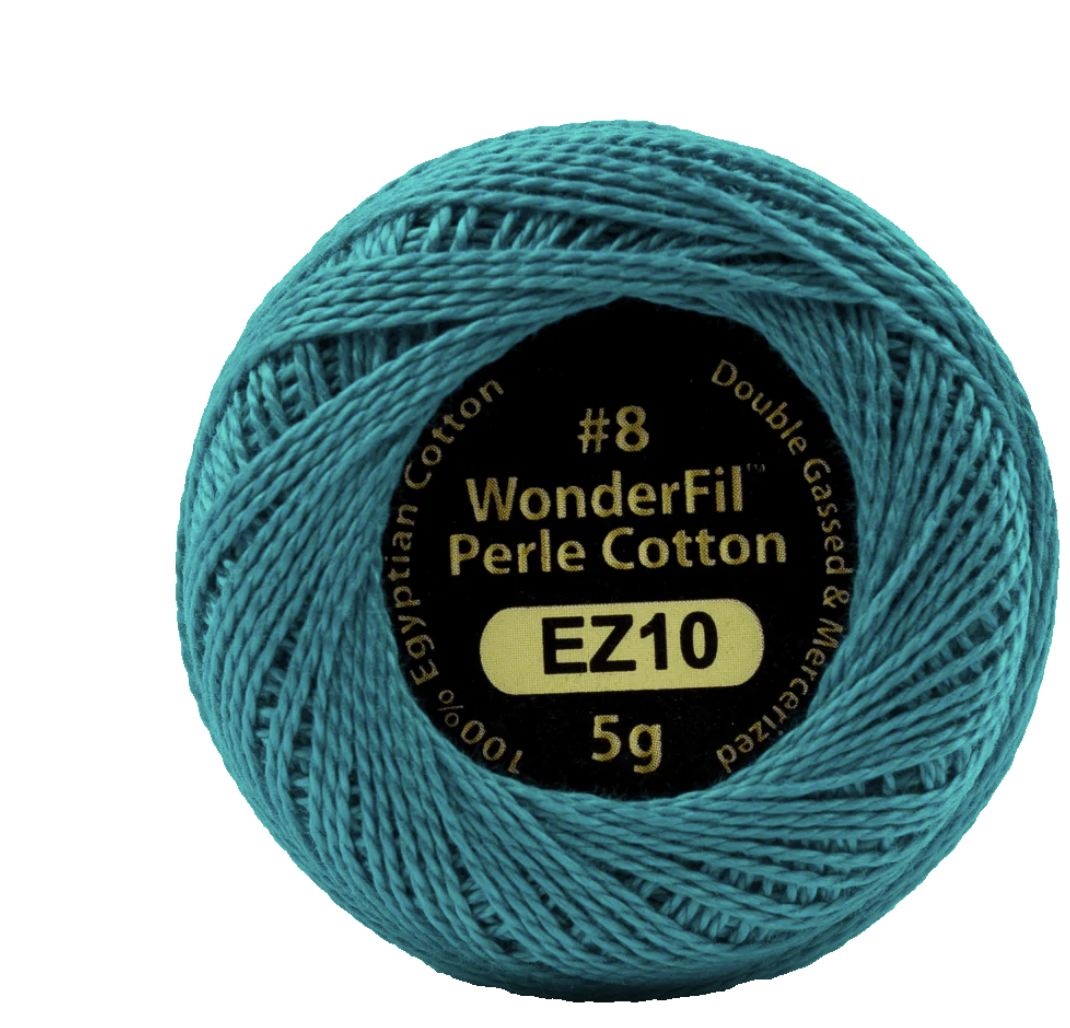
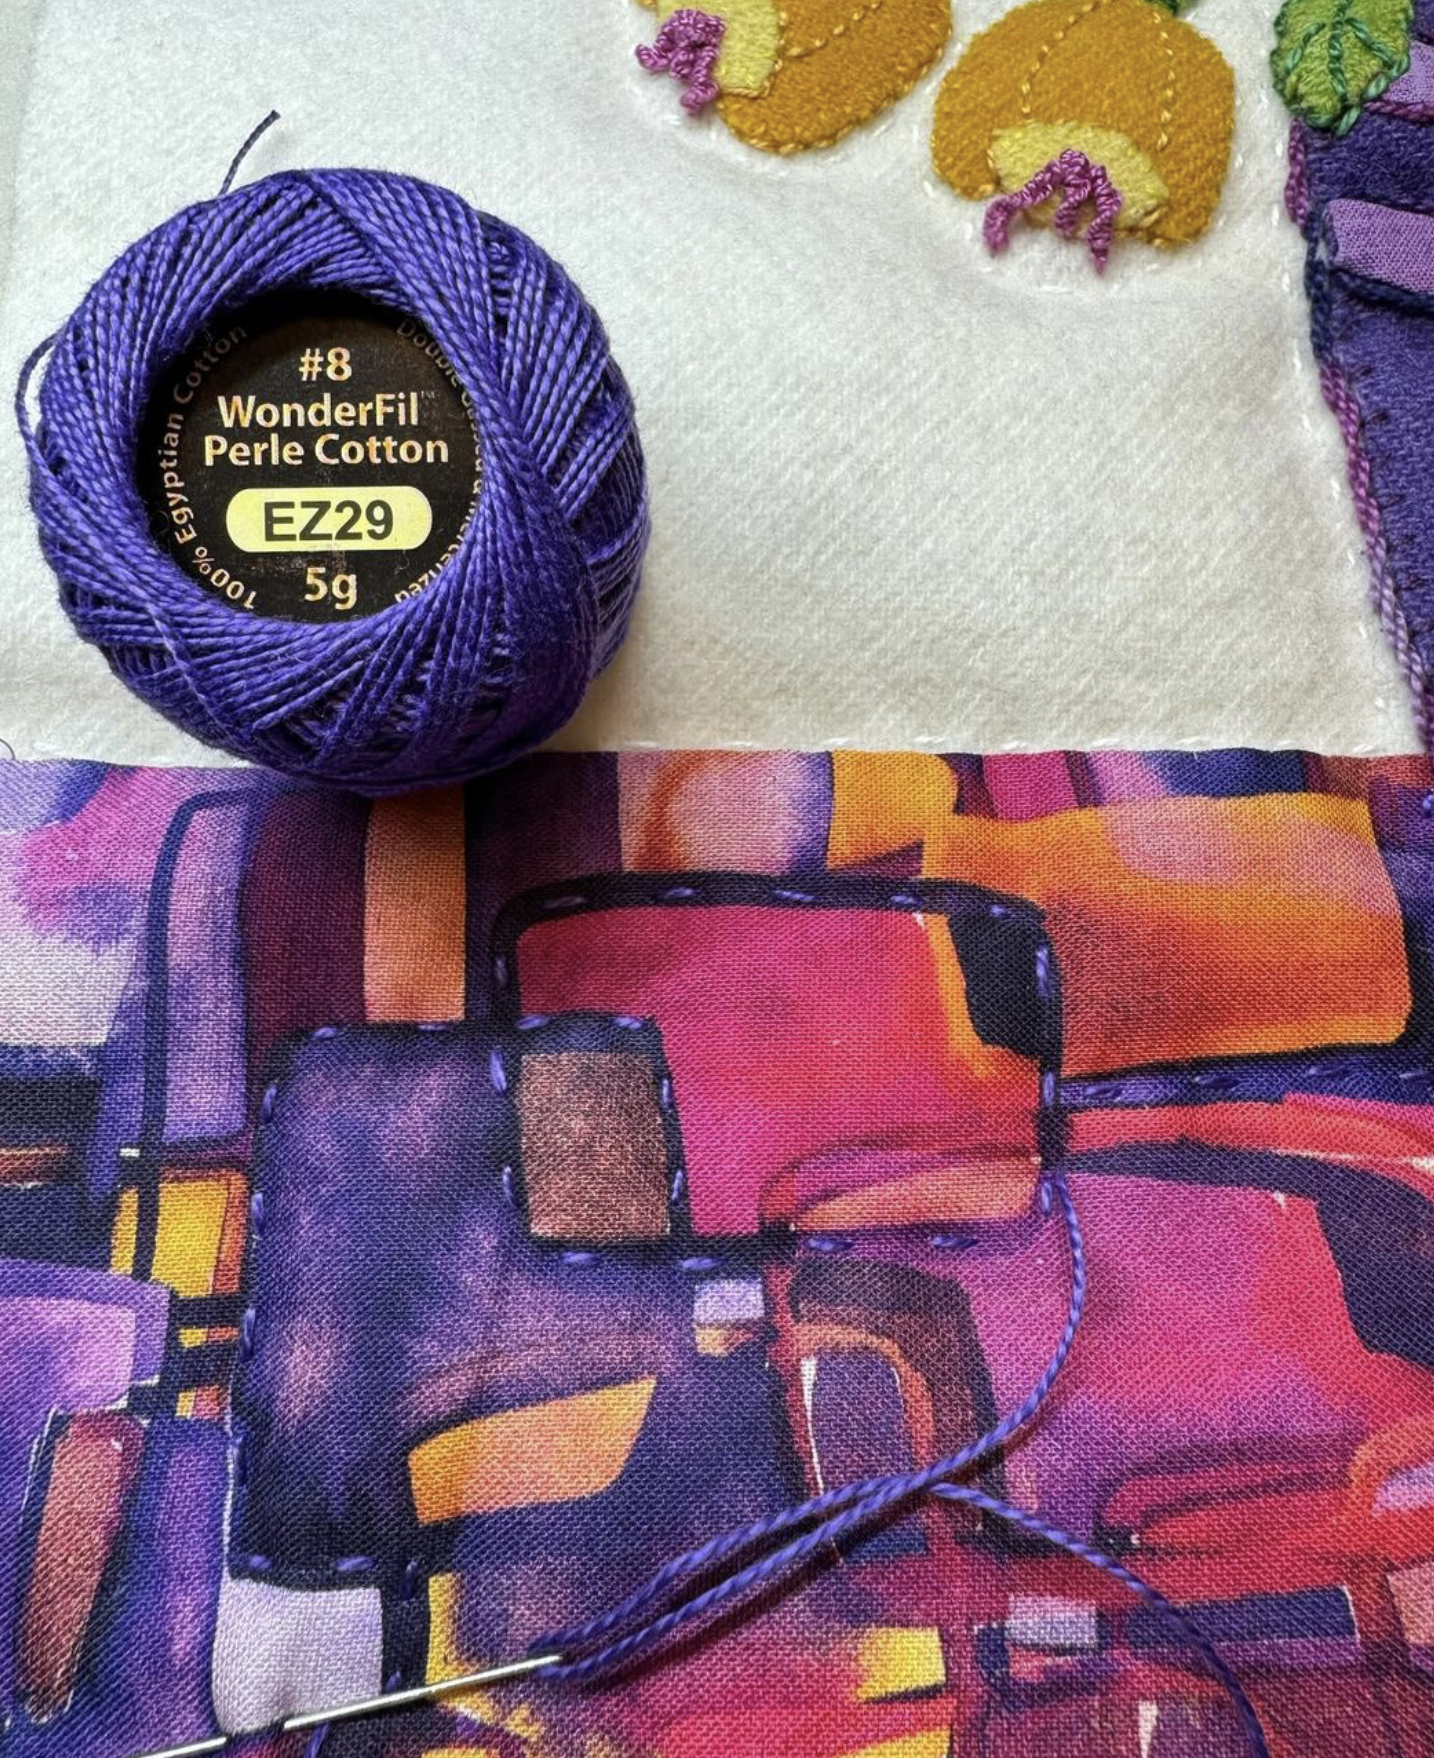
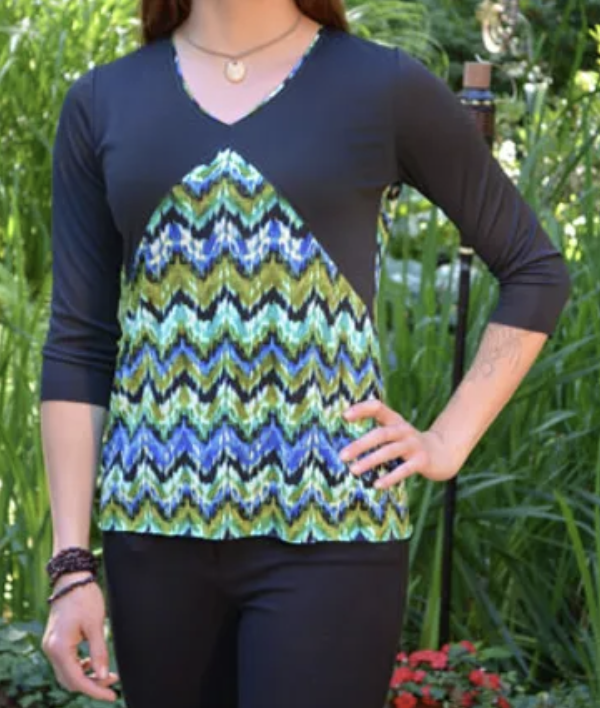
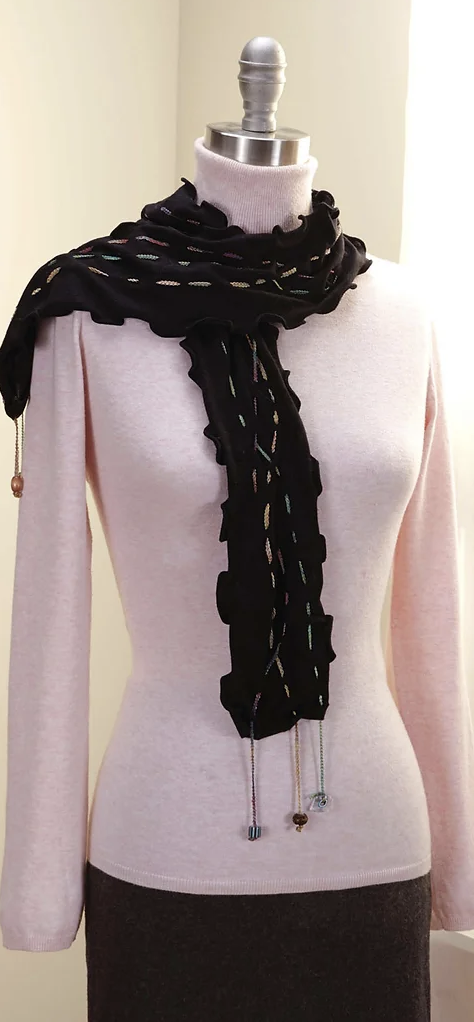
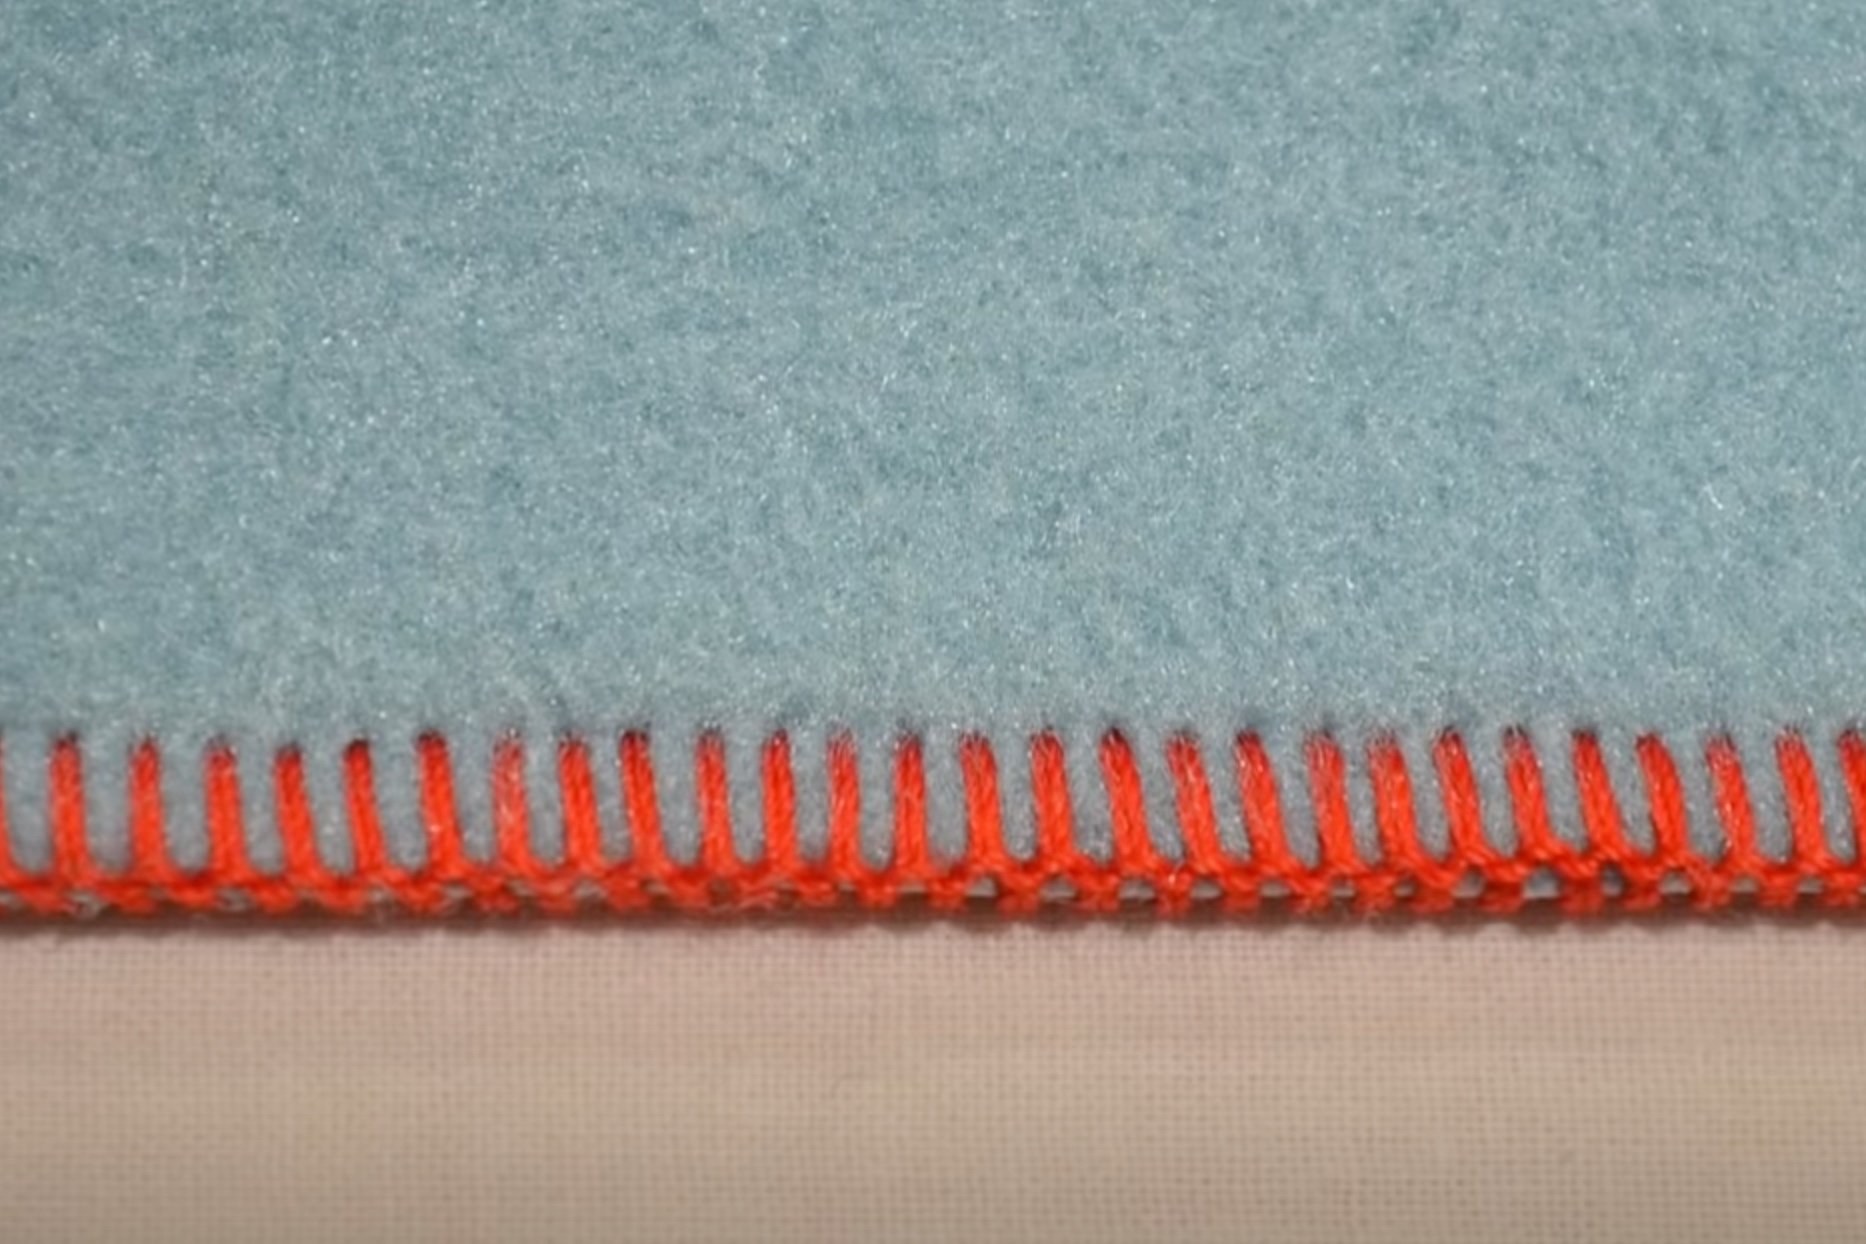
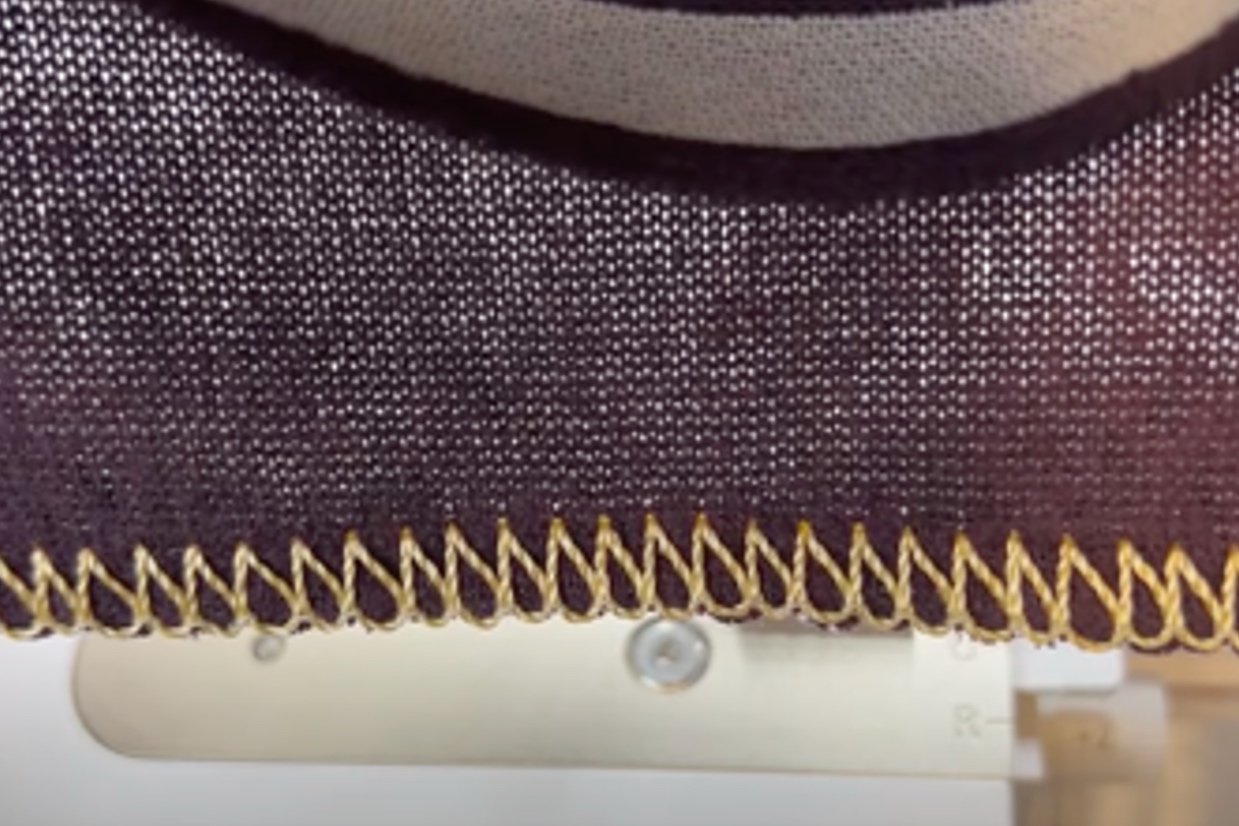
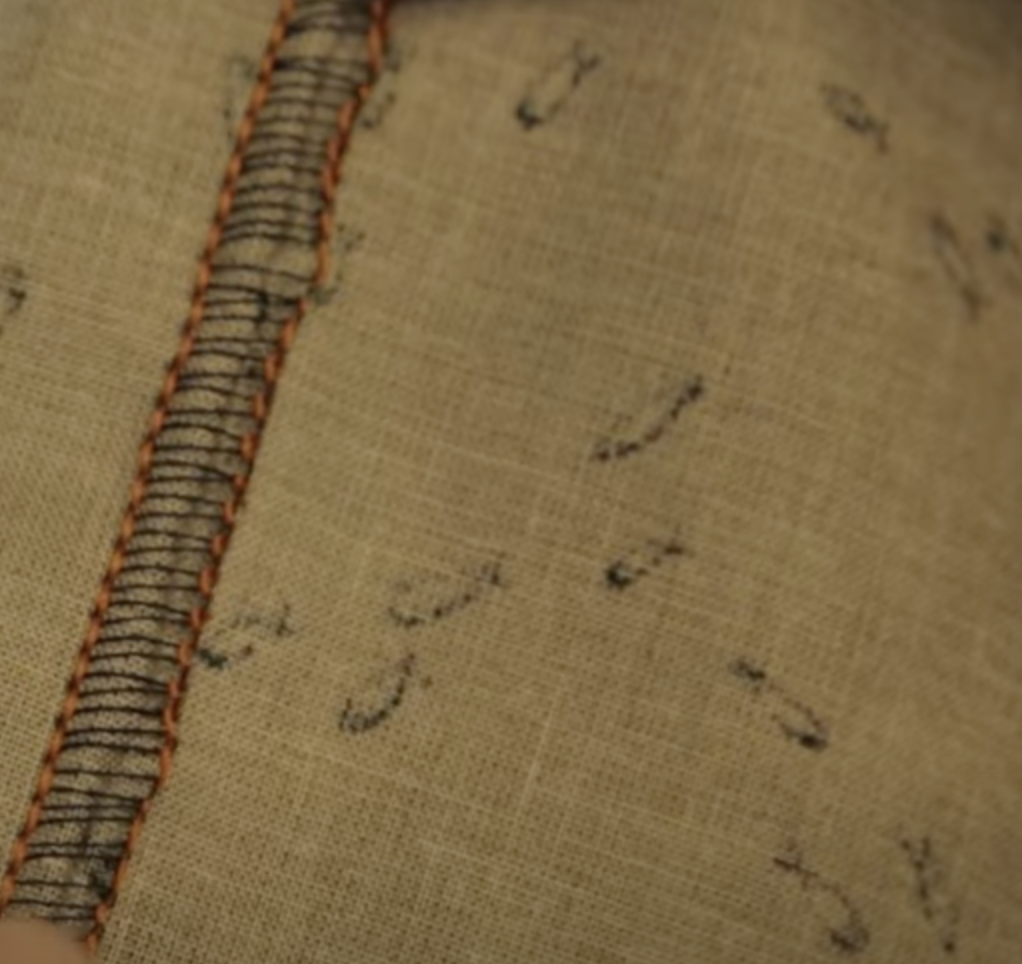
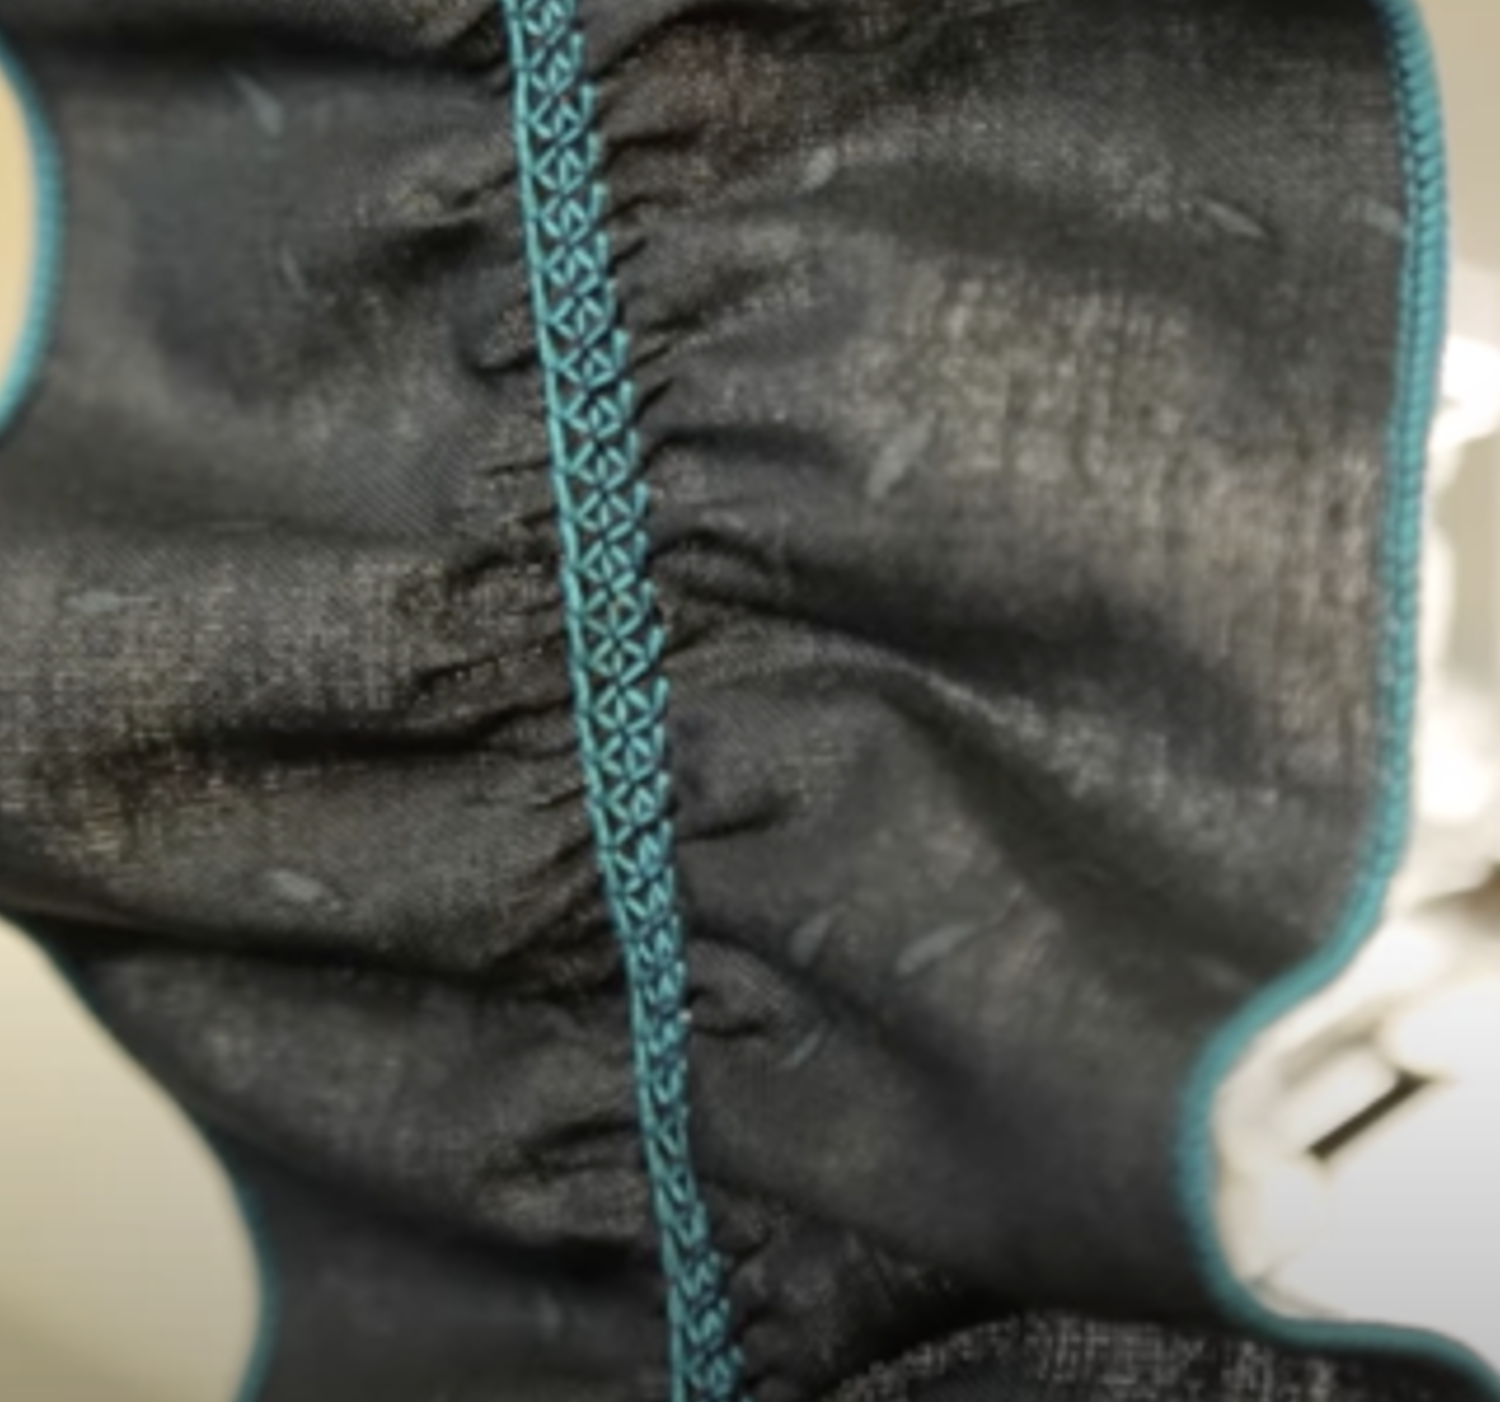
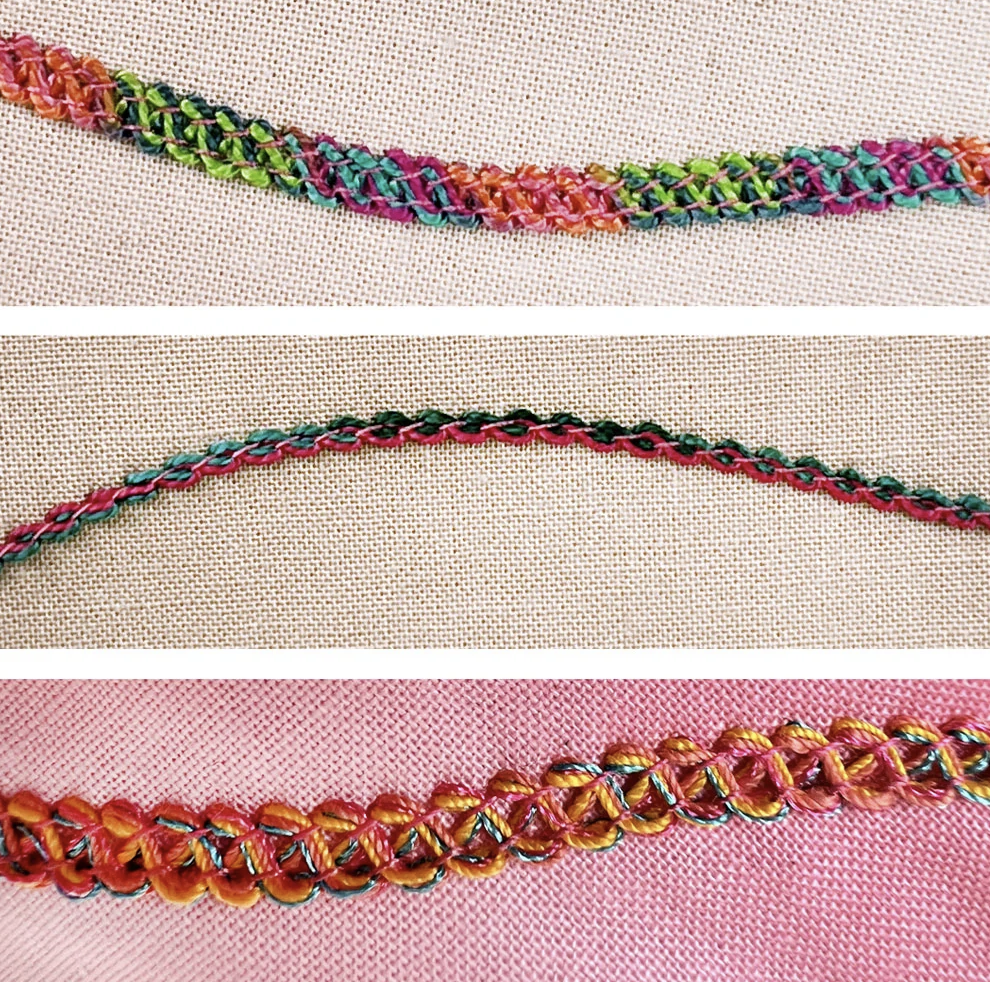
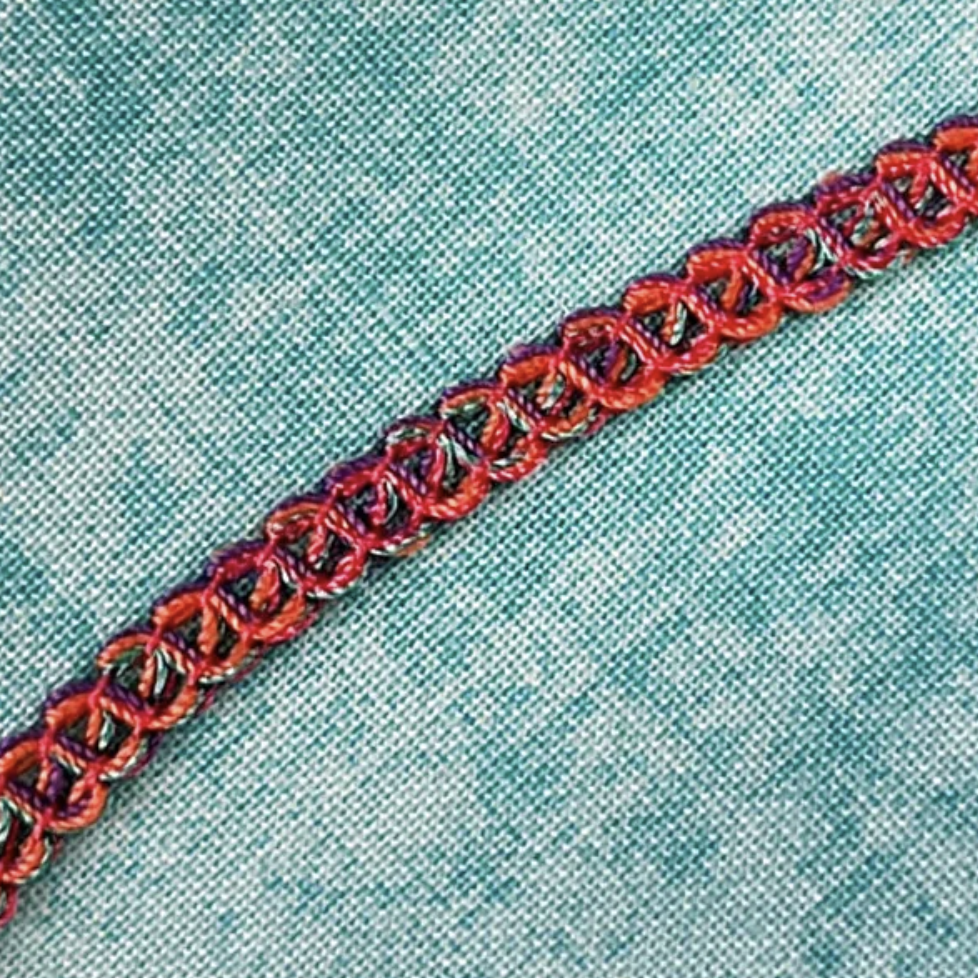
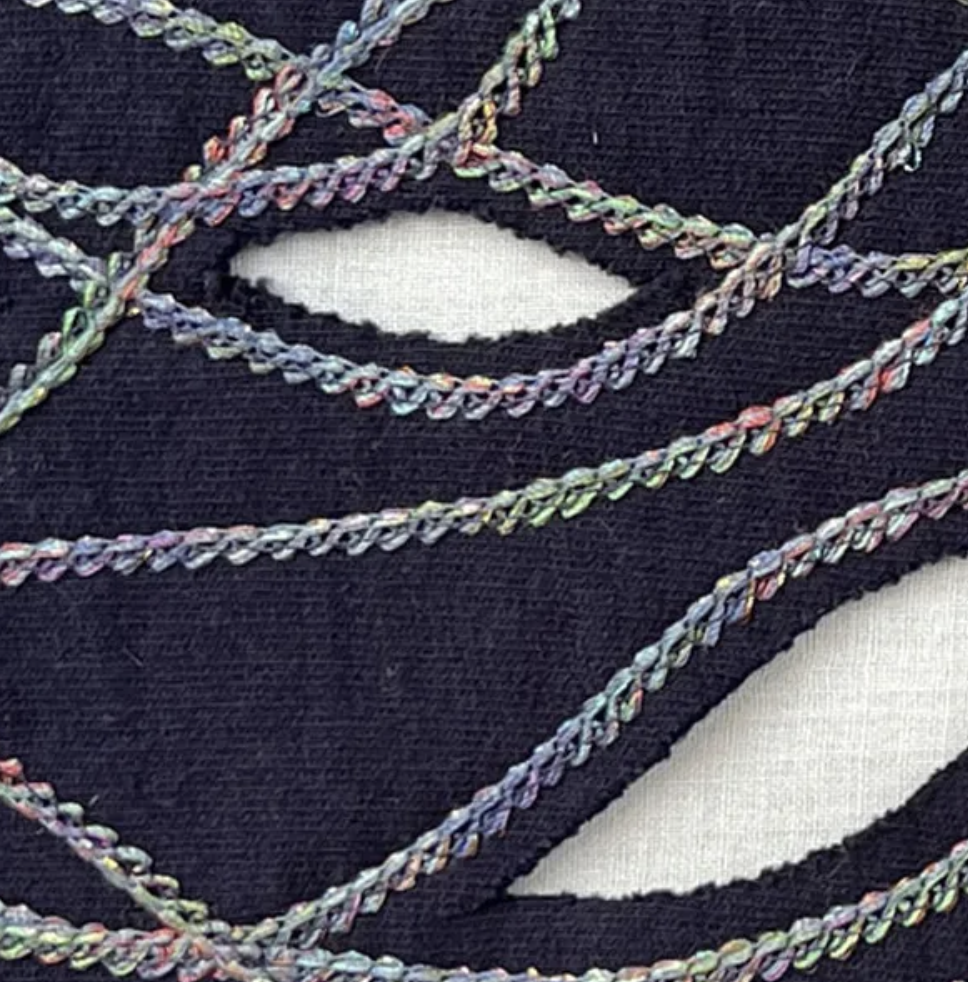
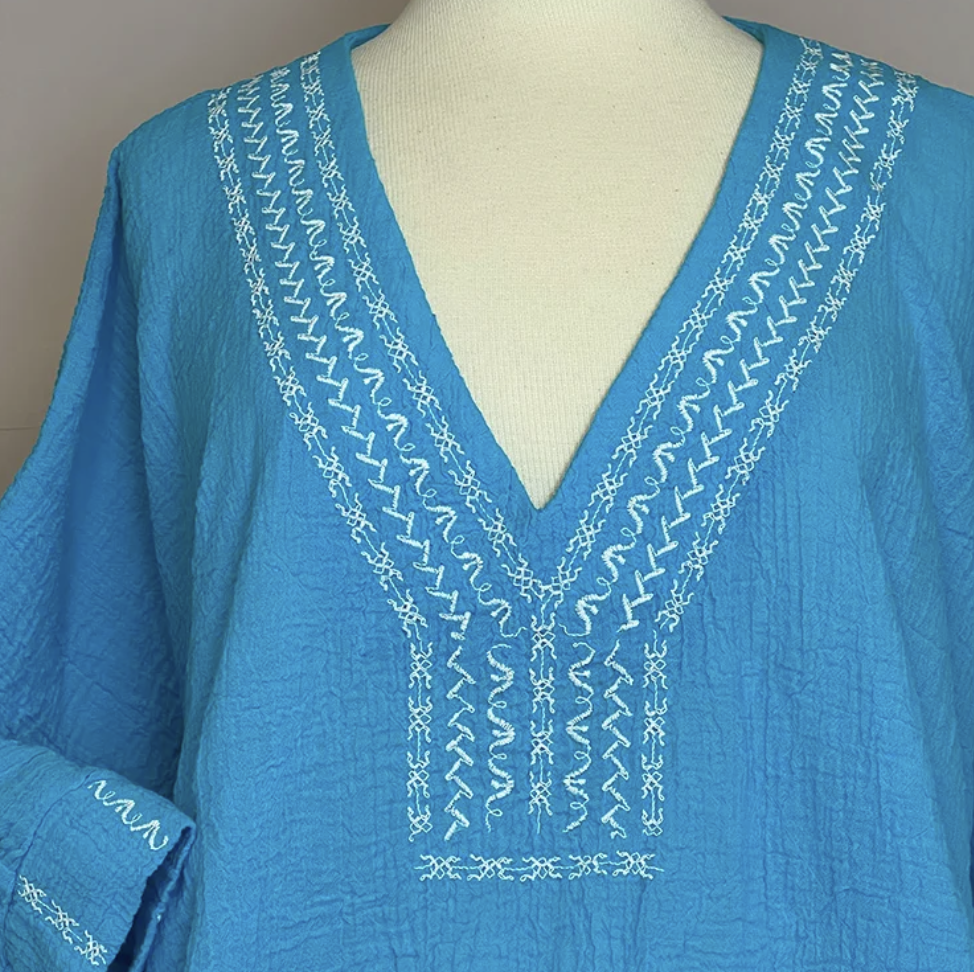
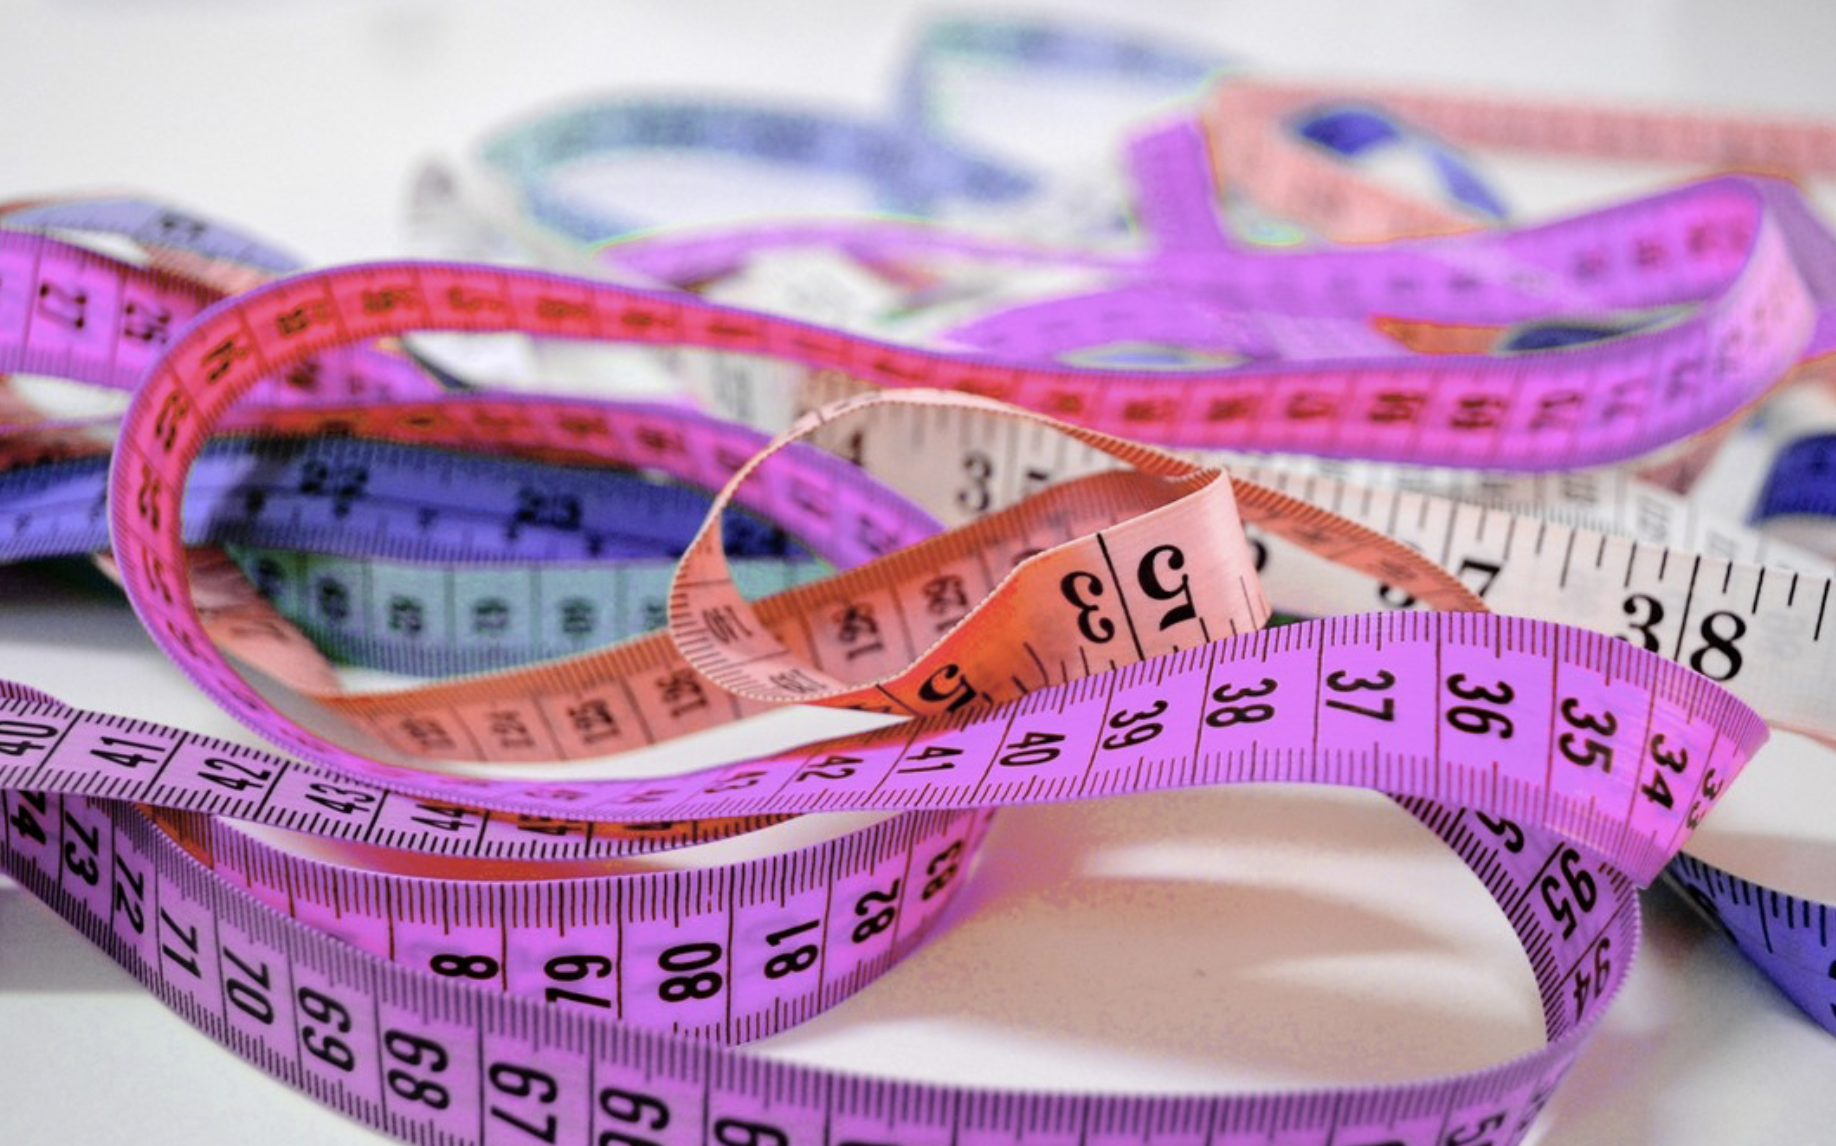
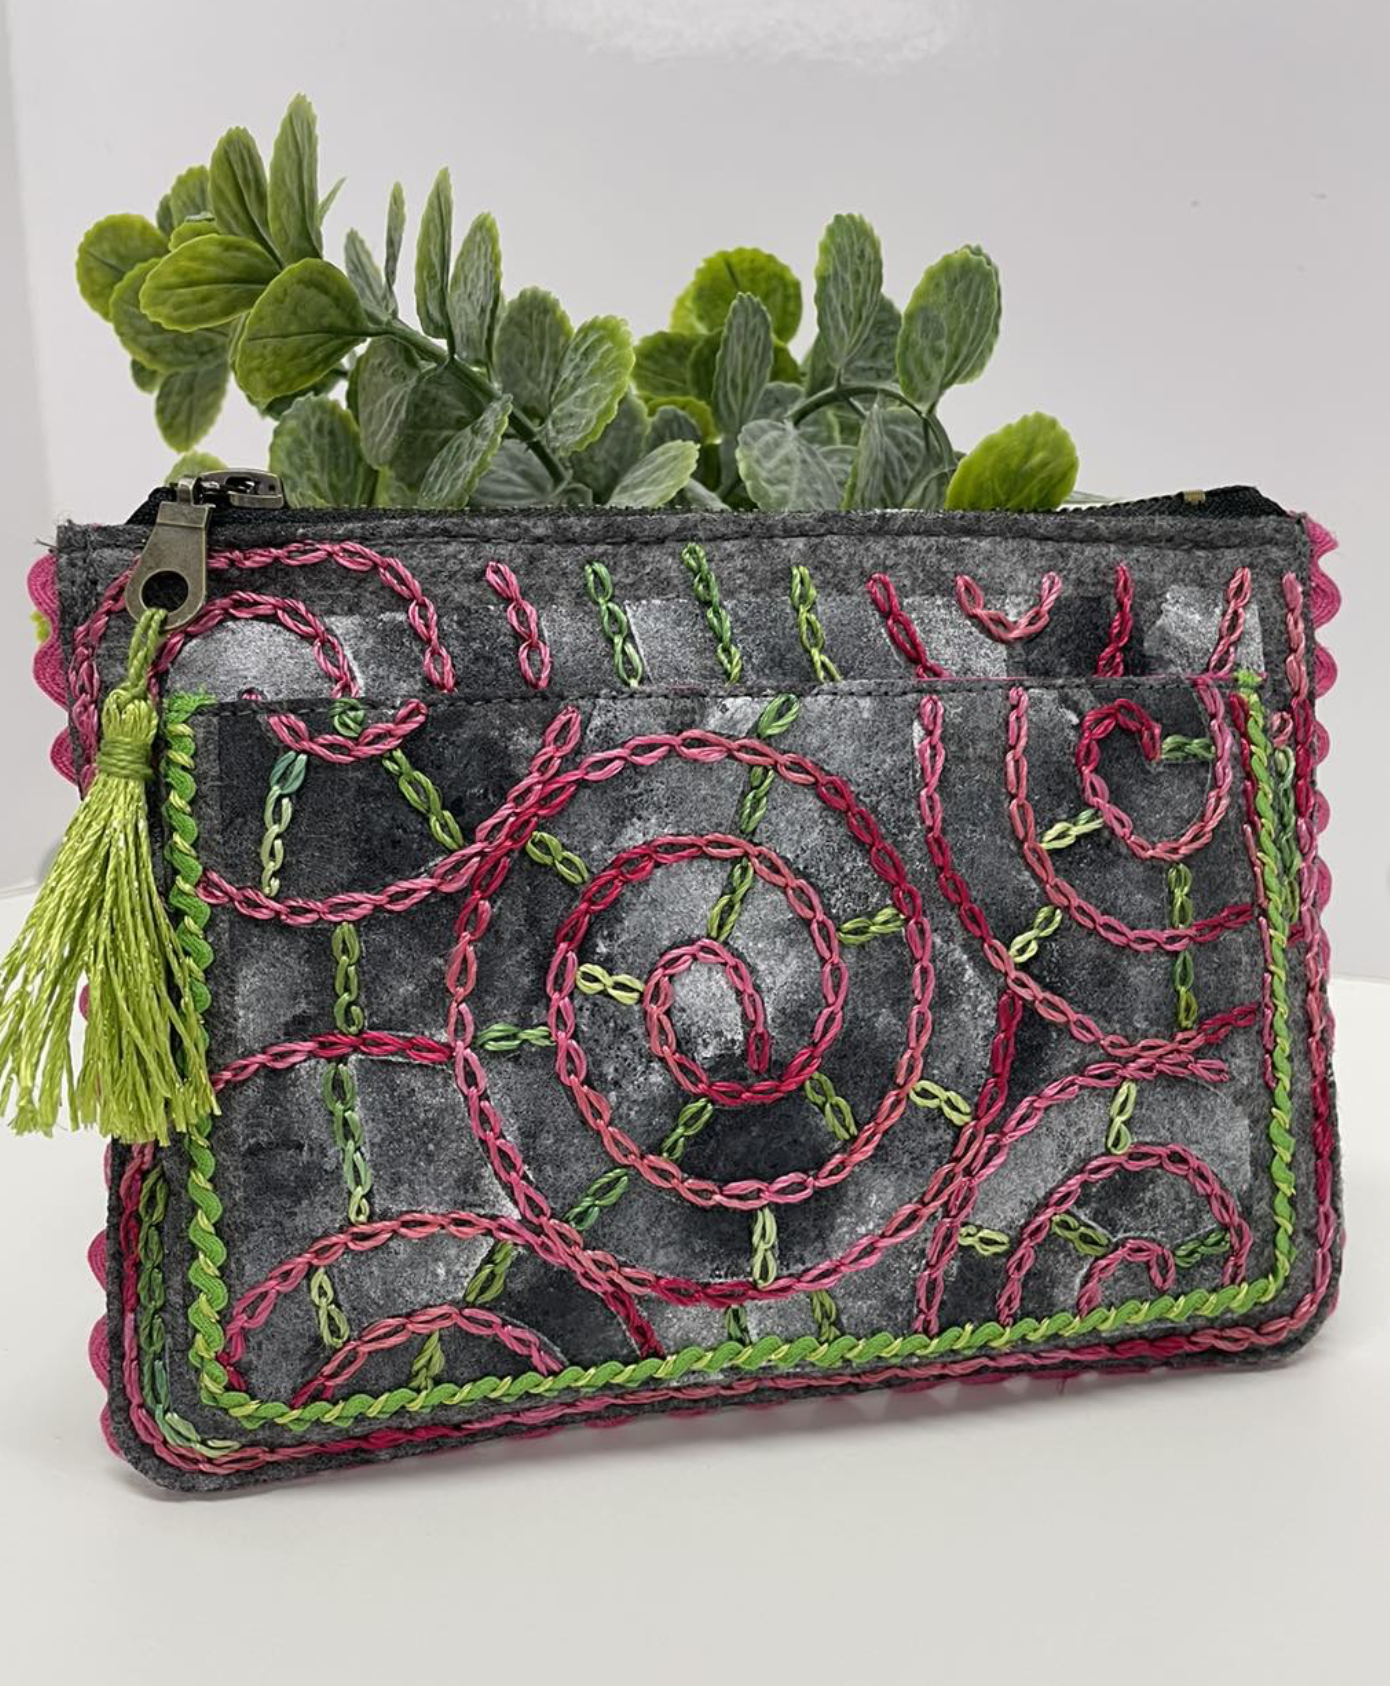
One of Jennifer’s favourite embellishment techniques is using her decorative machine stitches, and a variegated or multi-coloured thread! This is easy to add over the top of fabric, appliqué, or the felt itself. It’s a great beginner option for decorating the kits, as long as you have some fun decorative stitches to use on your machine. Jennifer loves using brightly coloured, variegated threads for this technique like FabuLux™ or D-Twist™. FabuLux™ is our 40wt, trilobal polyester thread that comes in variegated and neon colours. The neon threads are Jennifer’s favourite and can be seen in many of her machine stitched designs. This thread is perfect for adding colour and sheen to embroidery, appliqué, or decorative stitches on your Aster & Anne kits. D-Twist™ is our 20wt, double twisted, rayon thread, which has a unique heathered look perfect for adding dimension to your stitching. D-Twist™ is actually Jennifer’s all-time favourite WonderFil® thread and can be seen in many of her decorative stitch and embroidery projects.
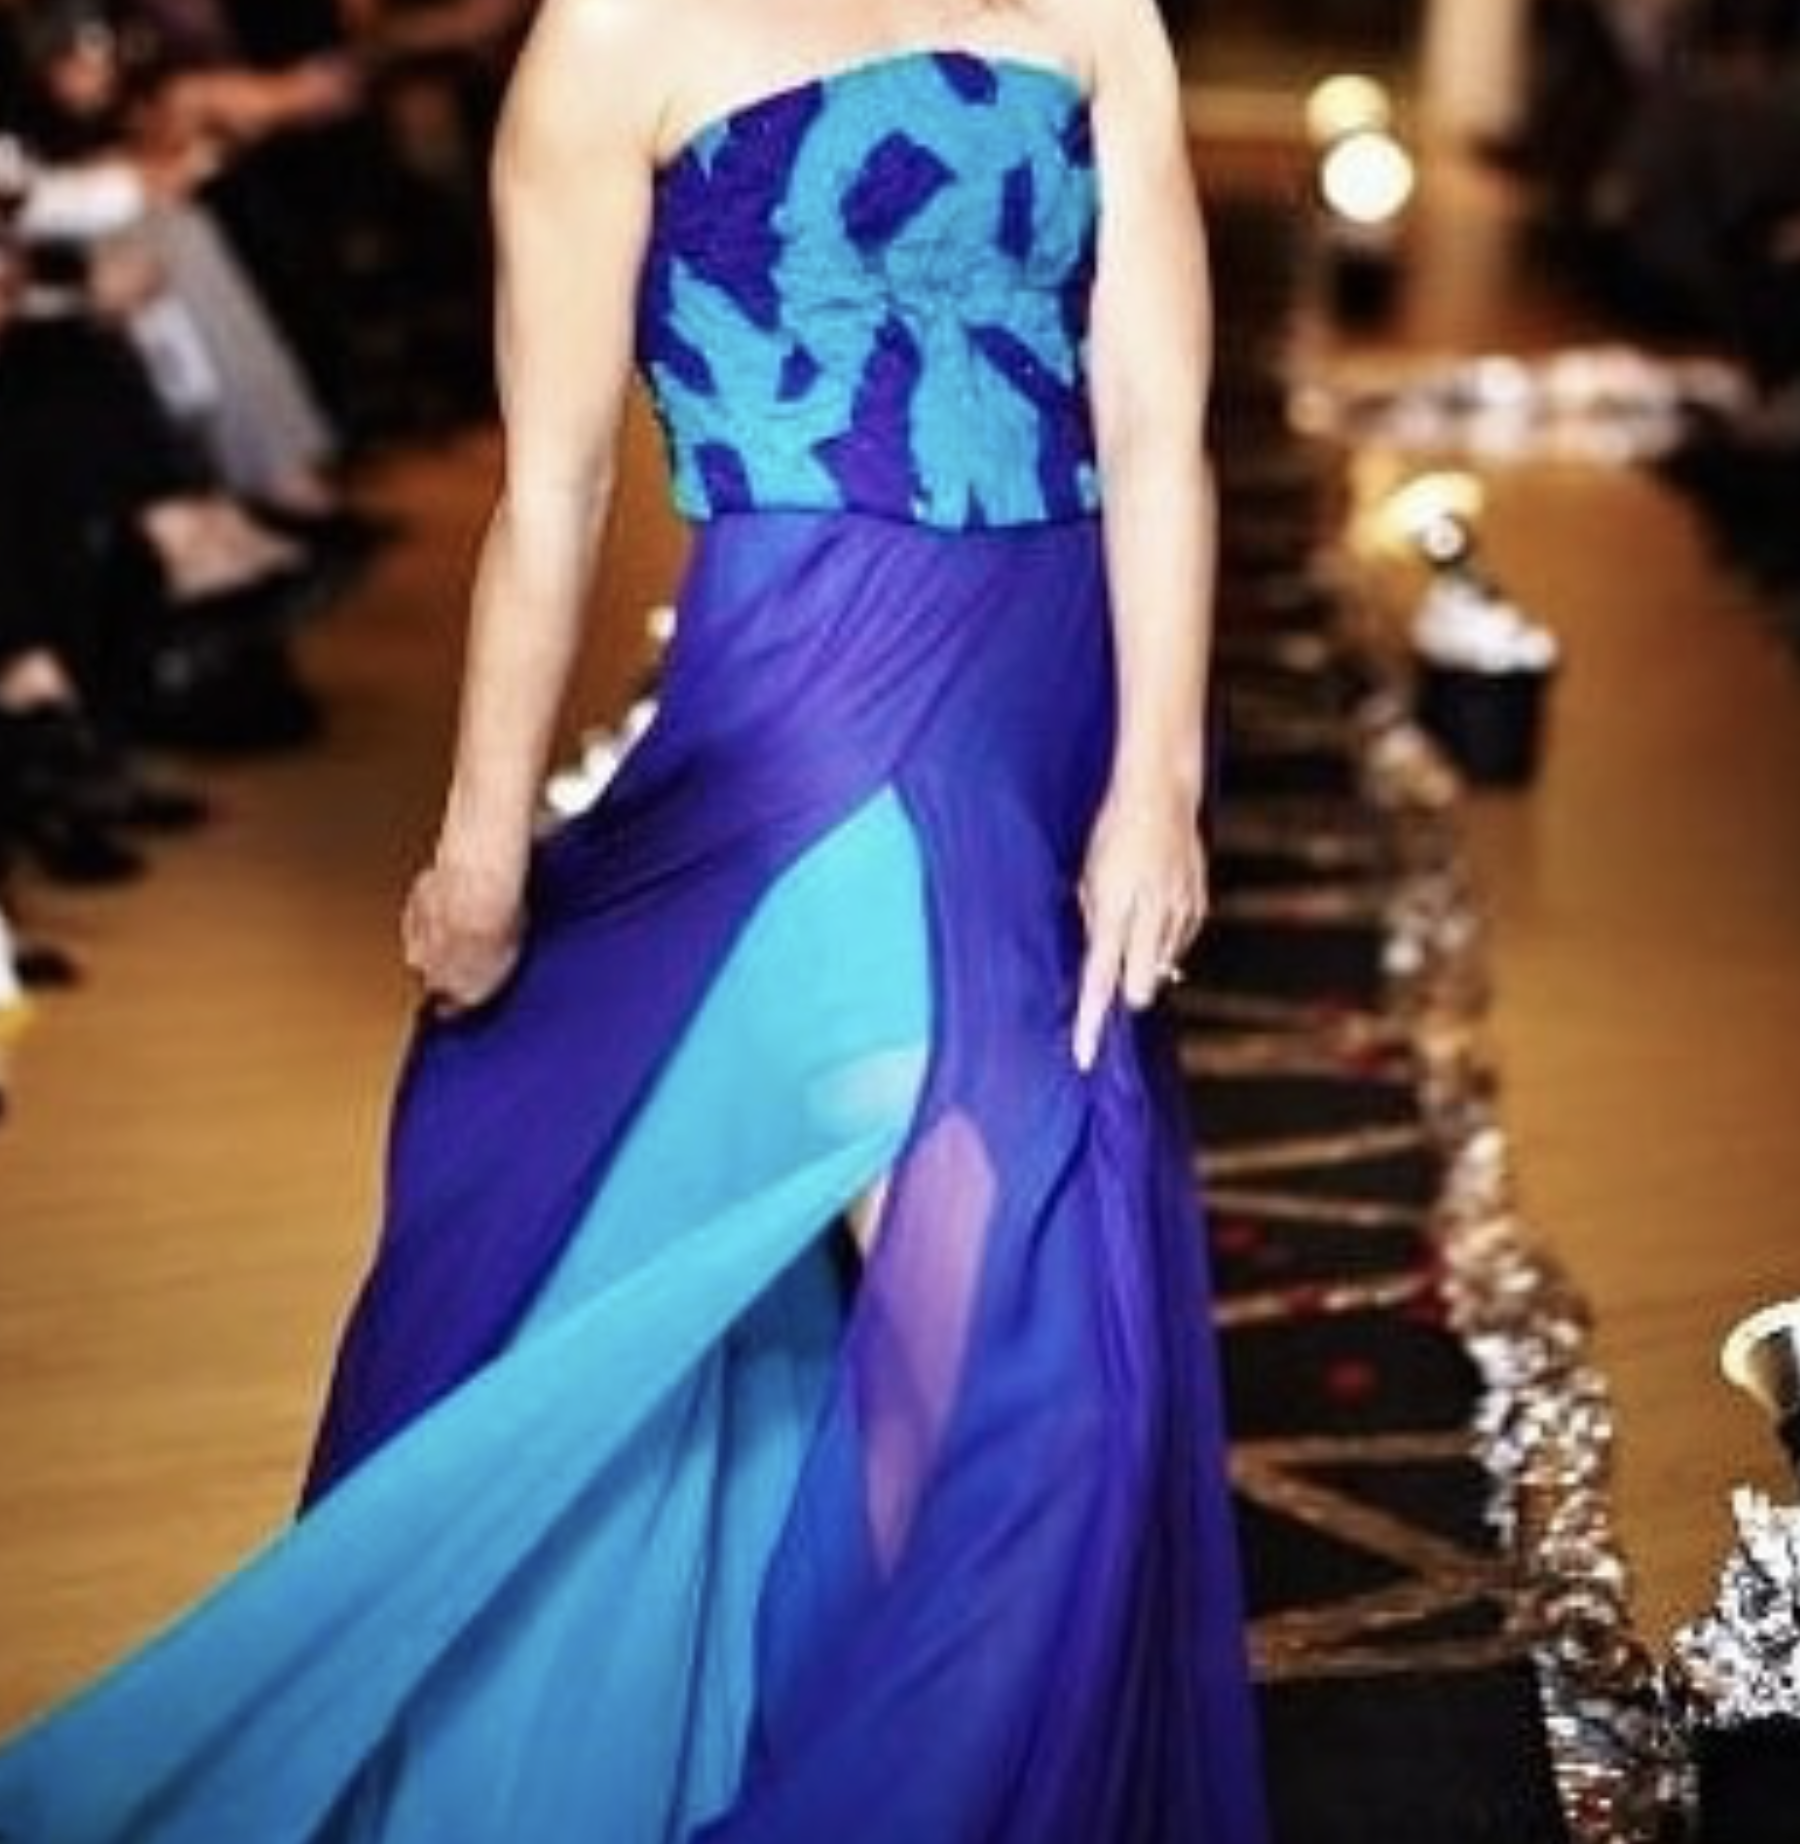
Jennifer also loves to incorporate her love for beautiful finishings into many of her bags! Using things like ribbons, lace, trims, and vibrant fabrics to add finishing touches around her stitching. This is an easy way to make your bag pop or add a little extra flair to your designs.
Get Inspired
If you are inspired by Jennifer’s amazing kits now is the time to jump in and try creating your own! Incorporate your favourite techniques, in a way that works for you. To get more information, or tutorials on how Jennifer decorated her kits be sure to follow her on Instagram, Pinterest, and Facebook. Or visit the Aster & Anne YouTube channel for more in-depth walk throughs. To get your own Aster & Anne Kit, you can visit the Aster & Anne Website or shop online at wonderfil.com. Jennifer is also teaching classes on her kits at The Festival of Quilts in the UK and at Bernina Academy in Sydney this September. So be sure to stop by and grab a kit if you are attending those shows!


Shop These Products

D-Twist™
D-Twist™ is a 2-ply rayon thread made of two 40wt threads twisted together into a 20wt thread in coordinating colors.

FabuLux™
A 40wt, 3-ply trilobal polyester thread, FabuLux carries an incredibly brilliant lustre while feeling delightfully soft.

Aster & Anne Kits
These ready to assemble kits come with everything you need to create your own purses, totes, satchels and wallets.